
1. Introduction
This manual provides detailed instructions for the safe and effective use of your Godox E300 300W Strobe Studio Flash Light Kit. This professional lighting system is designed for studio photography, offering powerful and consistent illumination for various photographic applications, including portraiture, product photography, and more.

Image: The Godox E300 Studio Flash Kit set up for a professional photoshoot, demonstrating its high power and stable color temperature.
2. What's in the Box
Please verify that all components listed below are included in your package:

Image: A visual representation of all items included in the Godox E300 Studio Flash Light Kit, neatly arranged.
- 3 x Godox E300 300W Monolights
- 2 x 50x70cm Softboxes
- 1 x 84cm Reflector Umbrella
- 3 x 190cm Light Stands
- 1 x Godox FT-16 Wireless Flash Trigger Set (Transmitter & Receiver)
- 1 x BD-03 Barn Door with Honeycomb Grid and Color Filters
- 1 x Carry Box (Draw-Bar Box)
- 3 x 75W Modeling Lamps
- 3 x Power Cables (US/UK/EU/AU compatible)
3. Setup Guide
Follow these steps to assemble and prepare your Godox E300 Studio Flash Light Kit for use.
3.1. Assembling Light Stands
- Extend the legs of the light stand to form a stable base.
- Adjust the height of the stand by loosening and tightening the locking knobs on each section. Ensure all sections are securely locked before mounting equipment.
3.2. Mounting Monolights
- Carefully attach the Godox E300 monolight onto the top stud of the light stand.
- Secure the monolight by tightening the mounting screw on the monolight's bracket.
- Adjust the tilt angle of the monolight using the tilt adjustment knob. The E300 supports 180° tilt.

Image: Close-up view of the Godox E300 monolight demonstrating its 180-degree tilt capability and simple interface.
3.3. Attaching Light Modifiers (Softbox, Umbrella, Barn Door)
The Godox E300 features a universal mount design, allowing for various light modifiers.

Image: The Godox E300 monolight showcasing its universal mount design, compatible with standard reflectors, barn doors, snoots, beauty dishes, softboxes, and reflector umbrellas.
3.3.1. Softbox Assembly
- Assemble the softbox rods into the speed ring.
- Attach the speed ring to the front of the monolight, ensuring it clicks into place.
- Secure the inner and outer diffusers to the softbox.
3.3.2. Reflector Umbrella Attachment
- Open the reflector umbrella.
- Insert the umbrella shaft into the dedicated umbrella hole on the monolight's mounting bracket.
- Secure the umbrella by tightening the locking screw.

Image: A Godox E300 monolight with a reflector umbrella attached, highlighting the built-in umbrella hole for secure mounting.
3.3.3. Barn Door Attachment
- Slide the BD-03 Barn Door onto the front of the monolight's reflector.
- The barn door allows for precise control over light spread. You can also attach the honeycomb grid and color filters for additional effects.

Image: A Godox E300 monolight equipped with barn doors and colored gels, demonstrating light shaping capabilities.
3.4. Connecting Power
- Ensure the monolight's power switch is in the OFF position.
- Connect the power cable to the monolight's power input.
- Plug the other end of the power cable into a suitable AC power outlet.
3.5. Setting up the FT-16 Wireless Flash Trigger
- Insert batteries into the FT-16 transmitter and receiver.
- Attach the FT-16 receiver to the USB port on the back of each E300 monolight.
- Mount the FT-16 transmitter onto your camera's hot shoe.
- Set the same channel and group on both the transmitter and the monolights (via the receiver) to ensure synchronous firing.

Image: The Godox E300 monolight connected to the FT-16 wireless remote control trigger, illustrating its remote adjustment capabilities within a 50-meter range.
4. Operating Instructions
Learn how to operate your Godox E300 Studio Flash Light Kit for optimal performance.
4.1. Powering On/Off
Locate the power switch on the back of each E300 monolight and switch it to the 'ON' position to power on the unit. Switch to 'OFF' when not in use.
4.2. Adjusting Flash Power
The flash output is steplessly adjustable from 1/9 to full power. Use the control dial on the monolight or the FT-16 transmitter to set the desired flash intensity.
4.3. Modeling Lamp Control
The E300 features a 75W modeling lamp with 9 levels of brightness adjustment (L1-L9). This allows you to preview the lighting effect before firing the flash.

Image: Detailed view of the Godox E300 monolight's 75W modeling lamp, showing the 9 brightness adjustment levels (L1-L9) for precise light preview.
4.4. Wireless Flash Triggering (FT-16)
The FT-16 wireless trigger allows for remote control and synchronous firing of your monolights.
- Channel and Group Settings: Ensure the FT-16 transmitter and receivers on the monolights are set to the same channel (1-16) and group (A-F, or 0-9 depending on model variant) for proper communication.
- Test Button: Press the 'TEST' button on the transmitter to manually fire the flashes and check synchronization.
- Remote Power Adjustment: Use the FT-16 transmitter to remotely adjust the flash power and modeling lamp brightness of individual monolights or groups.
- Compatibility: The FT-16 is compatible with Nikon, Canon, Fujifilm, Olympus, and Pentax hot shoes.
4.5. Synchronization
The E300 supports light-sensor sync and pre-flash systems, enabling synchronous firing with cameras that have a one-preflash firing system. For reliable triggering, use the included FT-16 wireless trigger.
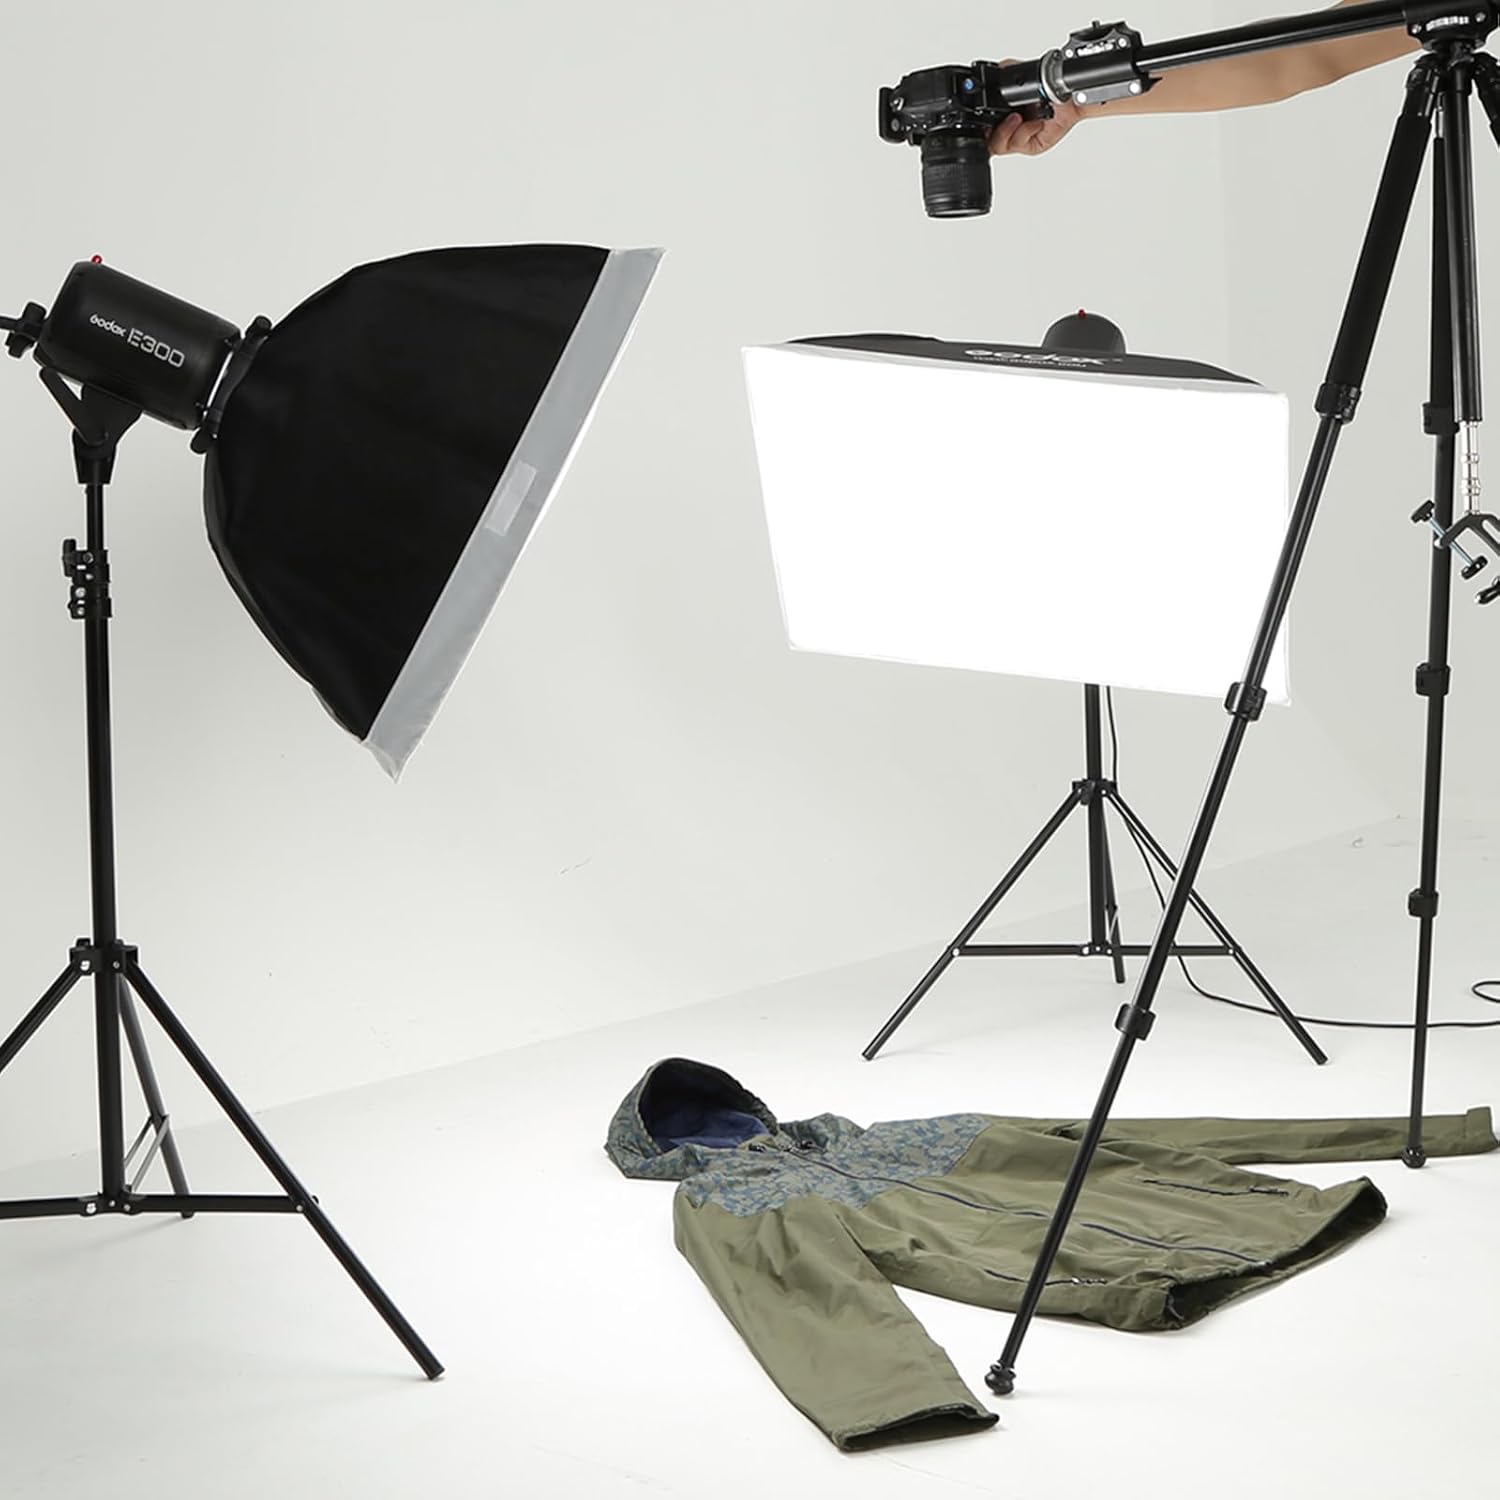
Image: A studio setup utilizing the Godox E300 Studio Flash Kit with softboxes, demonstrating its application in professional photography.
5. Maintenance and Care
Proper maintenance ensures the longevity and optimal performance of your Godox E300 kit.
- Cleaning: Use a soft, dry cloth to clean the exterior of the monolights and accessories. Do not use abrasive cleaners or solvents.
- Bulb Replacement: When replacing the modeling lamp or flash tube, ensure the unit is powered off and unplugged. Allow the lamp to cool down before handling. Refer to the specific bulb type for replacement.
- Storage: Store the kit in the provided carry box in a cool, dry place, away from direct sunlight and excessive humidity.
- Cooling Fan: The built-in cooling fan helps dissipate heat during operation. Ensure the fan vents are not obstructed.
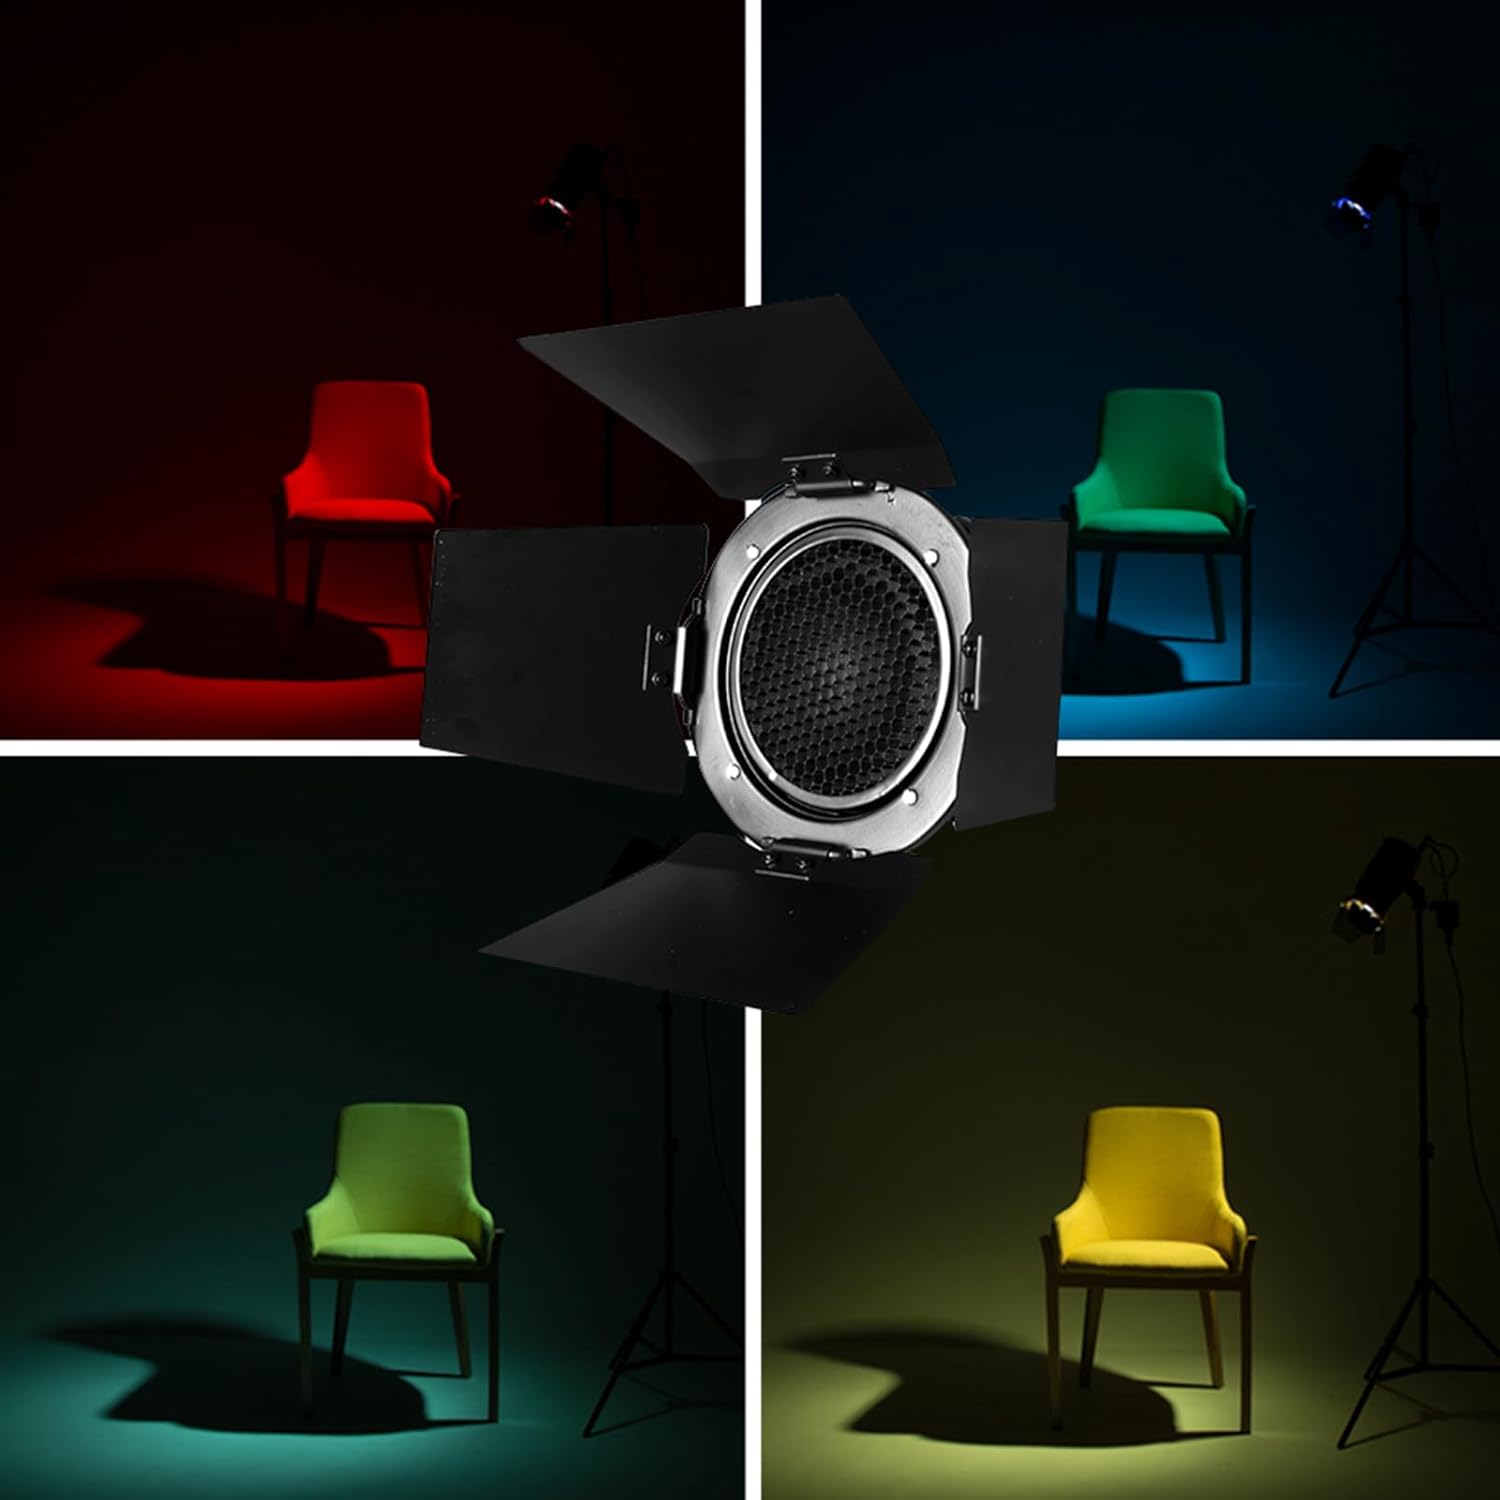
Image: The Godox E300 Studio Flash Kit components, including light stands and softboxes, neatly packed inside the wheeled carry box for transport and storage.
6. Troubleshooting
If you encounter issues with your Godox E300 Studio Flash Light Kit, refer to the following common problems and solutions.
| Problem | Possible Cause | Solution |
|---|---|---|
| Flash not firing. | Power cable disconnected, unit not powered on, trigger not synced, flash tube faulty. | Check power connection and switch. Ensure FT-16 transmitter and receiver are on the same channel/group. Test with camera's built-in flash (if applicable) or another trigger. Contact support if flash tube is suspected. |
| Modeling lamp not working. | Lamp burnt out, brightness set to L0. | Check modeling lamp brightness setting. Replace modeling lamp if burnt out. |
| Inconsistent flash output. | Low power setting, unit overheating, faulty connection. | Increase flash power. Allow unit to cool down if used continuously. Check all cable connections. |
| FT-16 trigger not communicating. | Incorrect channel/group, low batteries, receiver not properly connected. | Verify channel and group settings on both transmitter and receiver. Replace batteries. Ensure receiver is fully inserted into the monolight's USB port. |
7. Specifications
Key technical specifications for the Godox E300 Studio Flash Light Kit:
| Feature | Detail |
|---|---|
| Flash Output | 300Ws |
| Modeling Lamp | 75W (9 levels brightness) |
| Guide Number (ISO 100) | 58 |
| Recycle Time | 0.4-2.5 seconds |
| Flash Duration | 1/2000-1/800 seconds |
| Color Temperature | 5600K ± 200K |
| Wireless Control | Godox FT-16 (16 groups, 16 channels, 50m range) |
| Mount Type | Universal Mount |
| Product Dimensions (Monolight) | Approximately 4.33 x 4.33 x 4.33 inches |
| Item Weight (Total Kit) | 33.8 pounds |
8. Warranty and Support
Godox products are designed for reliability and performance. For warranty information and technical support, please refer to the official Godox website or contact your authorized dealer.
Official Godox Website: www.godox.com
Please retain your proof of purchase for warranty claims.