
1. Important Safety Information
Please read this manual carefully before installation and use. Keep this manual for future reference. If you have any questions, please contact customer support.
- Weight Capacity: Do not exceed the maximum weight capacity of 40 kg (88 lbs). Overloading can cause instability and potential injury.
- TV Size: This stand is designed for TVs between 20 and 65 inches. Ensure your TV falls within this range.
- VESA Compatibility: Verify your TV's VESA mounting pattern is compatible (200x100mm to 800x500mm).
- Stable Surface: Always place the TV stand on a flat, stable, and level surface to prevent tipping.
- Children and Pets: Keep children and pets away from the TV stand during assembly. Do not allow them to climb on or play with the stand or TV.
- Assembly: Assemble the stand according to the instructions. Ensure all screws are tightened securely. Do not overtighten.
- Missing Parts: If any parts are missing or damaged, do not attempt to assemble. Contact customer support for replacement parts.
2. Package Contents
Before assembly, ensure all components are present and undamaged. Refer to the parts list in your packaging. Typically, the package includes:
- Base supports (left and right)
- TV mounting brackets
- Vertical support columns
- Various screws, bolts, washers, and spacers for TV attachment
- Anti-slip pads
- Assembly tools (e.g., Allen wrench)
3. Specifications
| Feature | Detail |
|---|---|
| Model Number | UT3001X |
| Brand | RFIVER |
| TV Size Compatibility | 20 to 65 inches |
| VESA Compatibility | 200x100 / 200x200 / 200x300 / 300x300 / 300x400 / 400x400 / 600x400 / 800x500 mm |
| Maximum Load Capacity | 40 kg (88 lbs) |
| Material | Cold-rolled steel alloy |
| Mounting Type | Tabletop |
| Color | Black |
| Height Adjustment | Multiple levels via VESA holes and bracket slots |
4. Setup and Installation
Follow these steps carefully to assemble your RFIVER Universal Tabletop TV Stand.
Step 4.1: Prepare the Components
- Unpack all components and lay them out on a soft, clean surface to prevent scratches.
- Identify all parts against the provided parts list in your package.
Step 4.2: Assemble the Base Supports
- Attach the vertical support columns to the base supports using the designated screws. Ensure they are securely fastened.
- Apply the anti-slip pads to the bottom of the base supports to protect your furniture and prevent sliding.

Image: The stable structure of the stand base with anti-slip pads for secure placement.
Step 4.3: Attach TV Mounting Brackets to TV
- Carefully place your TV face down on a soft, clean surface.
- Identify the VESA mounting holes on the back of your TV.
- Select the appropriate screws, washers, and spacers from the provided hardware kit that fit your TV's VESA holes.
- Attach the TV mounting brackets to the back of your TV. Ensure the brackets are oriented correctly and securely tightened.

Image: VESA compatibility details, supported TV sizes (20-65 inches), and maximum load capacity (40 kg).
Step 4.4: Mount TV to Stand
- With assistance, carefully lift the TV and hook the attached mounting brackets onto the vertical support columns of the stand.
- Secure the TV to the stand using the safety screws or locking mechanisms provided.
Step 4.5: Height Adjustment
The stand offers multiple height adjustment options:
- Method 1: Choose different VESA pattern holes on the back of your TV when attaching the mounting brackets.
- Method 2: Utilize the three adjustment holes on the vertical support brackets to set the desired TV height.

Image: Visual representation of the three height adjustment options, showing minimum (635mm) and maximum (695mm) heights from the tabletop to the top of the TV.

Image: Detailed product dimensions, including base measurements and the adjustable height range of the stand.

Image: Two distinct installation methods, including a detachable option for smaller TVs, accommodating various VESA sizes.
5. Operating Instructions
Once assembled, the RFIVER Universal Tabletop TV Stand is ready for use. Ensure your TV is securely mounted before operating.
5.1 Adjusting TV Height
To adjust the TV height, you will need to partially unmount the TV from the stand. Refer to Step 4.5 in the Setup section for detailed instructions on how to change the height settings using the VESA holes or bracket slots.
5.2 Cable Management
While this stand does not include integrated cable management, you can use cable ties or clips (not included) to neatly organize cables along the vertical support columns to maintain a tidy appearance and prevent tripping hazards.
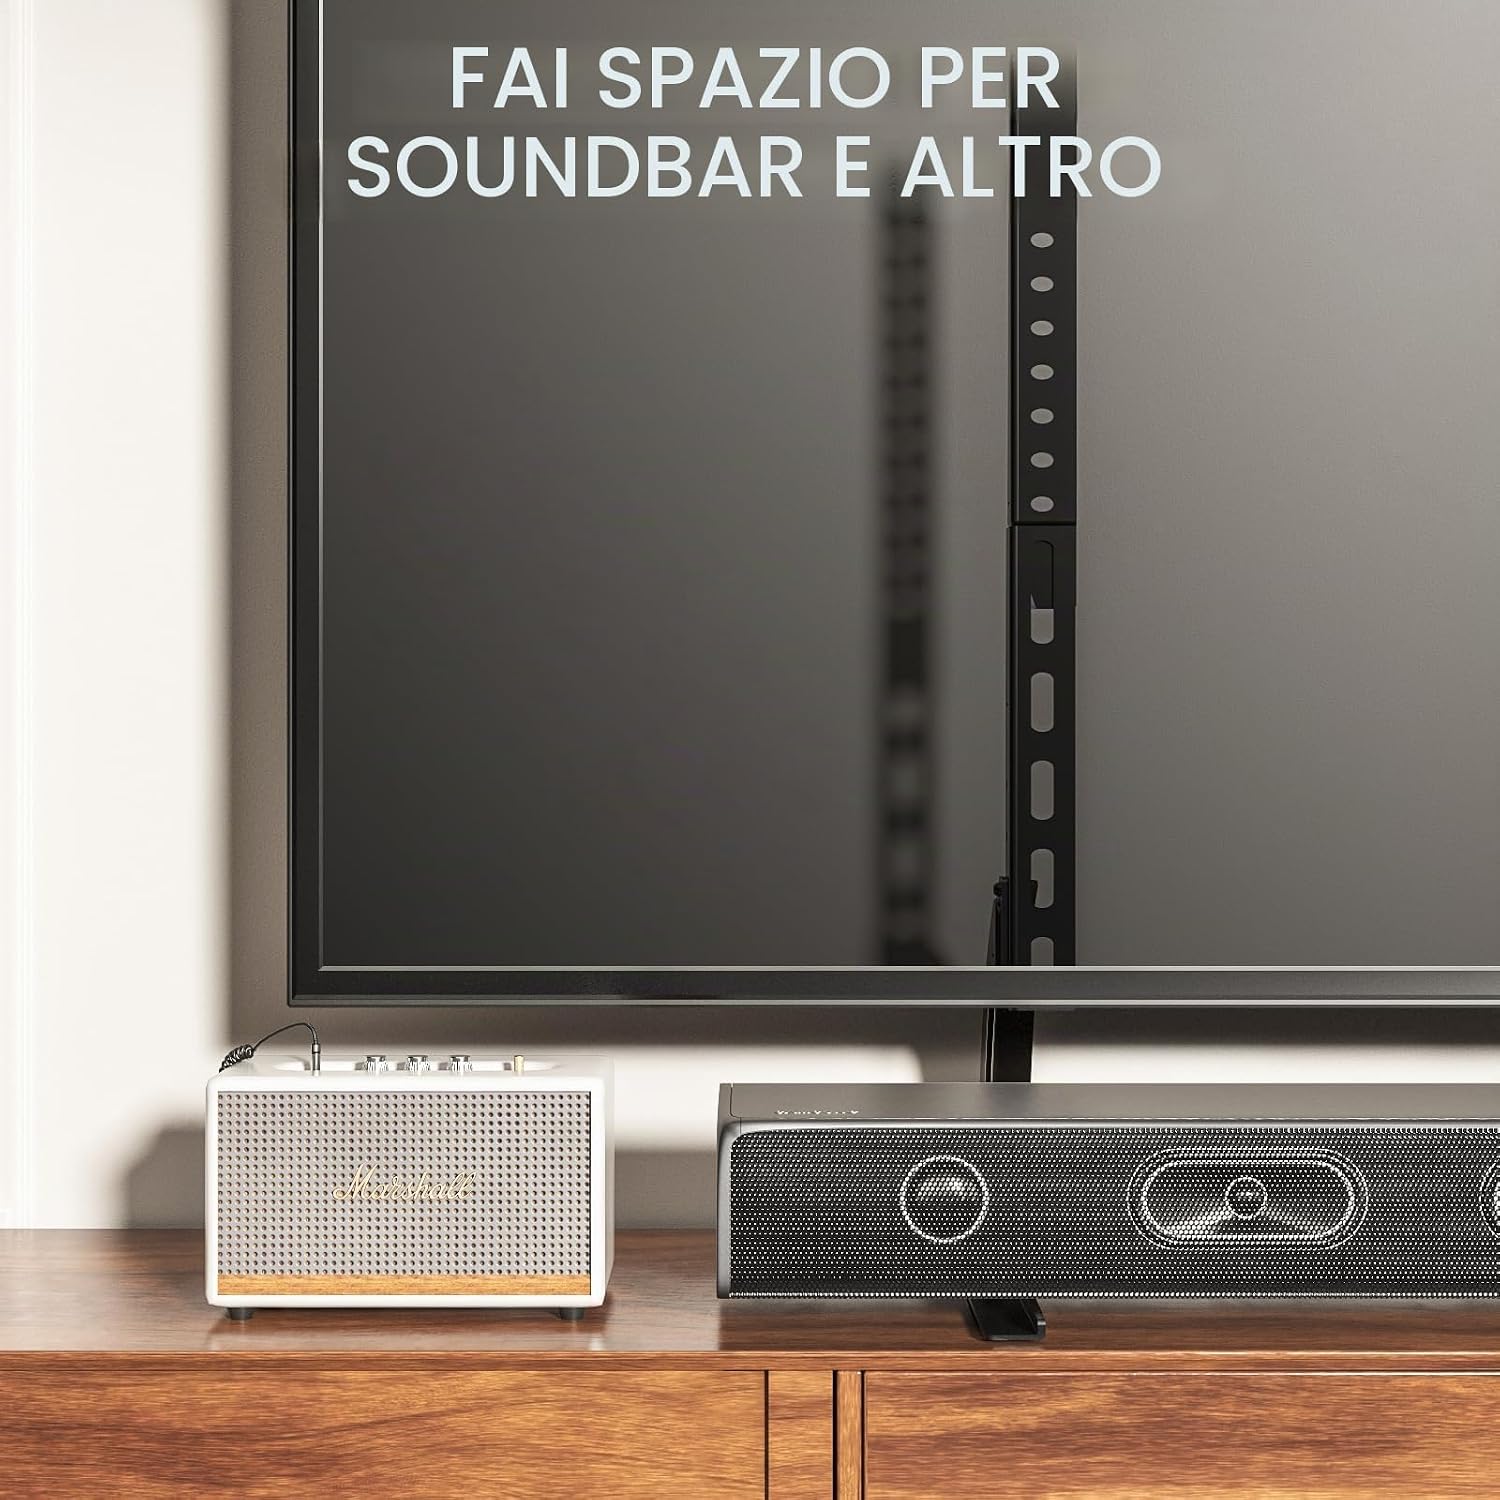
Image: The stand provides ample space underneath the TV for soundbars, media players, or other accessories.
6. Maintenance
Proper maintenance ensures the longevity and safe operation of your TV stand.
- Cleaning: Wipe the stand with a soft, dry cloth. For stubborn marks, a slightly damp cloth can be used, followed by immediate drying. Avoid abrasive cleaners or solvents.
- Check Connections: Periodically check all screws and bolts to ensure they remain tight. Retighten if necessary, but do not overtighten.
- Stability Check: Regularly verify the stand's stability, especially if it has been moved or if heavy objects have been placed on or near it.
7. Troubleshooting
If you encounter any issues during assembly or use, refer to the following common problems and solutions.
- Problem: The TV stand feels unstable after assembly.
Solution: Ensure all screws are fully tightened. Verify the stand is placed on a flat, level surface. Check that the anti-slip pads are correctly applied to the base. - Problem: The TV does not fit the mounting brackets.
Solution: Double-check your TV's VESA pattern against the stand's compatibility (200x100mm to 800x500mm). Ensure you are using the correct screws and spacers for your TV model. - Problem: Difficulty in adjusting the TV height.
Solution: Height adjustment requires partially unmounting the TV. Ensure the TV is supported by another person or a stable surface before attempting to reposition the brackets in different slots or VESA holes. - Problem: Missing or damaged parts.
Solution: Do not proceed with assembly. Contact RFIVER customer support immediately for assistance and replacement parts.
8. Warranty Information
This RFIVER Universal Tabletop TV Stand (Model UT3001X) comes with a 5-year product warranty from the date of purchase. This warranty covers manufacturing defects and material flaws under normal use. It does not cover damage caused by improper installation, misuse, accidents, modifications, or normal wear and tear.
To make a warranty claim, please retain your proof of purchase and contact RFIVER customer support.
9. Customer Support
For any questions, technical assistance, or warranty claims, please contact RFIVER customer support through the retailer where you purchased the product or visit the official RFIVER website for contact information.
We are committed to providing high-quality products and excellent customer service.

