1. Introduction
This manual provides detailed instructions for the setup, operation, and maintenance of your Waveshare 13.3-inch Capacitive Touch Screen LCD (V1). This display features a 1920x1080 resolution, HDMI input, IPS panel for wide viewing angles, and a durable toughened glass cover. Please read this manual thoroughly before using the product to ensure proper functionality and longevity.
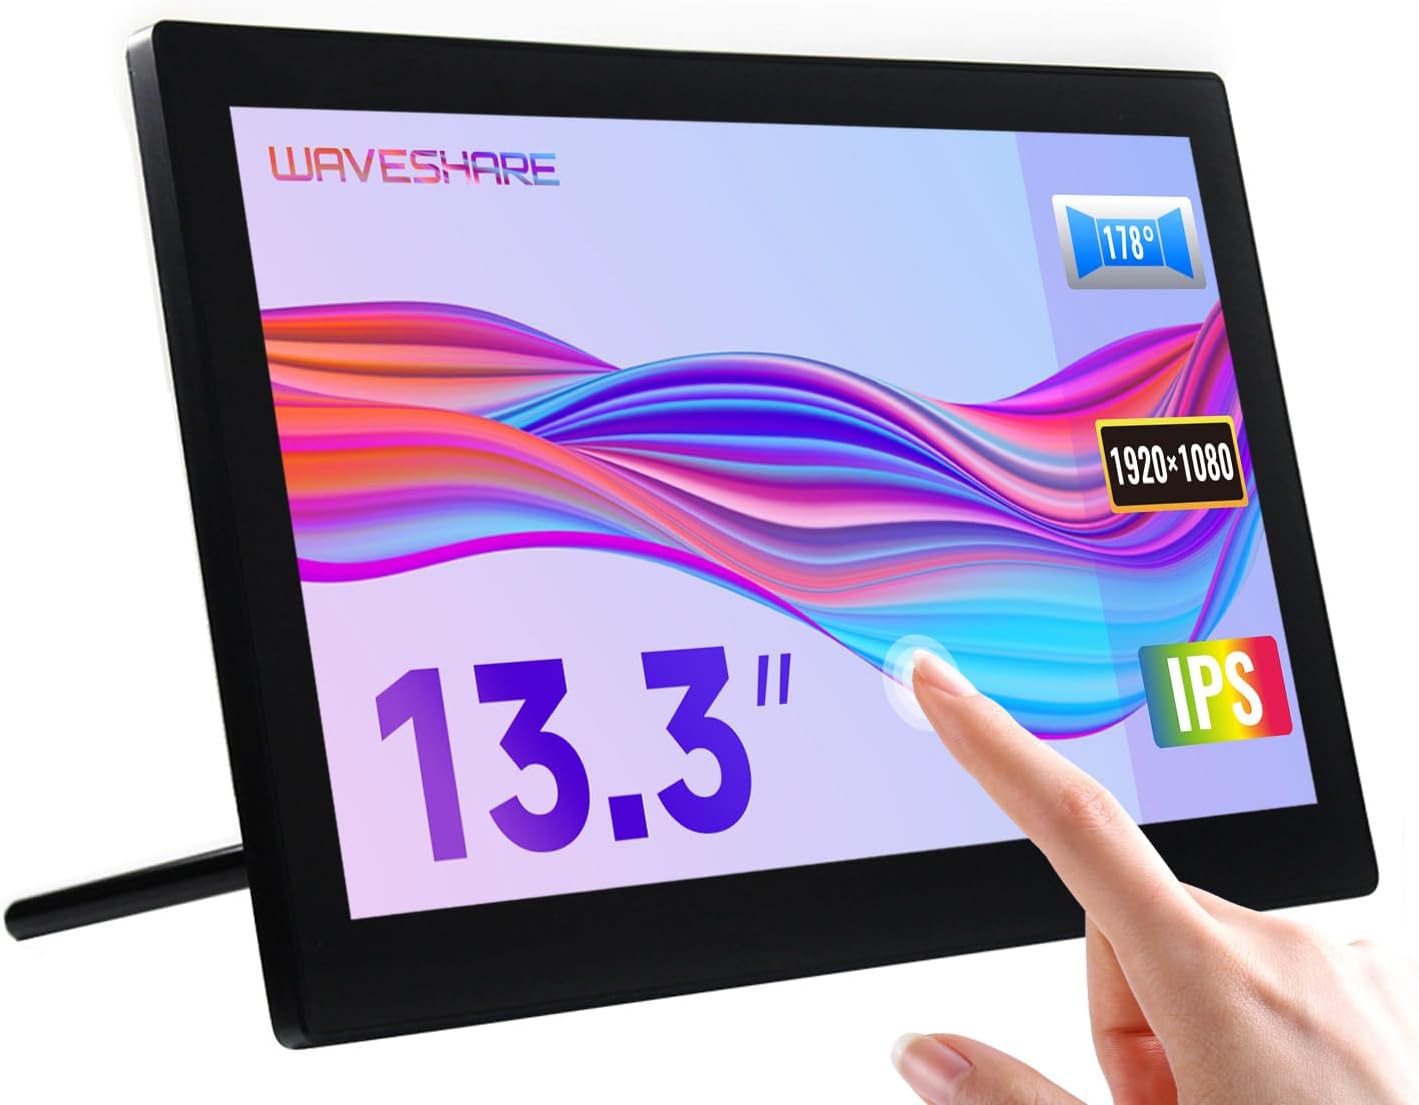
Image 1.1: The Waveshare 13.3-inch Capacitive Touch Screen LCD, showcasing its touch functionality and sleek design.
2. Safety Information
- Ensure the power supply voltage matches the product's requirements to prevent damage.
- Avoid exposing the display to extreme temperatures, humidity, or direct sunlight.
- Do not disassemble the unit. Refer all servicing to qualified personnel.
- Keep the screen away from strong magnetic fields.
- Handle with care to avoid dropping or impacting the screen, especially the toughened glass panel.
3. Package Contents
Verify that all items are present in the package:
- Waveshare 13.3-inch HDMI LCD (H) Display
- Power Adapter
- HDMI Cable
- USB-A to Micro-USB Cable (for touch functionality)
- User Manual (this document)
4. Product Overview
4.1. Features
- 13.3-inch IPS panel with 1920x1080 resolution.
- Capacitive 10-point touch control (operating system dependent).
- Toughened glass panel with up to 6H hardness.
- HDMI and VGA display interfaces.
- Built-in Hi-Fi speakers and 3.5mm audio jack.
- Supports various devices including Raspberry Pi, Jetson Nano, PCs, and game consoles.
- Integrated case with a 75° back stand and VESA mounting holes (75x75mm).

Image 4.1: Detailed features and system compatibility of the display.
4.2. Physical Components
The display includes various ports and control buttons:
- VGA Display Port: For video input via VGA.
- HDMI Port: For video input via HDMI.
- 3.5mm Audio Jack: For audio output.
- Touch Port (USB): For connecting the touch functionality to your device.
- 12V Power Input: For connecting the power adapter.
- Back Buttons: Power, direction controls, and Menu/Enter/Return buttons for OSD navigation.

Image 4.2: Rear view of the display with ports and a Raspberry Pi connection example.
5. Setup Instructions
5.1. Initial Connection
- Connect Video: Use the provided HDMI cable to connect the display's HDMI port to your source device (e.g., Raspberry Pi, PC). If using VGA, connect a VGA cable.
- Connect Touch (USB): Connect the USB-A to Micro-USB cable from your source device's USB port to the display's Touch Port. This enables touch functionality.
- Connect Power: Plug the power adapter into the display's 12V Power Input, then connect it to a power outlet.
- Power On: Press the power button on the back of the display. The screen should illuminate and display content from your source device.

Image 5.1: Display showing a Windows desktop after successful connection.
5.2. Connection Examples
The display supports various connection configurations:
- Working with Raspberry Pi 4: Connect HDMI for video and USB for touch. Power the display with its 12V adapter.
- Working with Raspberry Pi Zero W: Requires additional mini HDMI adapter and USB cable. Connect mini HDMI for video and USB for touch. Power the display with its 12V adapter.
- Working with AI Computer Jetson Nano: Connect HDMI for video and USB for touch. Power the display with its 12V adapter.
- Working with Mini PC: Connect HDMI for video and USB for touch. Power the display with its 12V adapter.

Image 5.2: Visual guide for connecting the display to different devices.
6. Operating Instructions
6.1. On-Screen Display (OSD) Menu
The OSD menu allows you to adjust display settings such as brightness, contrast, and input source. Use the back buttons (direction controls and Menu/Enter/Return) to navigate and select options.
- Press the MENU button to open the OSD menu.
- Use the Direction buttons to navigate through menu options.
- Press MENU again (or the designated Enter button) to select an option or confirm a setting.
- Use the Return button to go back or exit the menu.
6.2. Displaying Content
Once connected and powered on, the display will automatically detect the active video input. Ensure your source device is outputting video to the selected HDMI or VGA port.

Image 6.1: The display showing multimedia content from a web browser.
6.3. Touch Control
The display features capacitive 10-point touch control. Ensure the USB touch cable is connected to your source device for touch functionality. Driver-free operation is supported on most compatible operating systems.

Image 6.2: Illustration of touch control and audio features.
6.4. Audio Output
The display includes built-in Hi-Fi speakers for audio output. Alternatively, you can connect external speakers or headphones to the 3.5mm audio jack for private listening or higher quality audio.
7. Device & System Support
The Waveshare 13.3-inch display offers broad compatibility:
- Raspberry Pi: Supports all versions of Raspberry Pi.
- Supports Raspberry Pi OS, 10-point touch, driver free.
- Supports Ubuntu / Kali / WIN10 IoT, single point touch, driver free.
- Supports Retropie, driver free.
- Jetson Nano: Supports Ubuntu, single point touch, driver free.
- PC: Supports Windows 11 / 10 / 8.1 / 8 / 7, 10-point touch, driver free.
- Game Consoles: Supports Xbox360, PS4, Switch (display and sound only).

Image 7.1: Overview of supported devices and operating systems.
8. Maintenance
- Cleaning the Screen: Use a soft, lint-free cloth slightly dampened with water or a screen-cleaning solution. Avoid harsh chemicals or abrasive materials.
- General Care: Keep the display free from dust. When not in use for extended periods, consider covering it to prevent dust accumulation.
- Storage: Store the display in a cool, dry place, away from direct sunlight and extreme temperatures.
9. Troubleshooting
| Problem | Possible Cause | Solution |
|---|---|---|
| No display/Black screen |
|
|
| Touch not working |
|
|
| No audio |
|
|
10. Specifications
| Feature | Detail |
|---|---|
| Screen Size | 13.3 Inches |
| Resolution | 1920x1080 (FHD 1080p) |
| Display Panel | IPS |
| Viewing Angle | 178° |
| Touch Type | Capacitive, 10-point touch |
| Touch Panel Hardness | Up to 6H Toughened Glass |
| Display Interface | HDMI, VGA |
| Audio Output | Built-in Hi-Fi Speakers, 3.5mm Audio Jack |
| Power Input | 12V DC |
| Product Dimensions (LxWxH) | 7.09 x 3.94 x 3.54 inches (180 x 100 x 90 mm approx.) |
| Item Weight | 2.2 pounds (1 kg approx.) |
| Enclosure Material | Polycarbonate / ABS |

Image 10.1: Physical dimensions of the display.
11. Warranty and Support
Waveshare products are designed for reliability and performance. For warranty information, technical support, or further assistance, please visit the official Waveshare website or contact their customer service directly. Keep your purchase receipt as proof of purchase for warranty claims.
Official Waveshare Website: www.waveshare.com


