
WOLILIWO 3216552914
Contents
WOLILIWO 9-Inch Wired Video Intercom System User Manual
Model: 3216552914
1. Introduction
The WOLILIWO 9-inch Wired Video Intercom System provides enhanced security and convenience for your home, office, or apartment. This system features a wired connection for stability, a 9-inch touch screen monitor, and a durable metal camera doorbell. It supports clear dual-way communication, remote unlocking, monitoring, and night vision technology, ensuring you stay connected and protected.
2. Safety Information
Warning: Do not directly connect to 220V voltage, or it will be burned off.
Upon receiving the wired video doorbell, it is recommended to test it with two people before installation. It is not recommended to extend the power cord, as this may affect the doorbell's functional transmission.
3. What's in the Box
- Indoor Unit (Monitor)
- Outdoor Unit (Camera Doorbell)
- Power Supply Adapter
- 4-core/5-core Short Connection Wire
- Test Cable
- Screws

Figure 3.1: All components included in the product package.
4. Setup and Installation
The doorbell with camera and monitor is designed for easy installation. The doorbell camera and monitor are connected by a 4-core cable. For longer distances, extension cables may be required (Cat6 network cable is recommended).
4.1. Wiring Diagram
Refer to the diagram below for proper wiring connections between the camera, electronic lock (optional), and monitor.

Figure 4.1: Wiring connections for the intercom system components.
4.2. Wiring Requirements
Based on various distances, the wiring and wire diameter requirements are different. The table below lists the wire requirements for different distances:
| Distance | Wire Type |
|---|---|
| 1-30m | RVV4*0.30 |
| 31-50m | RVV4*0.50 |
| 51-100m | RVV4*1.0 |
Colors and functions of wiring terminals:
- Yellow---Video
- Blue---Audio
- Black---Ground wire
- Red---VCC
- Black-Intercom between the screens (Multiple screens can use)
4.3. Connection Steps
Follow these steps to connect the system components:
- Connect the 4-core cable from the outdoor unit (doorbell camera) to the indoor unit (monitor).
- Connect the power supply adapter to the indoor unit and then plug it into a power outlet.
- Ensure all connections are secure before powering on the system.
Video 4.1: Demonstrates the easy connection process of the video intercom system components.
5. Operating Instructions
5.1. Basic Functions
- Two-Way Intercom: When a visitor presses the doorbell button, the indoor monitor will ring and display the visitor's image. Press the intercom button on the monitor to speak with the visitor.
- Monitoring: Even without someone pressing the doorbell, you can monitor the situation outside by pressing the monitoring button on the indoor unit. The monitoring time is 90 seconds.
- Unlocking: If an electronic lock is connected, you can remotely unlock the door by pressing the unlock button on the indoor monitor.
- Night Vision: The outdoor camera features infrared night vision, enabling clear visibility of people even in low light conditions.
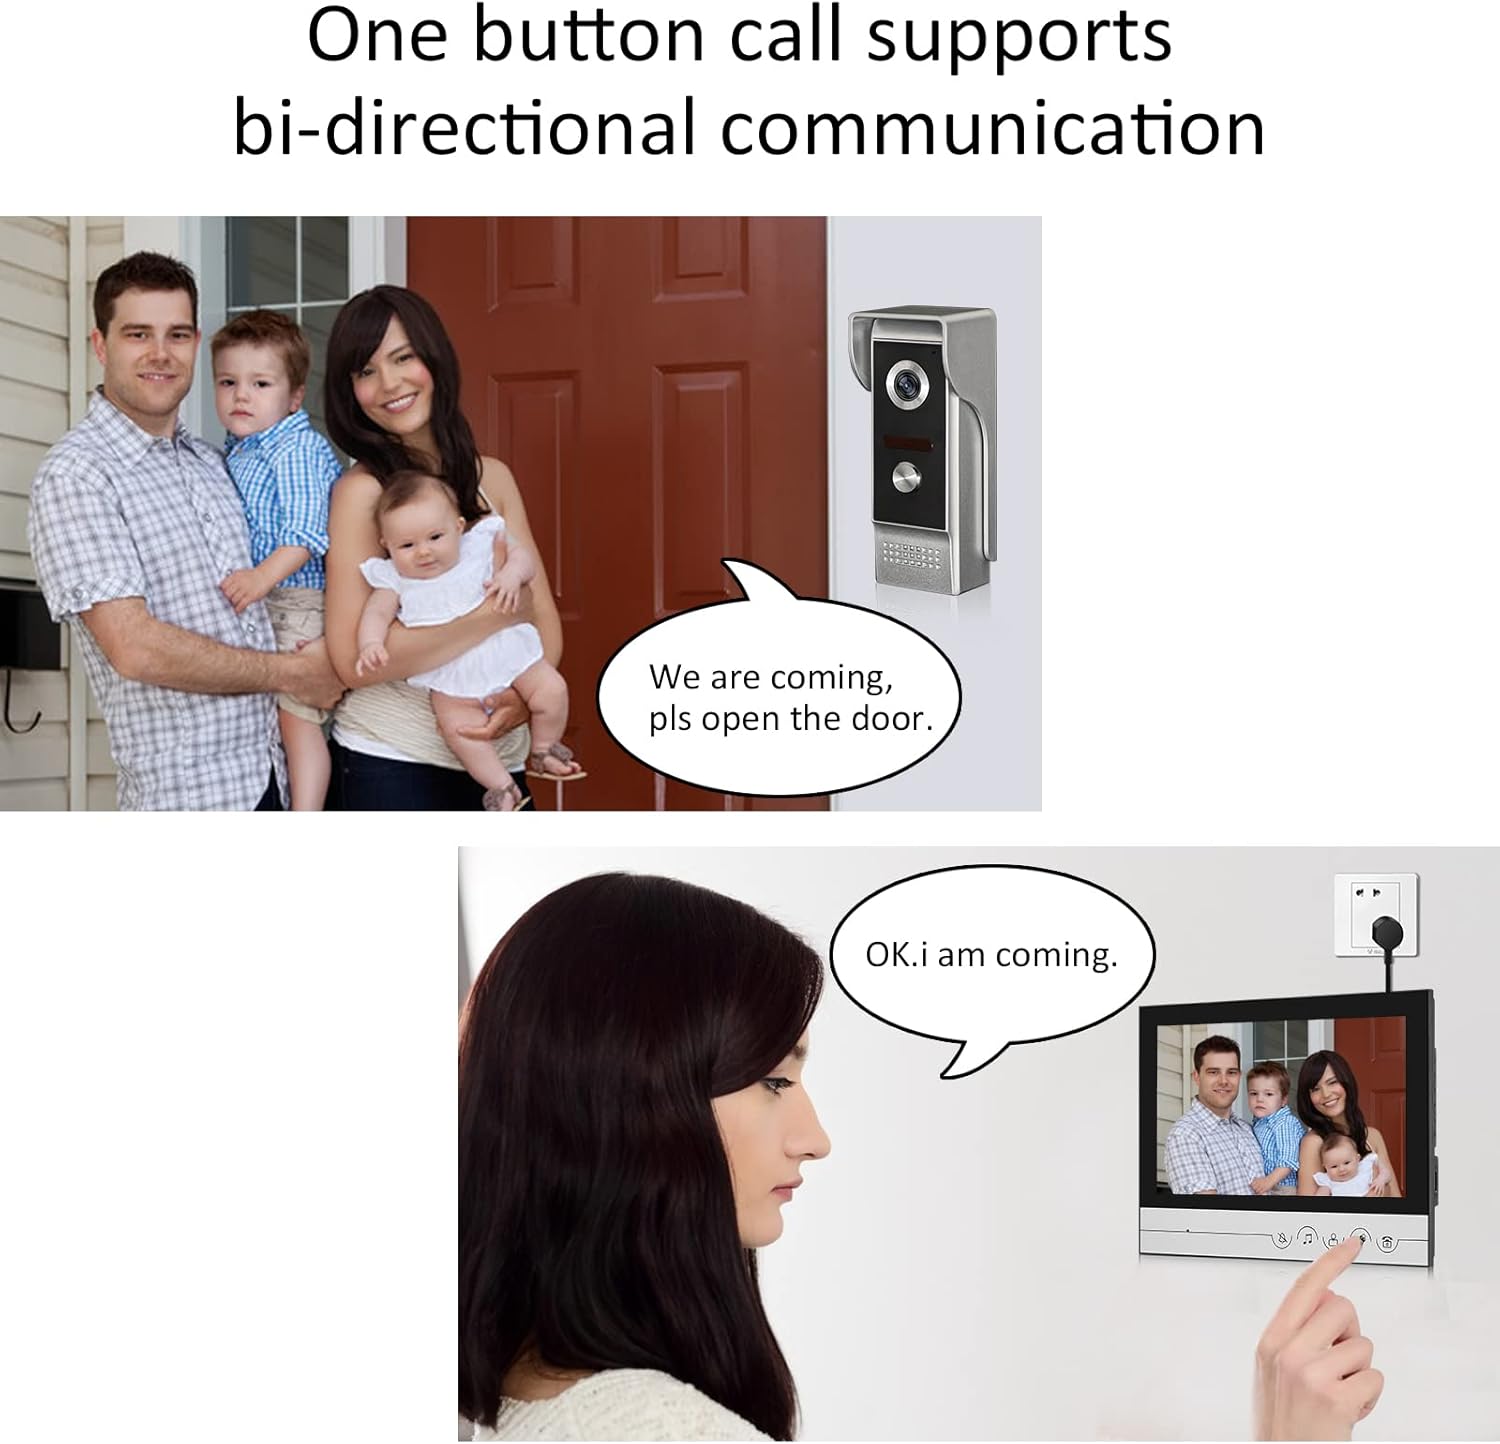
Figure 5.1: Illustrates the bi-directional communication feature of the system.
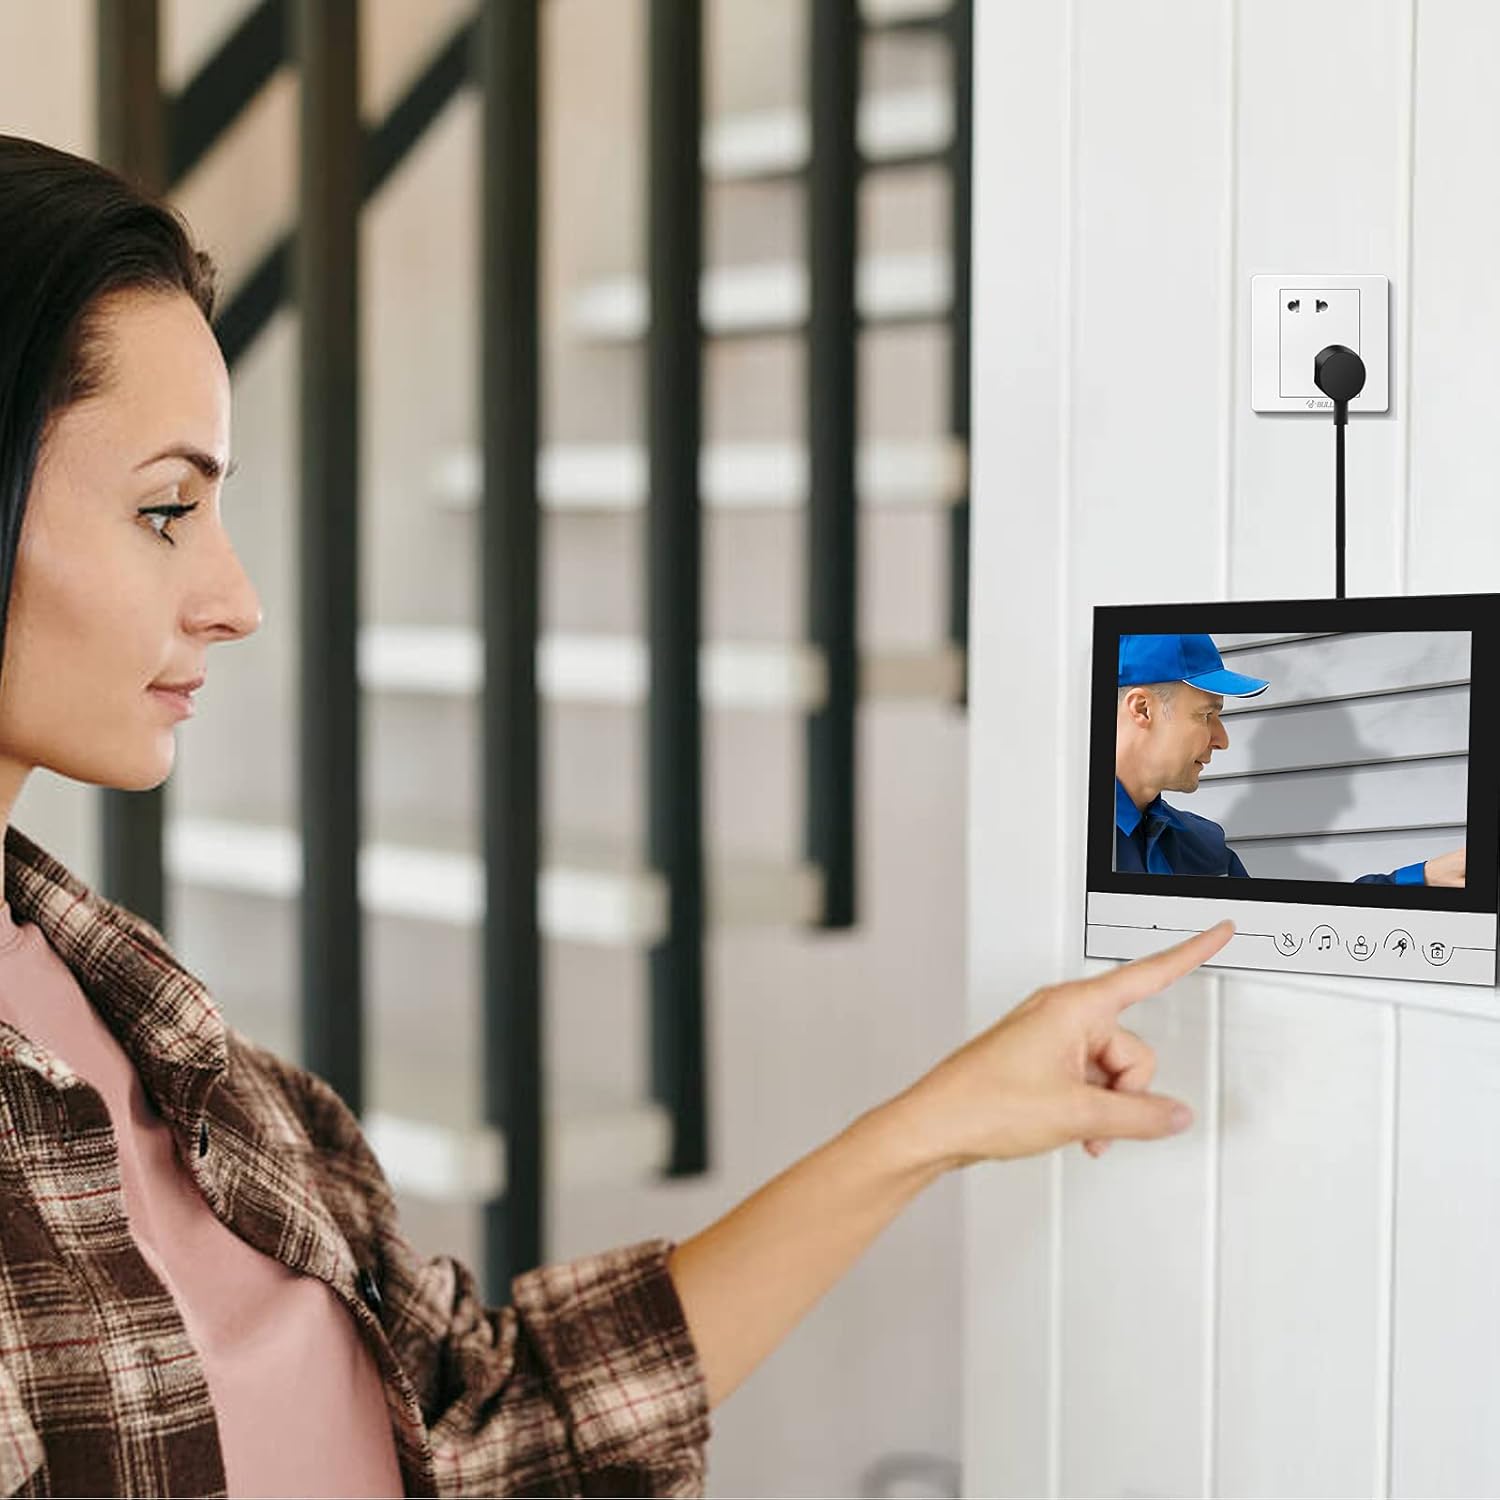
Figure 5.2: A user viewing the outdoor camera feed on the indoor monitor.

Figure 5.3: Overview of the indoor monitor's controls and dimensions.

Figure 5.4: Overview of the outdoor camera's features, including night vision and rainproof design.
5.2. Adjusting Settings
- Ringtone and Volume Adjustment: Press the music note button to switch ringtones. Long press the music note button to adjust the ring volume (Large, medium, and small levels are available).
- Screen Adjustments: The indoor monitor has controls for screen color adjustment, screen brightness adjustment, and intercom volume adjustment. These are typically located on the side or back of the monitor.
- Mute Function: Click the mute button to activate or deactivate the mute function.
Video 5.2: Demonstrates the unlock, mute, and volume adjustment functions of the indoor monitor.
6. Maintenance
- Keep the monitor and camera lenses clean using a soft, dry cloth. Avoid abrasive cleaners.
- Ensure all cables are securely connected and free from damage.
- The outdoor camera is rain and explosion-proof, with an aluminum alloy body and casing, requiring minimal weather-related maintenance.
- Regularly check for firmware updates from the manufacturer's website to ensure optimal performance and security.
7. Troubleshooting
| Problem | Possible Cause | Solution |
|---|---|---|
| No image on monitor | Loose cable connection, power issue, camera malfunction. | Check all wiring connections. Ensure power adapter is properly plugged in. Test camera if possible. |
| No audio during intercom | Volume too low, loose audio cable, microphone/speaker issue. | Adjust intercom volume. Check audio cable connection. |
| Doorbell not ringing | Mute function activated, doorbell button malfunction, wiring issue. | Deactivate mute function. Check doorbell button and wiring. |
| Poor image quality at night | Infrared sensor obstructed, insufficient ambient light. | Ensure camera lens is clean and unobstructed. Verify night vision is active. |
8. Specifications
| Feature | Detail |
|---|---|
| Brand | WOLILIWO |
| Model Number | 3216552914 |
| Screen Size | 9-Inch |
| Connectivity Technology | Wired |
| Power Source | 15V 1.2A power supply |
| Video Capture Resolution | 720p |
| Viewing Angle | 82 Degrees |
| Night Vision Range | 2 Feet |
| Material | Aluminum, Plastic |
| Installation Type | Wall mount |
| Operating Temperature | Up to 50 Degrees Celsius |
| Product Dimensions (L x W x H) | 9.06 x 6.5 x 2 inches |
| Item Weight | 2 Pounds |
| International Protection Rating | IP54 |
9. Warranty and Support
The WOLILIWO doorbell has a 1-year warranty from the date of purchase. For technical support, troubleshooting assistance, or warranty claims, please contact WOLILIWO customer service through the retailer where you purchased the product or visit the official WOLILIWO website for contact information.
For additional resources, you may refer to the official User Manual (PDF) available at: WOLILIWO User Manual PDF
Ask a question about this manual
Ask about setup, troubleshooting, compatibility, parts, safety, or missing instructions. Manuals+ will review the question and use this page’s manual context to help answer it.