1. Introduction
This manual provides comprehensive instructions for the setup, operation, maintenance, and troubleshooting of your JBL Professional 305PMkII 5-Inch Powered Studio Monitor. Designed for accurate audio reproduction in professional, project, and home studio environments, the 305PMkII delivers detailed sound, precise imaging, and a wide sweet spot. Please read this manual thoroughly to ensure optimal performance and longevity of your monitor.
2. Important Safety Information
- Power Source: Connect the monitor only to the specified power supply (100-240V, 50/60Hz).
- Ventilation: Ensure adequate ventilation around the monitor. Do not block ventilation openings.
- Moisture: Do not expose the monitor to rain or moisture. Avoid placing objects filled with liquids on the monitor.
- Heat: Keep the monitor away from heat sources such as radiators, heat registers, stoves, or other apparatus that produce heat.
- Cleaning: Disconnect the power cord before cleaning. Use a dry cloth for cleaning.
- Servicing: Do not attempt to service this product yourself. Refer all servicing to qualified service personnel.
3. Package Contents
The JBL Professional 305PMkII package includes the following items:
- JBL 305P MkII Studio Monitor (x1)
- Power Cord (x1)
- Quick Setup Guide (x1)
- Peel-off Rubber Pads (x4)

Image: Front view of the JBL 305PMkII Studio Monitor.
4. Setup
4.1. Placement
Proper placement of your JBL 305PMkII monitors is crucial for accurate sound reproduction. Position the monitors to form an equilateral triangle with your listening position, with the tweeters at ear level. The Image Control Waveguide ensures a wide sweet spot, but optimal positioning enhances detail and stereo imaging.
- Place monitors on a stable surface, ideally on isolation pads (included) to minimize vibrations.
- Maintain a distance from walls and corners to reduce bass buildup. If placement near boundaries is unavoidable, use the Boundary EQ switch on the rear panel.

Image: Front and side view of the JBL 305PMkII, illustrating its compact design suitable for various studio setups.
4.2. Connections
The 305PMkII offers flexible connectivity options for integration into your audio setup.
- Power Connection: Connect the supplied power cord to the AC input on the rear panel of the monitor and then to a suitable power outlet.
- Audio Input:
- Balanced XLR Input: For professional audio interfaces and mixers.
- Balanced 1/4" TRS Input: Also for professional audio equipment.

Image: Rear panel of the JBL 305PMkII, showing the balanced XLR and 1/4" TRS inputs, power AC inlet, and control switches.
Video: An official JBL Professional video providing an overview of the studio monitor, highlighting its features and design.
5. Operating Instructions
5.1. Power On/Off
Locate the power switch on the rear panel of the monitor. Flip the switch to the 'ON' position to power on the monitor. Flip it to 'OFF' to power down.
5.2. Adjusting Controls
The rear panel features several controls to fine-tune the monitor's response to your environment and preferences.
- Input Sensitivity Switch (+4dBu / -10dBV): This switch adjusts the input sensitivity to match the output level of your source device. Set to +4dBu for professional line-level equipment or -10dBV for consumer-level devices.
- Volume Control: Use the rotary knob to adjust the overall output volume of the monitor.
- Boundary EQ Switch: This switch compensates for bass response when monitors are placed near walls or in corners. Select the appropriate setting (-3dB, -1.5dB, 0dB) to reduce excessive low-frequency buildup.
- HF Trim Switch: Adjusts the high-frequency output to tailor the sound to your room acoustics or personal preference. Settings include +2dB, 0dB, and -2dB.
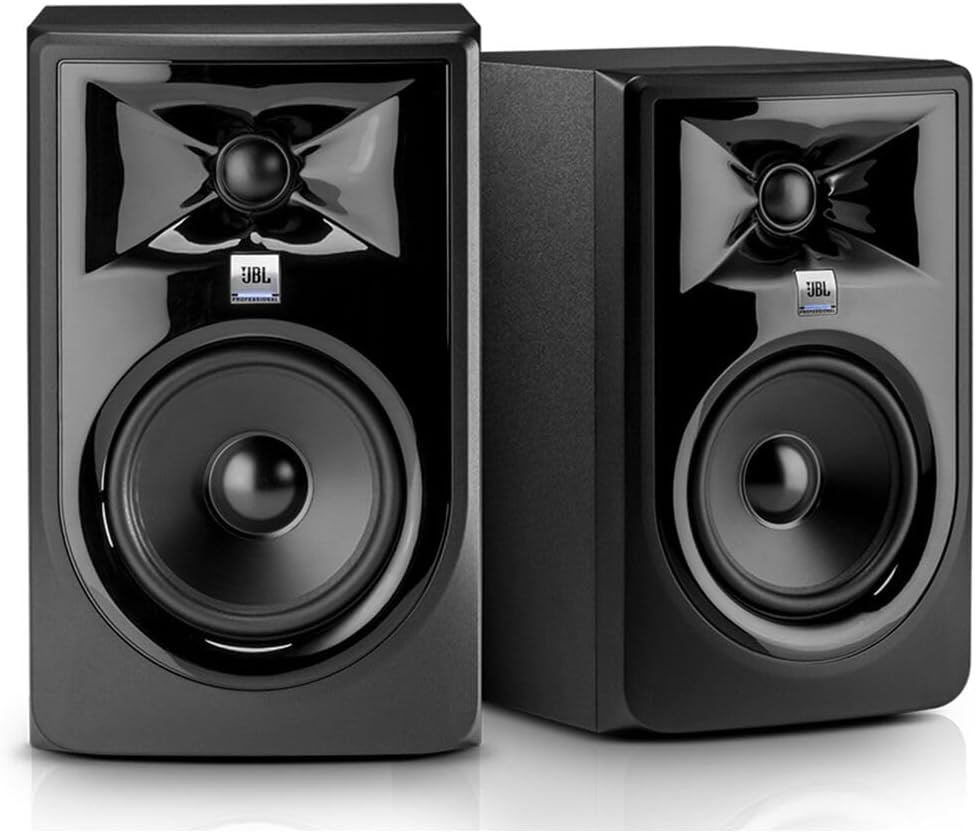
Image: Detailed view of the rear panel controls, including Input Sensitivity, Volume, Boundary EQ, and HF Trim switches.
Video: A seller-provided video demonstrating the features and controls of the JBL 305PMkII, including input options and EQ adjustments.
6. Maintenance
- Cleaning: Use a soft, dry cloth to clean the exterior of the monitor. Avoid using abrasive cleaners, solvents, or waxes.
- Dust: Regularly dust the speaker cones and tweeter with a soft brush or compressed air to prevent buildup.
- Storage: If storing the monitors for an extended period, ensure they are in a dry, temperature-controlled environment and protected from dust.
7. Troubleshooting
| Problem | Possible Cause | Solution |
|---|---|---|
| No Sound |
|
|
| Distorted Sound |
|
|
| Excessive Bass |
|
|
| Harsh High Frequencies |
|
|
8. Specifications
| Feature | Detail |
|---|---|
| Model Name | 305P MkII |
| Speaker Type | Monitor |
| Woofer Diameter | 5 Inches |
| Tweeter Diameter | 1 Inch |
| Frequency Response | 49 Hz - 20 kHz |
| Amplifier Power | 82 Watts (41W LF / 41W HF) |
| Max SPL | 108 dB |
| Input Sensitivity | +4dBu / -10dBV selectable |
| Inputs | Balanced XLR, Balanced 1/4" TRS |
| Dimensions (H x W x D) | 11.75" x 7.3" x 9.9" (298mm x 185mm x 251mm) |
| Item Weight | 10.12 Pounds (4.59 kg) |
| Power Source | Corded Electric (100-240V, 50/60Hz) |
| Material | Acrylonitrile Butadiene Styrene (ABS) |
| Warranty Type | 5 years |

Image: Official specifications sheet for the JBL 305PMkII, detailing technical data and features.
9. Warranty and Support
The JBL Professional 305PMkII comes with a 5-year warranty. For warranty claims, technical support, or additional product information, please visit the official JBL Professional website or contact their customer service. Keep your purchase receipt as proof of purchase.
For further assistance, please refer to the official JBL Professional website: www.jblpro.com


