
NETGEAR EX3110-100NAS
Contents
NETGEAR EX3110-100NAS AC750 WiFi Range Extender User Manual
Model: EX3110-100NAS
1. Introduction
The NETGEAR EX3110-100NAS AC750 WiFi Range Extender is designed to expand the coverage of your existing WiFi network, eliminating dead zones and providing reliable connectivity throughout your home or office. This device supports the IEEE 802.11 AC data link protocol, offering enhanced speed and range for your wireless devices. It operates as a dual-band extender, supporting both 2.4 GHz and 5 GHz frequencies.
This manual provides comprehensive instructions for setting up, operating, maintaining, and troubleshooting your AC750 WiFi Range Extender to ensure optimal performance.
2. What's in the Box
Upon opening the package, verify that all components are present:
- AC750 WiFi Range Extender (Model: EX3110-100NAS)
If any items are missing or damaged, please contact NETGEAR customer support.
3. Product Overview
Familiarize yourself with the physical components and indicators of your NETGEAR EX3110-100NAS AC750 WiFi Range Extender.

Figure 3.1: Front View with LED Indicators
This image displays the front of the NETGEAR EX3110-100NAS AC750 WiFi Range Extender. Visible are the NETGEAR logo at the bottom, and four LED indicators arranged vertically: Power, Router, Device, and WPS. These LEDs provide status information during operation and setup.
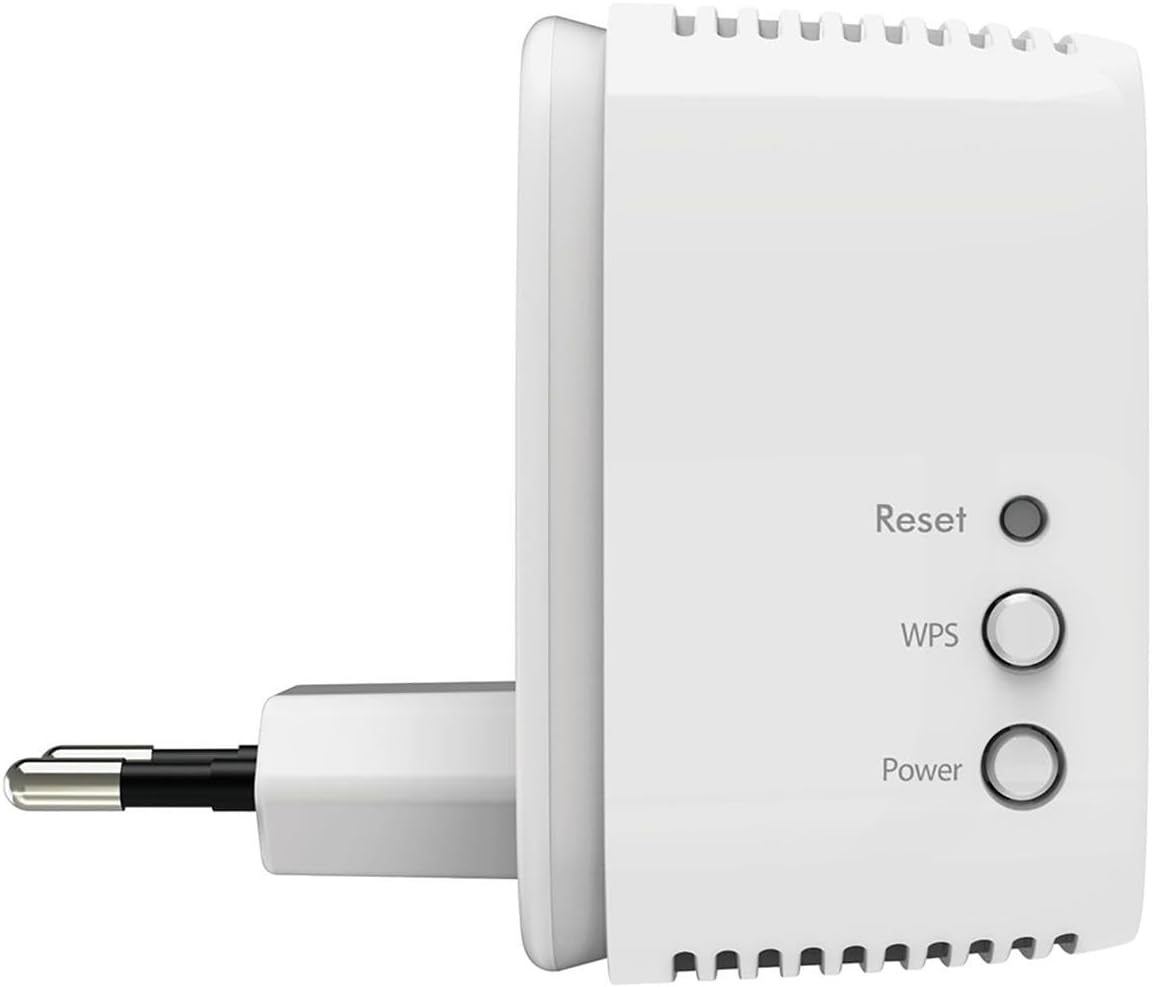
Figure 3.2: Side View with Buttons
This image shows the side profile of the NETGEAR EX3110-100NAS AC750 WiFi Range Extender. On the side, three circular buttons are visible: Reset, WPS, and Power. These buttons are used for device control, including factory reset, initiating WPS connection, and power cycling.
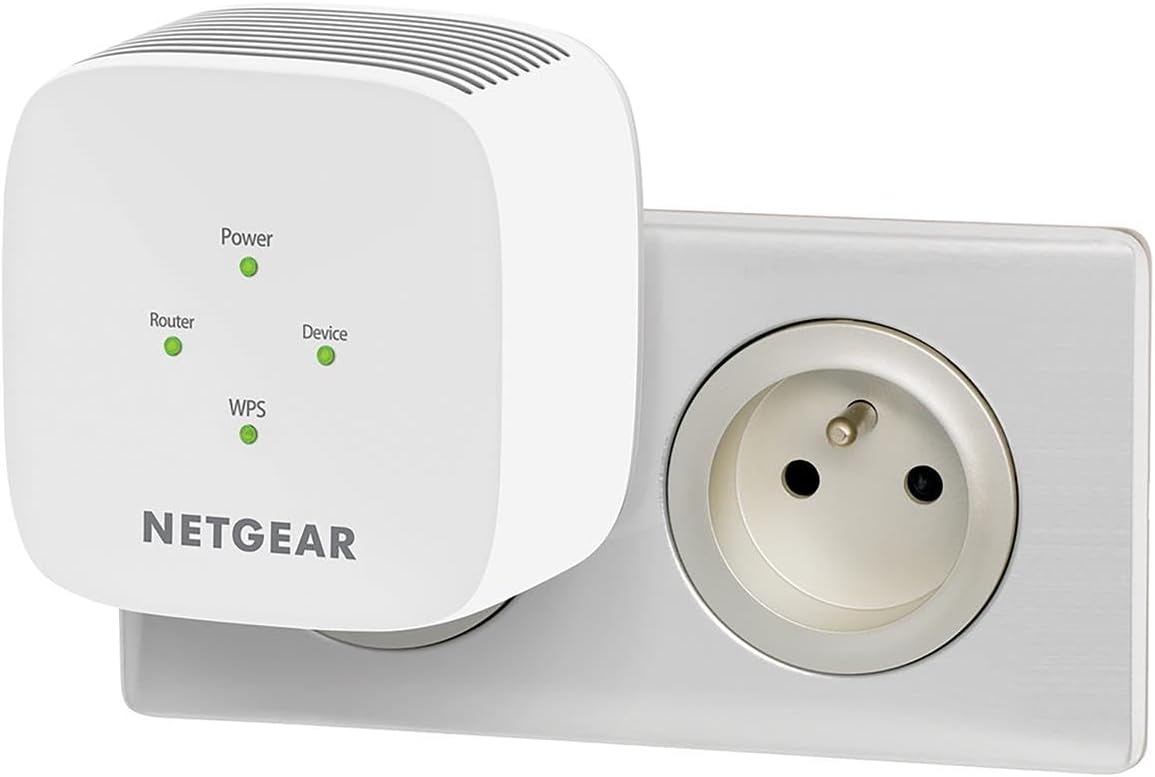
Figure 3.3: Extender Plugged into Wall Outlet
This image illustrates the NETGEAR EX3110-100NAS AC750 WiFi Range Extender plugged directly into a standard wall power outlet. This demonstrates the compact, wall-plug design of the device, indicating it does not require external power adapters or cables for power.
LED Indicators:
- Power LED: Indicates the power status of the extender.
- Router LED: Indicates the connection status between the extender and your router.
- Device LED: Indicates the connection status of devices to the extender.
- WPS LED: Indicates the status of the Wi-Fi Protected Setup (WPS) connection.
Buttons:
- Reset Button: Used to restore the extender to factory default settings.
- WPS Button: Initiates a WPS connection with your router for easy setup.
- Power Button: Turns the extender on or off.
4. Setup Instructions
There are two primary methods to set up your NETGEAR AC750 WiFi Range Extender: using Wi-Fi Protected Setup (WPS) or through a web browser.
4.1. Setup using WPS (Recommended for quick setup)
- Power On: Plug the extender into an electrical outlet near your WiFi router. Wait for the Power LED on the extender to light up solid green.
- Activate WPS on Router: Within two minutes, press the WPS button on your WiFi router. Refer to your router's manual for the exact location of its WPS button.
- Activate WPS on Extender: Immediately after pressing the WPS button on your router, press the WPS button on the side of your NETGEAR extender. The WPS LED on the extender should blink.
- Verify Connection: Wait for the Router LED and Device LED on the extender to light up solid green. This indicates a successful connection to your router and readiness to extend the network.
- Relocate Extender: Unplug the extender and move it to a new location, approximately halfway between your router and the area with poor WiFi signal. Plug it into an electrical outlet. Ensure the Router LED remains solid green after relocation to confirm a good connection to the router.
4.2. Setup using a Web Browser
- Power On: Plug the extender into an electrical outlet near your WiFi router. Wait for the Power LED on the extender to light up solid green.
- Connect to Extender: On a computer or mobile device, connect to the extender's WiFi network. The network name (SSID) will typically be "NETGEAR_EXT" or "NETGEAR_EXT_5G". No password is required for the initial connection.
- Access Setup Page: Open a web browser (e.g., Chrome, Firefox, Edge) and type http://www.mywifiext.net or http://192.168.1.250 into the address bar.
- Follow On-Screen Instructions: The NETGEAR Genie setup page will appear. Follow the prompts to create an account, select your existing WiFi network(s) (2.4 GHz and 5 GHz), and enter your router's WiFi password.
- Configure Extended Network: You will be prompted to create new network names (SSIDs) for your extended networks. It is recommended to use a distinct name (e.g., "YourNetworkName_EXT") to differentiate it from your main network.
- Complete Setup: Once configuration is complete, the extender will restart. The Router LED and Device LED should light up solid green.
- Relocate Extender: Unplug the extender and move it to a new location, approximately halfway between your router and the area with poor WiFi signal. Plug it into an electrical outlet. Ensure the Router LED remains solid green after relocation to confirm a good connection to the router.
5. Operating Your Extender
Once your extender is set up, it will broadcast extended WiFi signals. Devices can connect to these extended networks just as they would to any other WiFi network.
- Connecting Devices: On your WiFi-enabled device (smartphone, tablet, laptop), scan for available WiFi networks. Select the extended network SSID you created during setup (e.g., "YourNetworkName_EXT") and enter the password.
- Optimal Placement: The location of your extender significantly impacts its performance. Aim for a spot where the Router LED is solid green, indicating a strong connection to your main router. Avoid placing the extender near large metal objects, concrete walls, or other electronic devices that may cause interference.
- Dual-Band Operation: The AC750 extender supports both 2.4 GHz and 5 GHz bands. The 2.4 GHz band offers wider coverage, while the 5 GHz band provides faster speeds over shorter distances. Your devices will automatically connect to the most suitable band, or you can manually select if separate SSIDs were created.
6. Maintenance
Regular maintenance helps ensure the longevity and optimal performance of your extender.
- Firmware Updates: Periodically check the NETGEAR support website for firmware updates. Firmware updates can improve performance, add new features, and fix bugs. You can usually update firmware through the extender's web interface.
- Cleaning: Keep the extender clean and free from dust. Use a soft, dry cloth to wipe the exterior. Do not use liquid cleaners or aerosols.
- Restarting: If you experience connectivity issues, try restarting the extender by unplugging it from the power outlet for 10 seconds and then plugging it back in.
- Factory Reset: If persistent issues occur, you may need to perform a factory reset. Use a paperclip to press and hold the Reset button for about 5-10 seconds until the LEDs flash. This will erase all custom settings, and you will need to set up the extender again.
7. Troubleshooting
This section addresses common issues you might encounter with your NETGEAR AC750 WiFi Range Extender.
7.1. No Power / Power LED Off
- Ensure the extender is securely plugged into a working electrical outlet.
- Try plugging the extender into a different outlet.
7.2. Router LED is Off or Amber
- The extender is too far from your router. Move the extender closer to the router until the Router LED turns solid green.
- Ensure your router's WiFi is enabled and broadcasting.
- If using WPS, ensure you pressed the WPS button on both the router and extender within the two-minute window.
- If using browser setup, verify you entered the correct WiFi password for your router.
7.3. Slow Speeds or Intermittent Connection
- Extender Placement: The extender might be too far from the router or too far from the devices. Experiment with different locations to find an optimal balance where the Router LED is solid green and devices have good signal.
- Interference: Other electronic devices (cordless phones, microwaves, Bluetooth devices) or physical obstructions (thick walls, metal objects) can cause interference. Try moving the extender away from such sources.
- Network Congestion: Too many devices on the network or high bandwidth activities (streaming, gaming) can slow down speeds.
- Router Performance: Ensure your main router is functioning optimally and providing good speeds.
- Firmware: Ensure your extender's firmware is up to date.
7.4. Cannot Access Setup Page (mywifiext.net)
- Ensure your device is connected to the extender's default WiFi network (e.g., "NETGEAR_EXT").
- Try clearing your browser's cache and cookies, or use a different web browser.
- Try using the IP address http://192.168.1.250 instead of the domain name.
- Temporarily disable any VPN or proxy settings on your device.
- Perform a factory reset on the extender and try the setup process again.
8. Specifications
| Feature | Detail |
|---|---|
| Brand | NETGEAR |
| Model Number | EX3110-100NAS |
| Wireless Type | 802.11ac |
| Data Transfer Rate | 750 Megabits Per Second |
| Frequency Band Class | Dual-Band (2.4 GHz & 5 GHz) |
| Item Weight | 5.6 ounces |
| Product Dimensions (LxWxH) | 6 x 4.5 x 4 inches |
| Color | White |
| Voltage | 100-240 Volts |
| First Available Date | November 16, 2017 |
9. Warranty and Support
NETGEAR products typically come with a limited hardware warranty. For specific warranty terms and conditions applicable to your EX3110-100NAS, please refer to the warranty card included with your product or visit the official NETGEAR support website.
For technical support, product registration, or to access the latest drivers and firmware, please visit the official NETGEAR support portal:
You may also find helpful resources and community forums on the NETGEAR website.
Ask a question about this manual
Ask about setup, troubleshooting, compatibility, parts, safety, or missing instructions. Manuals+ will review the question and use this page’s manual context to help answer it.