
1. Product Overview
The Weller WE1010NA Digital Soldering Station is a high-performance tool designed for both vocational and professional soldering applications. This 70-watt station offers rapid heat-up times and precise temperature control, ensuring efficient and consistent soldering results. It is an ideal solution for various electronic repair, assembly, and hobbyist projects.

Figure 1: The complete Weller WE1010NA Digital Soldering Station, including the main unit, soldering iron, and safety rest with cleaning sponge.

Figure 2: An overview of the Weller Digital Soldering Station, emphasizing its capabilities such as reaching up to 900°F, having a replaceable heating element, variable power control, and a quality, lightweight pencil iron.
2. Safety Information
WARNING: This product contains chemicals known to the State of California to cause cancer and birth defects or other reproductive harm. Always ensure proper ventilation when operating the soldering station. Avoid direct contact with hot surfaces and molten solder. Use appropriate personal protective equipment, including safety glasses and heat-resistant gloves.
Always place the soldering iron in its safety rest when not in use. Do not leave the soldering station unattended while powered on. Disconnect from power supply before cleaning or maintenance.
3. Setup Instructions
Before operating your Weller WE1010NA Digital Soldering Station, ensure all components are present and properly connected.
3.1 Unpacking and Component Check
Verify that your package includes the following items:
- One (1) WE1 Station 120V
- One (1) WEP70 Tip Retainer
- One (1) WEP70 Iron
- PH70 Safety Rest with Sponge
- One (1) ETA Tip 0.062inch/1.6 millimeter Screwdriver
3.2 Connecting the Soldering Iron
- Connect the WEP70 soldering iron cable to the designated port on the front of the WE1 station. Ensure the connection is secure.
- Place the PH70 safety rest on a stable, heat-resistant surface near your workspace.
- Insert the WEP70 iron into the spring holder of the PH70 safety rest when not in active use.

Figure 3: Front view of the WE1010NA station, showing the connection port for the soldering iron.
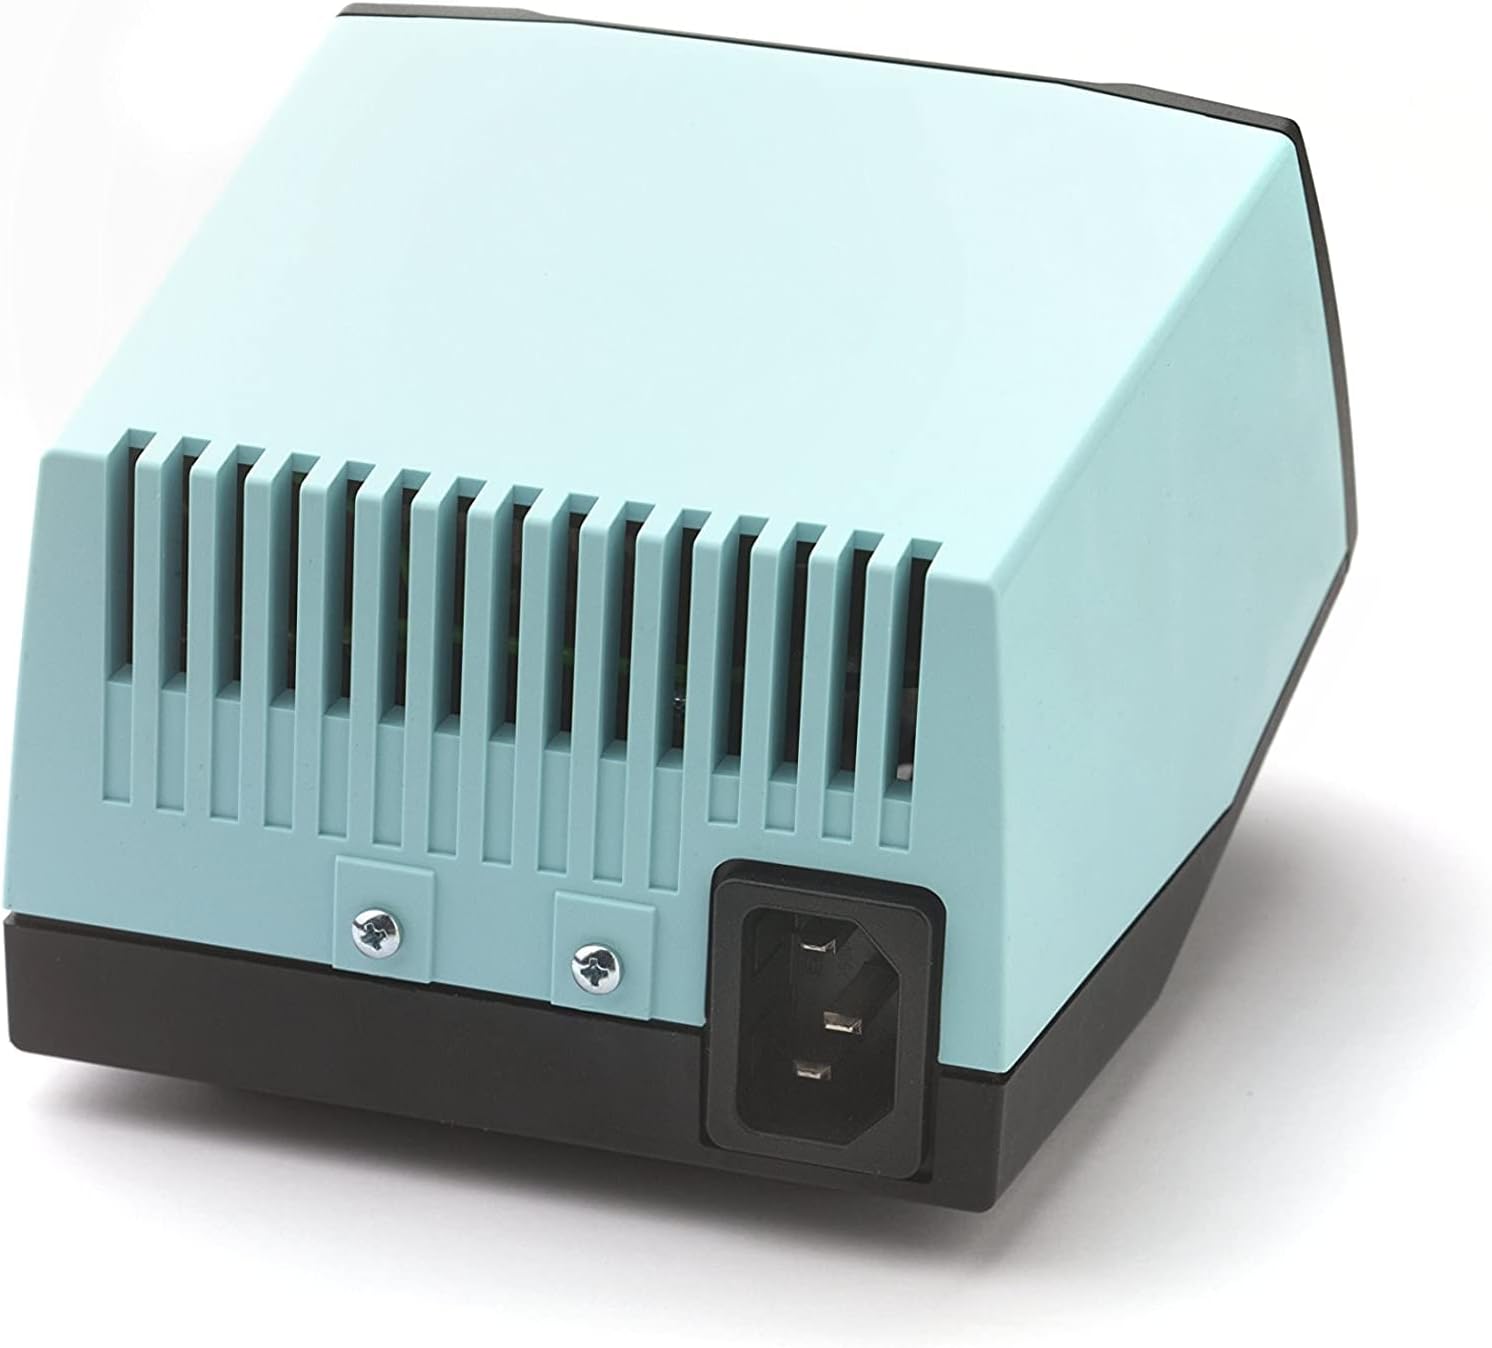
Figure 4: Rear view of the WE1010NA station, showing the power input.
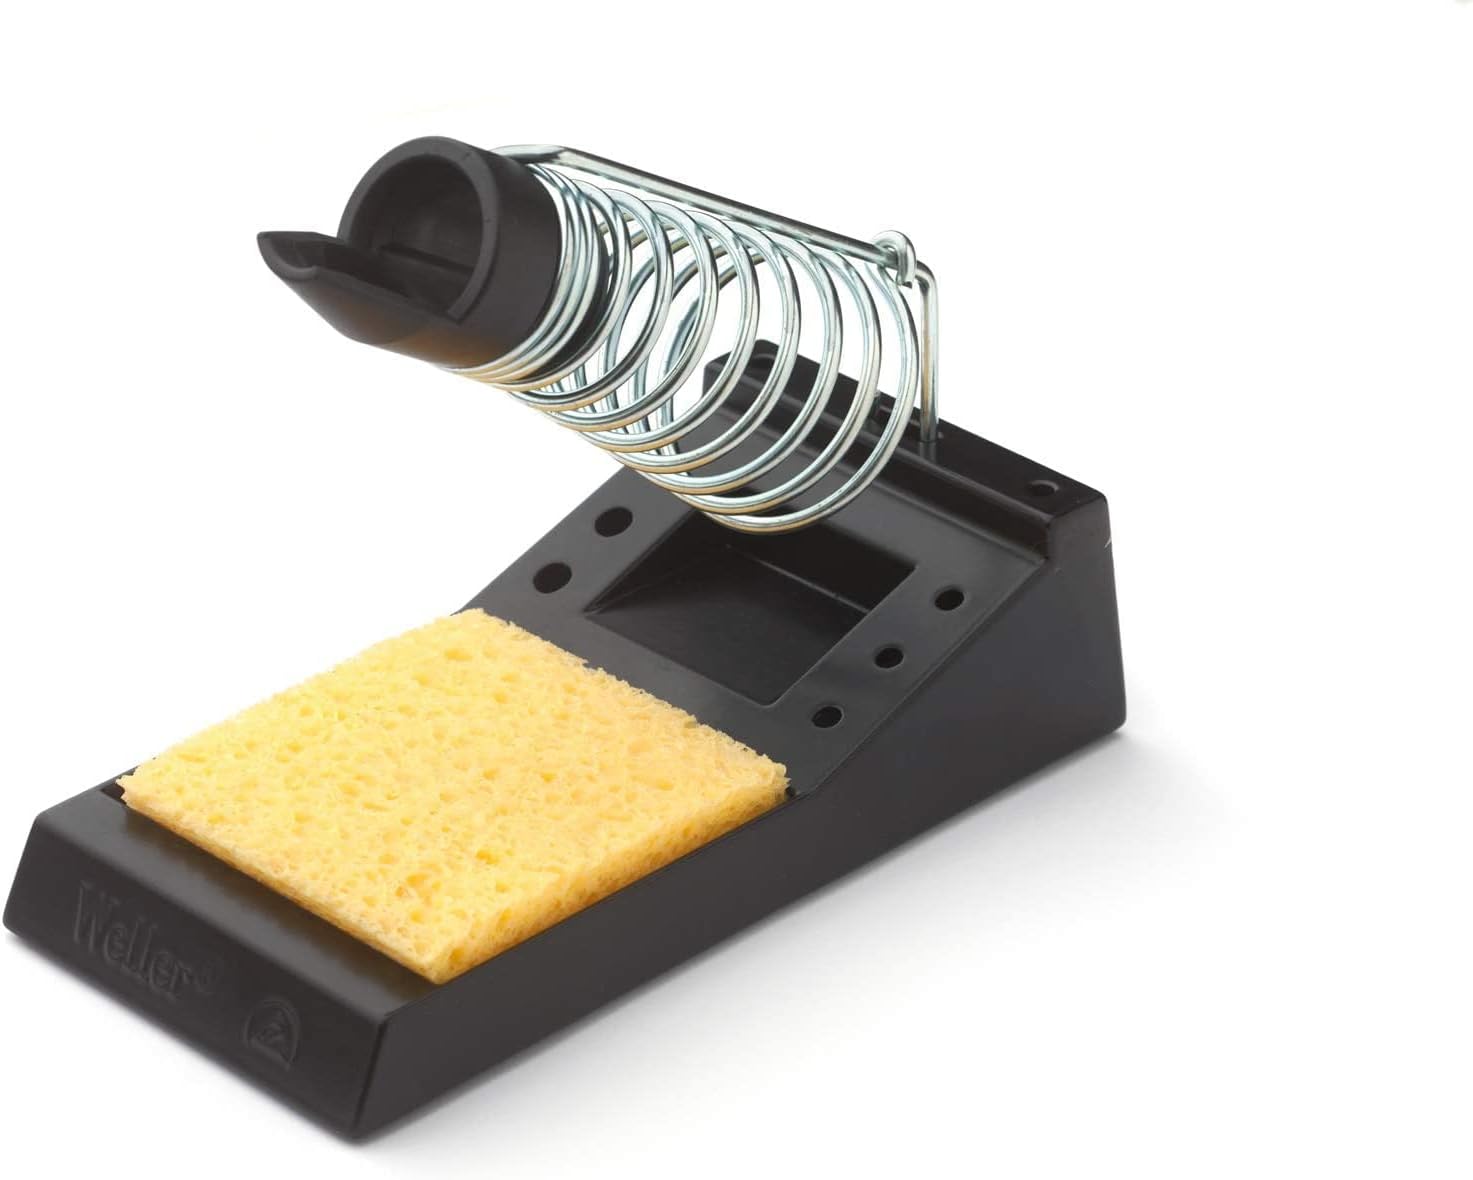
Figure 5: The PH70 safety rest with its integrated cleaning sponge.
4. Operating Instructions
The Weller WE1010NA is designed for user-friendly operation with precise temperature control.
4.1 Powering On and Temperature Adjustment
- Plug the power cord into a suitable 120V AC outlet.
- Flip the power switch on the front panel to the 'ON' position. The LCD display will illuminate.
- Use the rotary knob to set your desired soldering temperature. The station features temperature stability of +/- 4°F (2°C) and a temperature lock function to protect tips and components, ensuring consistent, high-quality results.
- Allow the iron to heat up to the set temperature. The digital display will show the current temperature.
4.2 Soldering Techniques
The WEP70 iron is easy to handle, featuring a heat-resistant silicon cable for safe operation. Apply solder to the joint, allowing the heat from the iron to melt the solder and create a strong connection.

Figure 6: Soldering wires with the Weller WE1010NA station.

Figure 7: Precision soldering on a small circuit board.

Figure 8: Soldering on a larger, more complex circuit board.
4.3 Advanced Features
The WE1010NA station includes advanced features such as intuitive navigation, a Standby mode, and auto setback to conserve energy. Password-protection is also available to preserve settings and prevent unauthorized changes.
5. Maintenance
Regular maintenance ensures optimal performance and longevity of your soldering station.
5.1 Tip Cleaning and Replacement
- Always clean the soldering tip regularly using the included sponge (dampened with distilled water) or a brass wool cleaner.
- The WEP70 iron features a replaceable heating element and interchangeable tips. To replace a tip, ensure the iron is cool and powered off. Unscrew the tip retainer, remove the old tip, insert the new tip, and re-secure the retainer.

Figure 9: Available ET soldering tip types and their specifications.
5.2 General Care
- Keep the station and iron clean and free from solder debris.
- Store the unit in a dry, dust-free environment when not in use.
6. Troubleshooting
This section provides solutions to common issues you might encounter with your Weller WE1010NA Digital Soldering Station.
6.1 Iron Not Heating Up
- Ensure the power switch is in the 'ON' position and the station is plugged into a live outlet.
- Check that the soldering iron cable is securely connected to the station.
- Verify the temperature setting on the display. Increase if necessary.
- If the issue persists, the heating element or tip may need replacement. Refer to Section 5.1.
6.2 Inconsistent Temperature
- Ensure the tip is clean and properly seated. A dirty or loose tip can affect heat transfer.
- Check for any error codes on the display. Consult the full user manual for specific code meanings.
- Avoid placing the iron in drafts or near cooling fans during operation.
7. Technical Specifications
| Feature | Specification |
|---|---|
| Model Number | WE1010NA |
| Wattage | 70 watts |
| Voltage | 120 Volts |
| Display Type | LCD |
| Number of Channels | 1 |
| Temperature Stability | +/- 4°F (2°C) |
| Upper Temperature Rating | 400°F (approx. 204°C) |
| Item Weight | 5.51 pounds |
| Product Dimensions | 5.91"D x 4.92"W x 3.94"H |
| Material | Plastic |
| Power Source | AC/DC |
| Usage | Professional |
8. Warranty & Support
8.1 Warranty Information
The Weller WE1010NA Digital Soldering Station comes with a 1-year warranty from the date of purchase. This warranty covers manufacturing defects and ensures the product meets Weller's high-quality standards. Please retain your proof of purchase for warranty claims.
8.2 Additional Resources
For a more detailed user guide and further support, please refer to the official PDF manual available online:
You can also visit the official Weller Store for product information and accessories:


