1. Introduction
This manual provides essential information for the safe and efficient operation of your KEMOT URZ3420 Prosolar-3500 Solar Inverter. Please read this manual thoroughly before installation and use, and retain it for future reference. This inverter is designed to convert DC power from solar panels and batteries into AC power for various applications, featuring a pure sine wave output and MPPT technology for optimal solar charging.
2. Safety Instructions
Always observe the following safety precautions to prevent injury and damage to the inverter or connected equipment:
- Installation must be performed by qualified personnel in accordance with all local electrical codes and regulations.
- Do not attempt to open or disassemble the inverter. There are no user-serviceable parts inside.
- Ensure the inverter is installed in a well-ventilated area, away from flammable materials, moisture, and direct sunlight.
- Verify that all connections are secure and correctly polarized before applying power.
- Use appropriate circuit breakers and fuses for all DC and AC connections.
- Do not connect the inverter to a public utility grid without proper anti-islanding protection and approval.
- Always disconnect all power sources (solar, battery, AC input) before performing any maintenance or cleaning.
- This device contains high voltage. Exercise extreme caution.
3. Product Overview
The KEMOT URZ3420 Prosolar-3500 is a 3500W pure sine wave solar inverter with an integrated MPPT solar charger. It is designed for reliable power conversion from a 48V DC battery bank and solar panels to 230V AC. The unit features a clear display for monitoring operational status and an ON/OFF switch for control.
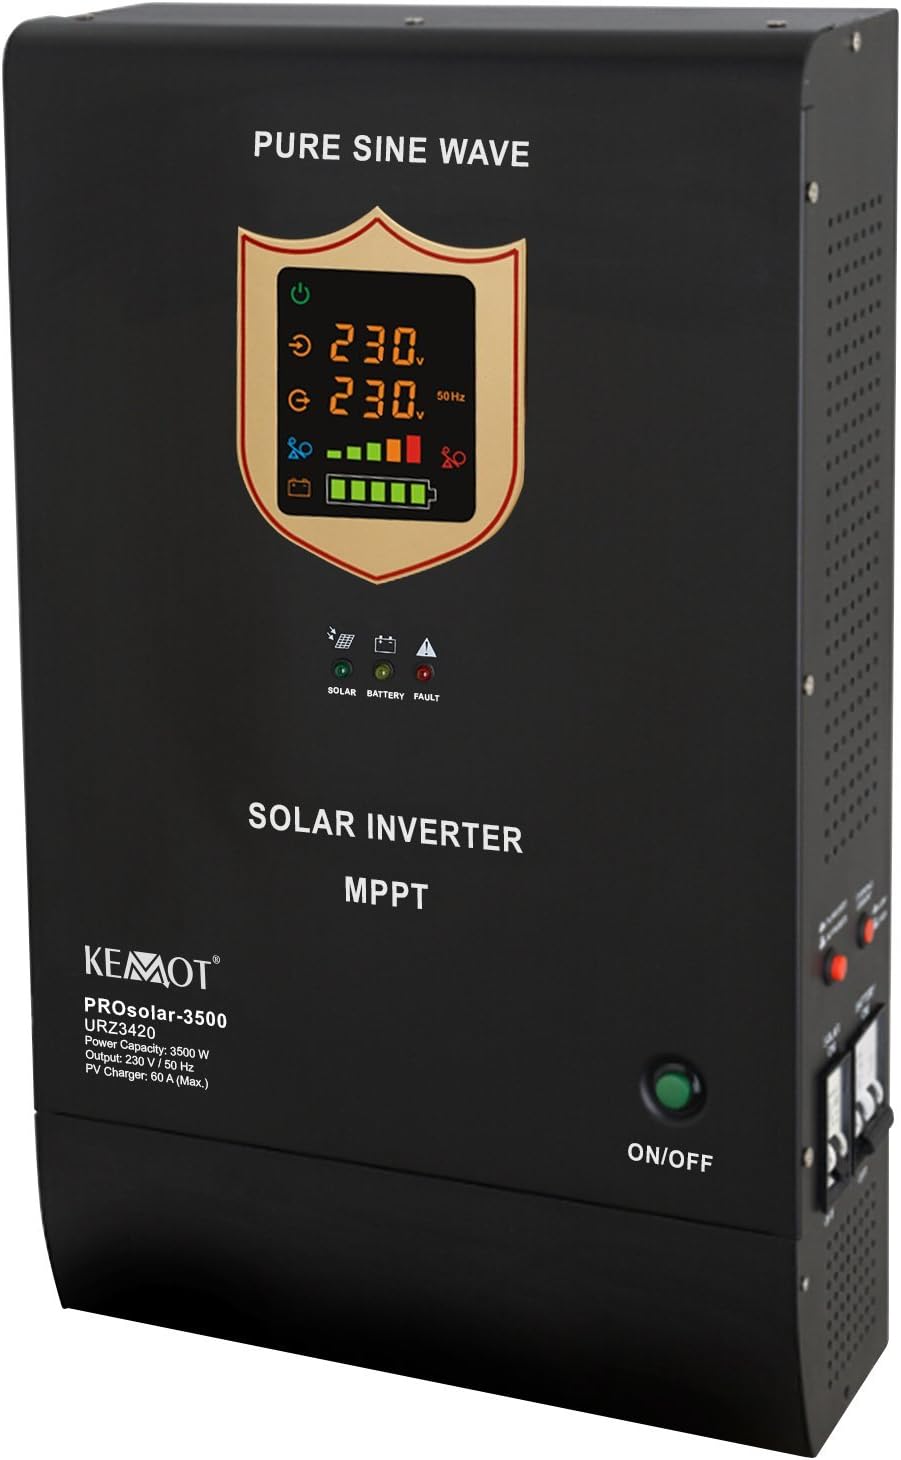
Figure 3.1: Front view of the KEMOT URZ3420 Prosolar-3500 Solar Inverter, showing the digital display, status indicators, and power switch.
Key Features:
- Model URZ3420 - 3500 VA / 3500W Rated Output
- Converts DC 48V to AC 230V
- PV mode input voltage range: 60V DC - 100V DC
- AC mode input voltage range: 200V AC - 275V AC
- Two selectable function modes: PV priority (solar supply) or AC priority (utility power supply)
- Integrated protection against overcharging and short circuit
- Maximum PV charging current: 60A
4. Setup
4.1 Unpacking and Inspection
Upon receiving the inverter, carefully unpack it and inspect for any shipping damage. Ensure all components listed in the packaging are present. If any damage or missing parts are found, contact your supplier immediately.
4.2 Mounting
Mount the inverter vertically on a sturdy, non-flammable surface. Ensure adequate clearance around the unit for proper ventilation (at least 20 cm on all sides). Avoid mounting in direct sunlight, near heat sources, or in areas with excessive dust or humidity. The ambient operating temperature range is 0-40°C.
4.3 Electrical Connections
All electrical connections must be made by a qualified electrician. Follow these general guidelines:
- Battery Connection: Connect the 48V DC battery bank to the designated battery terminals. Ensure correct polarity (+ to + and - to -). Use appropriately sized cables and fuses.
- PV Input Connection: Connect the solar panel array to the PV input terminals. Verify that the PV input voltage (60V DC - 100V DC) and current do not exceed the inverter's specifications (Max. 60A charging current). Observe correct polarity.
- AC Input Connection (Utility/Generator): Connect the AC utility grid or generator to the AC input terminals. The acceptable input voltage range is 200V AC - 275V AC.
- AC Output Connection (Load): Connect your AC loads to the AC output terminals. Ensure the total load does not exceed the inverter's rated output of 3500W.
- Grounding: Properly ground the inverter chassis to an earth ground.
After all connections are made, double-check them for tightness and correctness before proceeding to operation.
5. Operating Instructions
5.1 Turning On/Off
- To Turn On: Press the green ON/OFF button located on the front panel. The display will illuminate, and the inverter will begin its startup sequence.
- To Turn Off: Press and hold the green ON/OFF button until the display turns off. Ensure all loads are disconnected before shutting down the inverter.
5.2 Display and Indicators
The front panel features a digital display and LED indicators to show the inverter's status:
- Digital Display: Shows real-time information such as input voltage (230V), output voltage (230V), output frequency (50Hz), battery charge level, and load percentage.
- SOLAR LED: Indicates the status of the solar charging. Lit when solar power is being utilized.
- BATTERY LED: Indicates battery status. May show charging, discharging, or low battery warnings.
- FAULT LED: Illuminates to indicate an error or fault condition within the inverter. Refer to the troubleshooting section.
5.3 Function Modes
The inverter supports two primary function modes, which can typically be configured via settings (refer to the full product manual for detailed configuration steps):
- PV Priority (Solar Supply): In this mode, the inverter primarily uses solar power to supply loads and charge batteries. If solar power is insufficient, it may draw from the battery or switch to AC utility power (if connected).
- AC Priority (Utility Power Supply): In this mode, the inverter prioritizes AC utility power to supply loads and charge batteries. Solar power is used when AC utility power is unavailable or as a supplementary source.
6. Maintenance
Regular maintenance ensures the longevity and optimal performance of your inverter:
- Cleaning: Periodically clean the exterior of the inverter with a dry, soft cloth. Ensure ventilation openings are free from dust and debris. Do not use liquid cleaners.
- Connection Check: Annually inspect all electrical connections for tightness and signs of corrosion. Tighten any loose connections.
- Environmental Check: Ensure the installation environment remains within specified temperature and humidity ranges (10%-90% non-condensing humidity).
- Battery Inspection: Regularly check the battery bank according to the battery manufacturer's guidelines.
7. Troubleshooting
This section provides solutions for common issues. For problems not listed here, contact technical support.
| Problem | Possible Cause | Solution |
|---|---|---|
| Inverter does not turn on | No battery power; Loose battery connection; Faulty ON/OFF switch | Check battery voltage; Verify battery connections; Contact support if switch is faulty. |
| No AC output | Overload; Short circuit on output; Low battery voltage; Inverter fault | Reduce load; Check for short circuits; Charge battery; Check fault indicator. |
| Fault LED is lit | Overload; Over-temperature; Short circuit; Internal fault | Refer to specific fault codes (if available in full manual); Reduce load; Ensure ventilation; Disconnect and restart. If persistent, contact support. |
| Battery not charging from PV | PV input voltage too low/high; Incorrect PV connection; Shaded panels; MPPT fault | Check PV voltage and connections; Ensure panels are not shaded; Contact support. |
8. Specifications
The following table outlines the technical specifications for the KEMOT URZ3420 Prosolar-3500 Solar Inverter:
| Feature | Specification |
|---|---|
| Model | URZ3420 |
| Rated Output Power | 3500 W / 3500 VA |
| Battery Voltage | 48 V DC |
| PV Mode Input Voltage Range | 60 V DC - 100 V DC |
| Max. PV Charging Current | 60 A |
| AC Mode Input Voltage Range | 200 V AC - 275 V AC |
| AC Input Frequency Range | 45 - 65 Hz |
| Output Voltage | 230 V AC ±3% |
| Output Frequency | 50 Hz / 60 Hz ± 0.3 Hz |
| Waveform | Pure Sine Wave |
| Max. Conversion Efficiency (PV) | 98% |
| Efficiency (Main Mode) | ≥ 96% |
| Efficiency (Converter Mode) | ≥ 80% |
| Transfer Time (AC to DC) | 4 ms typical, max. 6 ms |
| Operating Ambient Temperature | 0 - 40°C |
| Operating Humidity | 10% - 90% (non-condensing) |
| Dimensions (L x W x H) | 54 x 33 x 12 cm |
| Weight | 22.2 kg |
9. Warranty and Support
The KEMOT URZ3420 Prosolar-3500 Solar Inverter comes with a standard manufacturer's warranty. Please refer to your purchase documentation for specific warranty terms and conditions. For technical support, service, or warranty claims, please contact your authorized KEMOT dealer or the point of purchase. Ensure you have your product model number (URZ3420) and purchase date available when contacting support.


