Introduction
Thank you for choosing the IMUSA USA Electric Espresso/Moka Maker. This appliance is designed to brew rich, flavorful espresso-style coffee quickly and efficiently. This manual provides essential information for the safe and effective use of your new moka maker. Please read all instructions carefully before first use and retain this manual for future reference.

Image: Assembled IMUSA USA Electric Espresso/Moka Maker.
Important Safety Instructions
- Read all instructions before operating the appliance.
- Do not touch hot surfaces. Use handles or knobs.
- To protect against electrical hazards, do not immerse cord, plugs, or the appliance in water or other liquid.
- Close supervision is necessary when any appliance is used by or near children.
- Unplug from outlet when not in use and before cleaning. Allow to cool before putting on or taking off parts, and before cleaning the appliance.
- Do not operate any appliance with a damaged cord or plug, or after the appliance malfunctions or has been damaged in any manner. Contact customer service for examination, repair, or adjustment.
- The use of accessory attachments not recommended by the appliance manufacturer may result in fire, electric shock, or injury to persons.
- Do not use outdoors.
- Do not let cord hang over edge of table or counter, or touch hot surfaces.
- Do not place on or near a hot gas or electric burner, or in a heated oven.
- Always attach plug to appliance first, then plug cord into the wall outlet. To disconnect, turn any control to "off", then remove plug from wall outlet.
- Do not use appliance for other than intended use.
- Extreme caution must be used when moving an appliance containing hot liquids.
- Ensure the appliance is properly assembled and sealed before operation to prevent steam or hot water leaks.
Parts List
Familiarize yourself with the components of your IMUSA Electric Espresso/Moka Maker:

Image: Disassembled IMUSA USA Electric Espresso/Moka Maker showing all components.
- Upper Chamber (Coffee Pot): Collects brewed coffee.
- Filter Funnel: Holds ground coffee.
- Gasket and Filter Plate: Creates a seal and filters coffee.
- Lower Chamber (Water Boiler): Holds water and generates steam.
- Safety Valve: Releases excess pressure.
- Power Base with Cord: Provides electrical power and features ON/OFF switch.
Setup and First Use
Before using your moka maker for the first time, follow these steps:
- Unpack: Carefully remove all packaging materials and inspect the appliance for any damage.
- Clean: Wash all removable parts (upper chamber, filter funnel, gasket, filter plate, lower chamber) with warm, soapy water. Rinse thoroughly and dry completely. Do not immerse the power base in water.
- First Brew (Cleaning Cycle): To season the pot and remove any manufacturing residues, perform a cleaning cycle without coffee.
- Fill the lower chamber with water up to the safety valve.
- Insert the filter funnel into the lower chamber (leave it empty).
- Screw the upper chamber firmly onto the lower chamber, ensuring a tight seal.
- Place the moka maker on the power base and plug it in.
- Press the "ON" switch. Allow the water to brew through.
- Once brewing is complete, turn off the appliance, unplug it, and let it cool. Discard the water.
- Repeat the cleaning cycle 2-3 times for best results.
Operating Instructions
Follow these steps to brew delicious espresso-style coffee:
- Fill Water: Unscrew the upper chamber from the lower chamber. Fill the lower chamber with cold water up to the level of the safety valve. Do not overfill.
- Add Coffee Grounds: Insert the filter funnel into the lower chamber. Fill the filter funnel with finely ground coffee (espresso grind is recommended). Do not tamp the coffee down. Level the grounds gently.
- Assemble: Ensure the gasket and filter plate are correctly seated in the bottom of the upper chamber. Screw the upper chamber firmly onto the lower chamber. A tight seal is crucial for proper operation.
- Place on Base: Place the assembled moka maker onto the power base. Ensure it is seated correctly.
- Brew Coffee: Plug the power cord into a standard electrical outlet. Press the "ON" switch. The indicator light will illuminate.
- Monitor Brewing: Coffee will begin to brew into the upper chamber within a few minutes. Once the upper chamber is full and you hear a gurgling sound, the brewing process is complete.
- Serve: Turn off the appliance by pressing the "OFF" switch and unplug it. Carefully remove the moka maker from the power base and pour the freshly brewed coffee. The handle is designed to be cool to the touch.
- Cool Down: Allow the moka maker to cool completely before disassembling and cleaning.
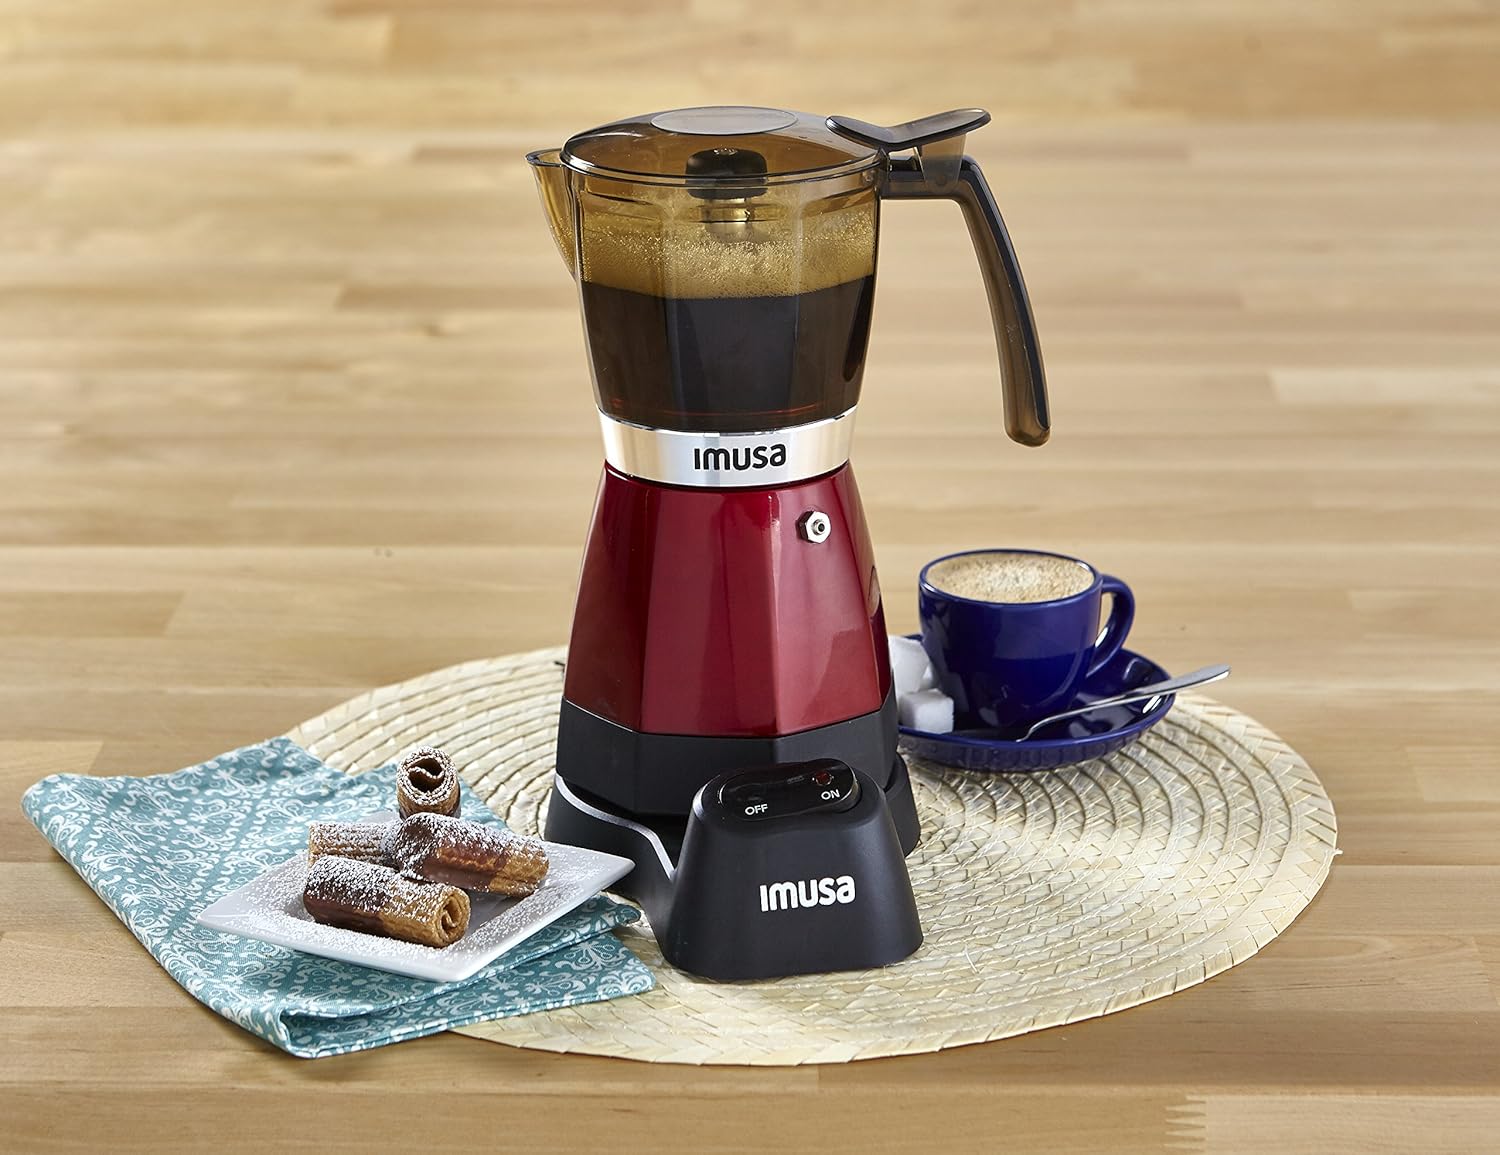
Image: IMUSA USA Electric Espresso/Moka Maker actively brewing coffee into the upper chamber.
Cleaning and Maintenance
Regular cleaning ensures optimal performance and extends the life of your moka maker.
- Always Unplug: Ensure the appliance is unplugged and completely cool before cleaning.
- Disassemble: Unscrew the upper chamber from the lower chamber. Remove the filter funnel, gasket, and filter plate.
- Discard Grounds: Dispose of used coffee grounds from the filter funnel.
- Wash Parts: Wash all disassembled parts (upper chamber, filter funnel, gasket, filter plate, lower chamber) with warm, soapy water. Use a soft brush or sponge to remove any coffee residue.
- Rinse and Dry: Rinse all parts thoroughly with clean water and dry them completely before reassembling or storing.
- Power Base: Wipe the power base with a damp cloth. Never immerse the power base or cord in water or any other liquid.
- Gasket Inspection: Periodically inspect the rubber gasket for wear or damage. A worn gasket can lead to poor sealing and improper brewing. Replace if necessary.
- Descaling: If you notice mineral buildup (limescale) in the lower chamber, descale the unit using a descaling solution suitable for coffee makers or a mixture of water and white vinegar. Follow the descaling product's instructions or run a brew cycle with the vinegar solution, then rinse thoroughly with several plain water cycles.
Troubleshooting
| Problem | Possible Cause | Solution |
|---|---|---|
| No coffee brews or very little coffee. |
|
|
| Coffee tastes weak. |
|
|
| Steam or water leaks from the side. |
|
|
| Appliance does not turn on. |
|
|
Specifications
- Brand: Imusa
- Model Name: Espresso Maker
- Item Model Number: B120-60008
- Capacity: 3-6 Cups (Espresso cups, approximately 6 fluid ounces total)
- Color: Red
- Product Dimensions: 5.39"D x 8.07"W x 10"H
- Item Weight: 2.77 pounds
- Coffee Maker Type: Espresso Machine
- Operation Mode: Fully Automatic
- Special Feature: Permanent Filter
- Coffee Input Type: Ground
- Manufacturer: IMUSA USA
- UPC: 094046600133
Warranty and Support
For information regarding warranty coverage, product support, or to purchase replacement parts, please contact IMUSA USA customer service. Refer to the product packaging or the official IMUSA USA website for the most current contact information.


