1. Introduction
This manual provides comprehensive instructions for the assembly, care, and maintenance of your Revell 03897 Supermarine Spitfire Mk.VB 1:72 scale model kit. Please read all instructions carefully before beginning assembly to ensure a successful and enjoyable building experience.
The Supermarine Spitfire Mk.VB is a highly detailed replica of the iconic World War II fighter aircraft, designed for model enthusiasts aged 10 to 18 years and older. This kit contains 42 parts, allowing for a realistic representation of the aircraft.
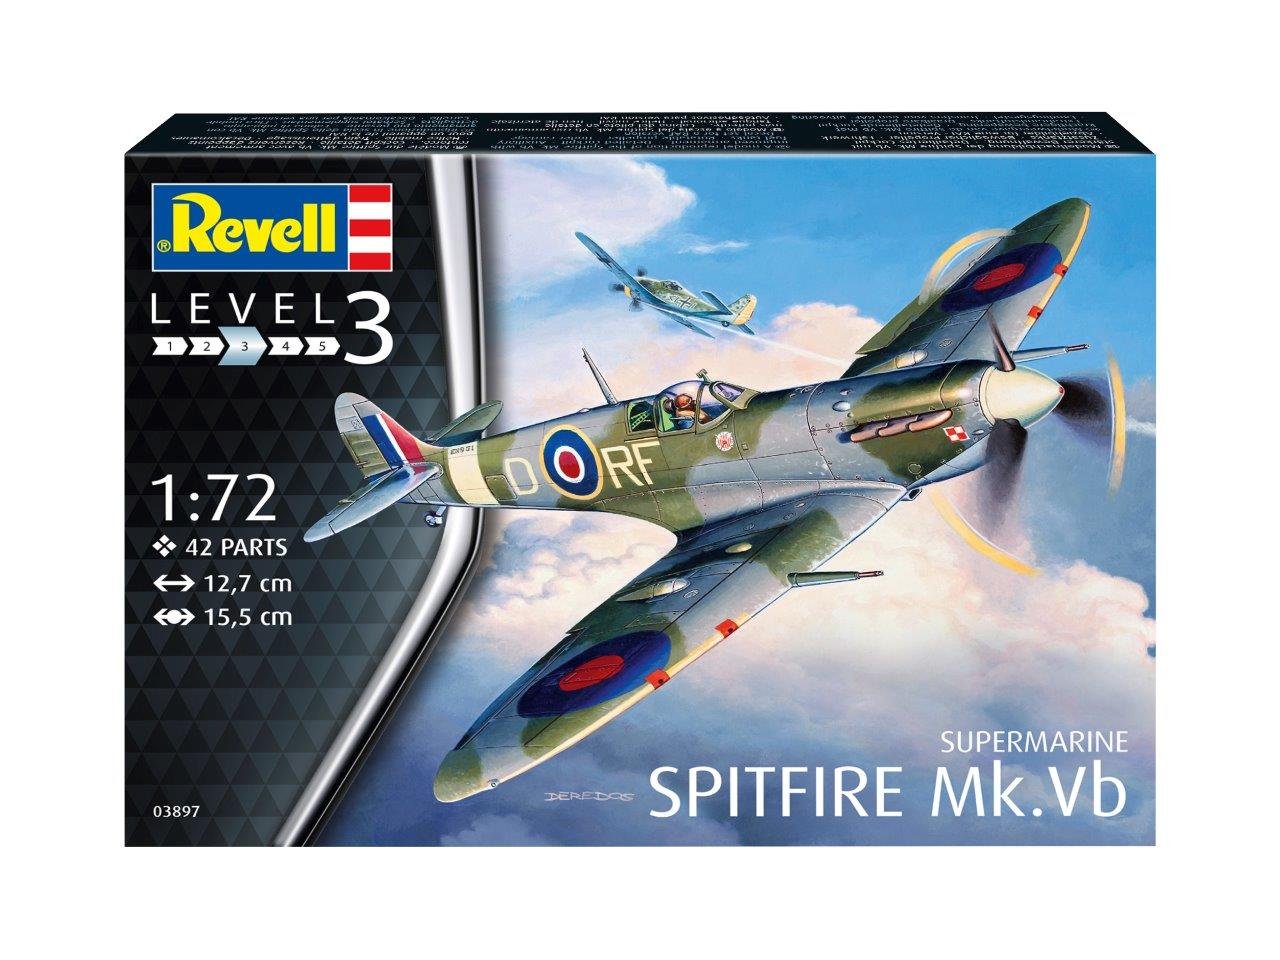
Image 1.1: The Revell Supermarine Spitfire Mk.VB model kit box, showing the aircraft artwork and kit details.
2. Safety Information
Warning: Small Parts. This model kit contains small parts which may pose a choking hazard for young children. Not suitable for children under 3 years. Adult supervision is recommended for builders under 14 years of age.
- Always use appropriate tools (e.g., hobby knife, tweezers) with care to avoid injury.
- When using model glues and paints, ensure adequate ventilation. Refer to the specific product's safety data sheet for detailed information.
- Keep all materials out of reach of pets and small children.
3. Kit Contents
Your Revell Supermarine Spitfire Mk.VB model kit includes:
- Plastic sprues containing 42 individual parts.
- Clear plastic parts for the canopy.
- Decal sheet for markings and insignia.
- Illustrated assembly instructions.
Please check all contents against the parts list in the included instruction booklet before starting assembly. If any parts are missing or damaged, please contact Revell customer support.

Image 3.1: The plastic sprues containing the various components of the model kit.
4. Setup and Assembly Instructions
Successful model building requires patience and attention to detail. Follow these general steps for assembly:
4.1. Required Tools (Not Included)
- Hobby knife or sprue cutters for removing parts.
- Plastic model cement (glue).
- Fine-grit sandpaper or sanding sticks for cleaning parts.
- Tweezers for handling small parts and decals.
- Model paints and brushes (or airbrush) for detailing.
- Decal setting solution (optional, for better decal adhesion).
4.2. Preparation
- Read Instructions: Carefully review the entire instruction booklet before starting. Familiarize yourself with the assembly sequence and part numbers.
- Prepare Workspace: Set up a clean, well-lit, and well-ventilated workspace. Protect your work surface.
- Part Removal: Carefully remove parts from the sprues using a hobby knife or sprue cutters. Avoid pulling or twisting, which can damage parts.
- Clean Parts: Trim any excess plastic (flash) from the parts using a hobby knife or sandpaper. Test-fit parts before applying glue.
4.3. Assembly Steps
- Cockpit Assembly: Begin with the cockpit interior. Paint the interior components according to the color guide before assembly. Glue the seat, control stick, and instrument panel into place.
- Fuselage: Join the two fuselage halves, ensuring the cockpit assembly is correctly positioned inside. Use plastic cement sparingly along the seams.
- Wings: Assemble the wing sections. Attach the landing gear bays and any internal details before joining the upper and lower wing halves.
- Attach Wings and Tail: Securely attach the assembled wings to the fuselage. Then, attach the horizontal and vertical tail stabilizers.
- Landing Gear: Assemble and attach the landing gear struts and wheels. Decide whether to display the model with landing gear extended or retracted (if optional).

Image 4.1: Close-up view of the assembled landing gear and underside details.
- Propeller and Spinner: Assemble the propeller blades and spinner. Attach to the front of the fuselage.
- Canopy: Carefully attach the clear canopy parts. Use a clear-drying glue specifically designed for clear plastic to avoid fogging.
- Small Details: Add antennas, pitot tubes, and other small exterior details.

Image 4.2: Detailed view of the cockpit and canopy area of the assembled model.
4.4. Painting and Decals
- Painting: Apply paint according to the color scheme provided in the instructions. Multiple thin coats are better than one thick coat. Allow each coat to dry thoroughly.
- Gloss Coat (Optional): Apply a clear gloss coat over the painted surface before applying decals. This provides a smooth surface for decals and prevents 'silvering'.
- Decals: Cut out each decal individually. Dip in warm water for a few seconds until it slides freely from the backing paper. Carefully slide the decal onto the model. Position it correctly using a wet brush or tweezers. Gently blot excess water.
- Decal Setting Solution: For irregular surfaces, apply a decal setting solution to help the decal conform to the model's contours.
- Final Clear Coat: Once decals are dry, apply a final clear coat (gloss, satin, or matte, depending on desired finish) to seal and protect the decals and paint.
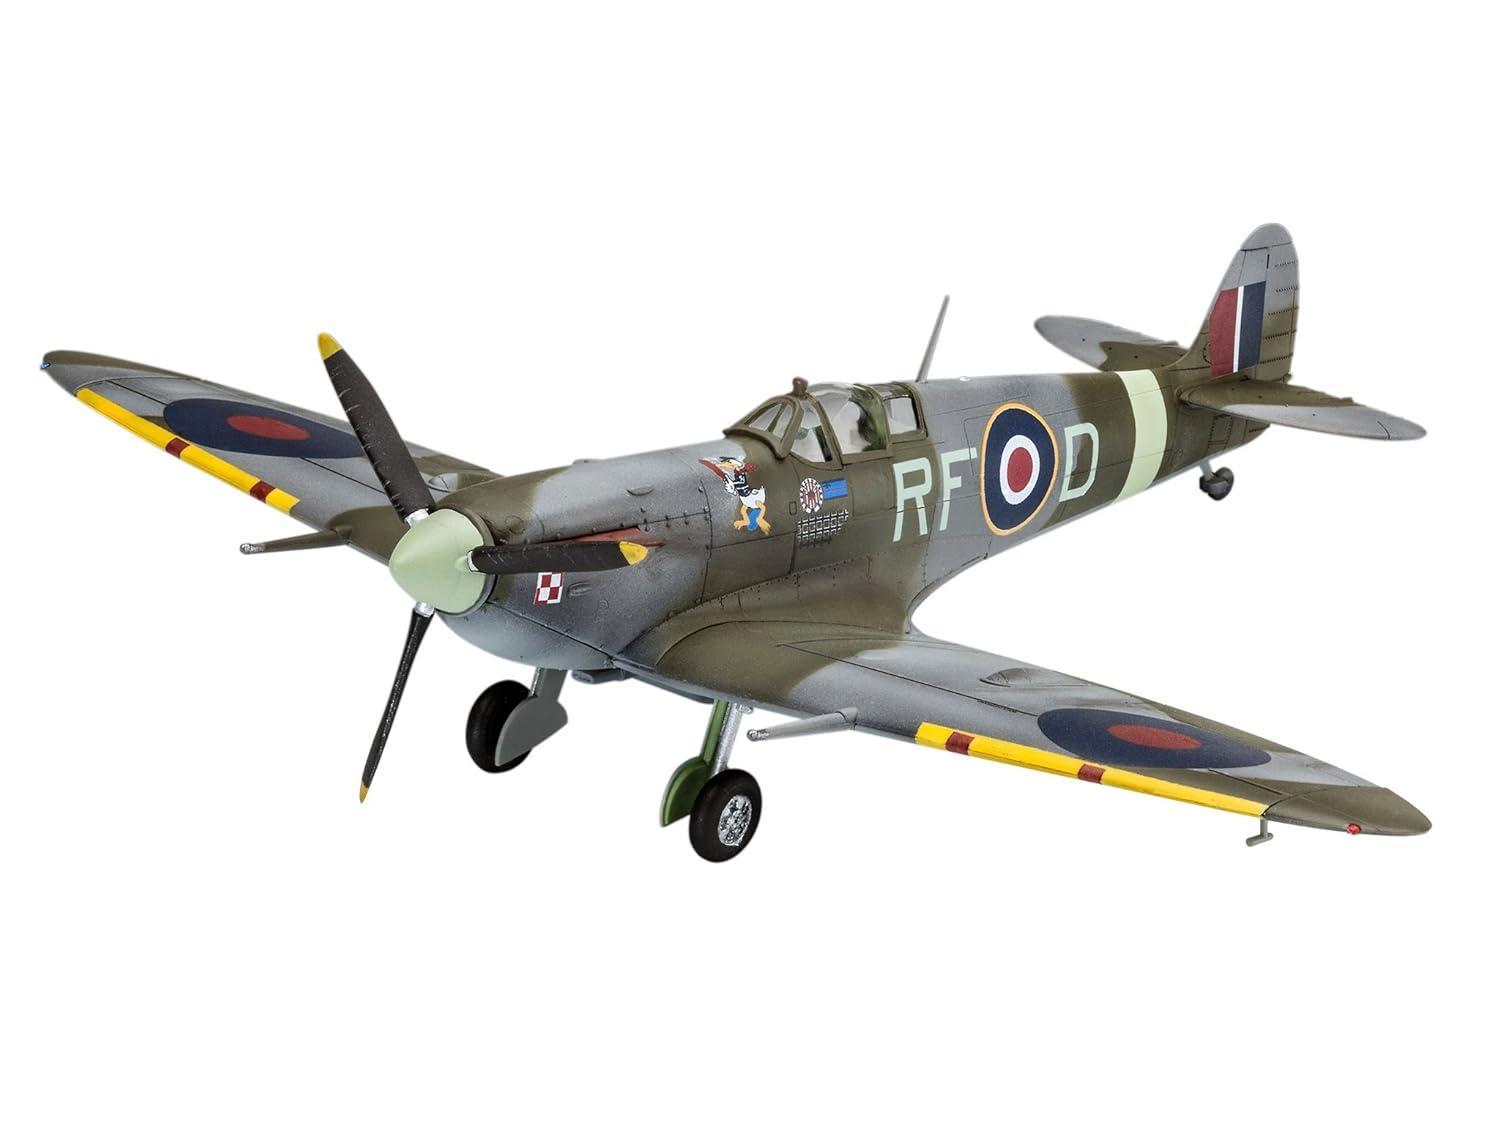
Image 4.3: A fully assembled and painted Revell Supermarine Spitfire Mk.VB model, showcasing the finished details.
5. Operating (Display and Handling)
Once assembled, your Revell Supermarine Spitfire Mk.VB model is ready for display. As a static model, it does not have operational functions beyond its visual representation.
- Display: Place your model on a stable, flat surface away from direct sunlight, excessive heat, or high humidity. These conditions can cause paint fading, decal peeling, or plastic warping over time.
- Handling: Always handle the model carefully, preferably by the main fuselage or wings. Avoid touching delicate parts like antennas, landing gear, or propellers, as they can break easily.
6. Maintenance
Proper maintenance will preserve the appearance of your model for years to come.
- Dusting: Regularly dust your model using a soft, dry brush or a can of compressed air. Avoid abrasive cloths or harsh cleaning agents.
- Cleaning: For stubborn dust or grime, lightly dampen a soft cloth with water (and a tiny drop of mild soap if necessary), then gently wipe the surface. Avoid rubbing decals vigorously.
- Repairs: If small parts detach, reattach them using plastic model cement. For paint chips, touch up with matching model paint.
7. Troubleshooting
Here are solutions to common issues encountered during model assembly:
| Problem | Solution |
|---|---|
| Parts do not fit together properly. | Check for excess plastic (flash) on the edges of the parts and carefully trim or sand it away. Ensure parts are oriented correctly. |
| Decals are 'silvering' (appearing shiny with air bubbles underneath). | Apply decals over a gloss surface. Use a decal setting solution to help them conform and eliminate air. Puncture tiny bubbles with a sharp needle and apply more solution. |
| Paint appears uneven or thick. | Ensure the surface is clean and dry before painting. Apply paint in multiple thin coats, allowing each to dry completely. Thin your paints appropriately. |
| Clear parts (canopy) become foggy after gluing. | Use a clear-drying glue specifically designed for clear plastic, such as white PVA glue (which dries clear) or a specialized clear parts cement. Avoid standard plastic cement near clear parts. |
8. Specifications
- Brand: Revell
- Model Number: 03897
- Aircraft Type: Supermarine Spitfire Mk.VB
- Scale: 1:72
- Number of Parts: 42
- Assembled Dimensions (approximate): 5 x 6.1 x 3.94 inches (L x W x H)
- Recommended Age Range: 10 to 18 years
- Release Date: August 1, 2019
9. Warranty Information
Revell model kits are manufactured to high-quality standards. Specific warranty details may vary by region. In general, Revell guarantees that its products are free from manufacturing defects at the time of purchase. If you encounter a manufacturing defect or missing parts, please retain your proof of purchase and contact Revell customer support for assistance.
This warranty typically does not cover damage resulting from improper assembly, misuse, or normal wear and tear.
10. Support
For further assistance, technical questions, or to report missing/damaged parts, please contact Revell customer support directly. You can usually find contact information on the product packaging or on the official Revell website.
Online Resources:
- Visit the official Revell website for product information, FAQs, and contact details.
- Look for online model building communities and forums for tips and advice from experienced builders.


