
1. Introduction
The EUDAX Basic Electricity Discovery Circuit Kit provides a hands-on opportunity to explore fundamental electrical concepts. This kit is designed for students and enthusiasts to build and understand simple series and parallel circuits. It includes essential components for introductory electronics experiments.
2. Package Contents
Verify that all the following components are included in your kit:
- 2 x 'D' Battery Holders
- 2 x Bulb Holders
- 5 x Miniature Bulbs
- 2 x Switches
- 8 x 20cm Wire Connectors (4 red, 4 blue)
- 1 x Mini Screwdriver

Image 2.1: All components included in the kit. This shows two battery holders, two bulb holders, two switches, five bulbs, eight wire connectors, and a mini screwdriver.
3. Setup
Follow these steps to prepare your circuit components:
- Battery Installation: Insert two 'D' batteries (not included) into each battery holder. Ensure the positive (+) and negative (-) terminals of the batteries align correctly with the markings inside the holder.
- Bulb Installation: Gently screw the miniature bulbs into the bulb holders. Do not overtighten.
- Connecting Wires: Use the provided wire connectors to link components. Loosen the screw terminals on each component, insert the spade connector of the wire, and tighten the screw to secure the connection.

Image 3.1: 'D' Battery Holders. These holders are designed to securely hold D-cell batteries for powering circuits.

Image 3.2: Bulb Holders. These components provide a socket for the miniature bulbs and terminals for electrical connections.

Image 3.3: Wire Connectors. These wires feature spade terminals for easy and secure connection to the kit's components.
4. Operating Instructions
This kit allows for the construction of various basic circuits. Always ensure connections are secure before activating the circuit.

Image 4.0: Example of a complete basic circuit. This image illustrates how the battery holder, switch, and bulb holder are connected to form a functional circuit.
4.1. Building a Simple Series Circuit
In a series circuit, components are connected end-to-end, forming a single path for current. If one component fails, the entire circuit breaks.
- Connect one terminal of a battery holder to one terminal of a switch.
- Connect the other terminal of the switch to one terminal of a bulb holder.
- Connect the other terminal of the bulb holder back to the remaining terminal of the battery holder.
- Flip the switch to observe the bulb light up.
4.2. Building a Simple Parallel Circuit
In a parallel circuit, components are connected across the same two points, creating multiple paths for current. If one component fails, others can continue to operate.
- Connect one terminal of a battery holder to one terminal of a switch.
- From the switch, create two separate paths. Connect one path to the first bulb holder and the other path to the second bulb holder.
- Connect the remaining terminals of both bulb holders back to the other terminal of the battery holder.
- Flip the switch to observe both bulbs light up.

Image 4.1: Example Circuit Configurations. This image displays four different circuit setups, including series and parallel arrangements, along with their standard schematic diagrams.
4.3. Using the Switch
The included switches are designed to open and close a circuit. When the lever is pressed down, the circuit is closed, allowing current to flow. When the lever is up, the circuit is open, stopping current flow.
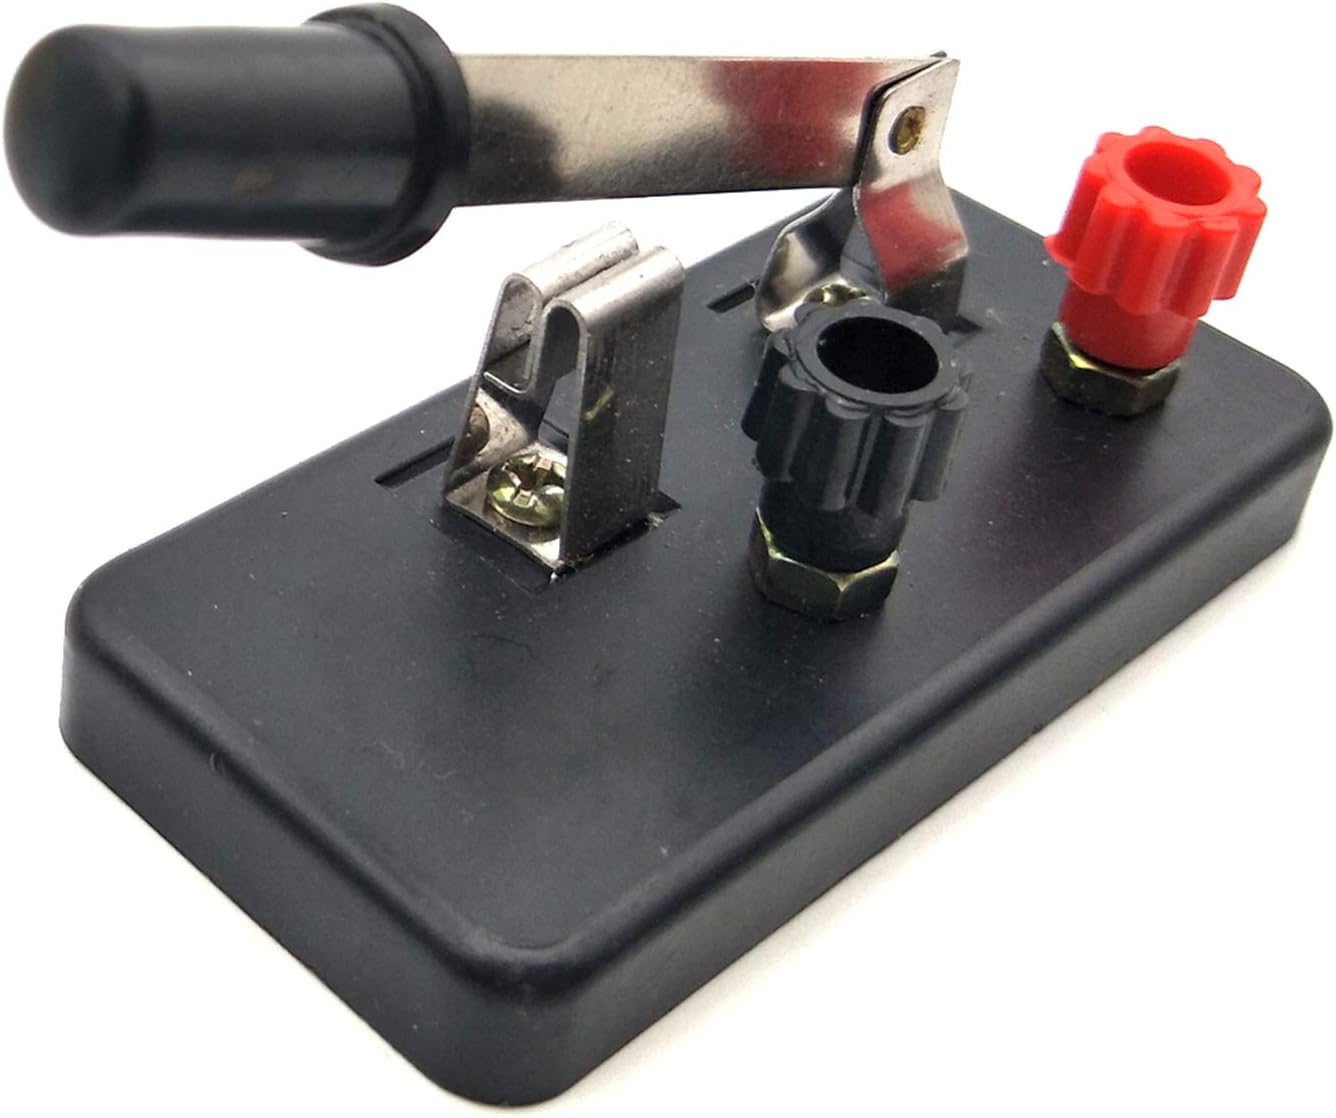
Image 4.2: Knife Switch. This component allows for manual opening and closing of an electrical circuit.
5. Component Details
5.1. Miniature Bulbs

Image 5.1: Miniature Bulbs. These small incandescent bulbs are used as indicators of current flow in the circuits.
The kit includes five miniature bulbs. These bulbs illuminate when sufficient current flows through them, providing a visual indication of a complete circuit. Handle them gently to avoid breakage.
6. Maintenance
- Storage: Store all components in a dry, cool place away from direct sunlight. Keep them organized to prevent loss or damage.
- Cleaning: Wipe components with a dry, soft cloth if they become dusty. Do not use liquids or abrasive cleaners.
- Battery Removal: Always remove batteries from the holders when the kit is not in use for extended periods to prevent corrosion.
- Wire Care: Ensure wire connectors are not bent or frayed. Replace any damaged wires to maintain proper conductivity.
7. Troubleshooting
- Bulb Not Lighting:
- Check if batteries are correctly inserted and have sufficient charge.
- Ensure all wire connections are secure and tight.
- Verify the bulb is screwed in properly and is not burnt out (try a different bulb).
- Confirm the switch is in the "closed" (on) position.
- Inspect wires for any breaks or damage.
- Intermittent Operation:
- Loose connections are a common cause. Re-tighten all screw terminals.
- Check for any frayed wires that might be making inconsistent contact.
8. Specifications
| Feature | Detail |
|---|---|
| Product Dimensions | 7.1 x 4.4 x 2.1 inches |
| Item Weight | 3.84 ounces |
| Manufacturer Recommended Age | 14 years and up |
| Batteries Required | 2 'D' batteries (not included) |
| Manufacturer | EUDAX |
9. Warranty and Support
For any questions, concerns, or assistance with your EUDAX Basic Electricity Discovery Circuit Kit, please contact the manufacturer directly. EUDAX is committed to providing support for their products.
Please refer to the product packaging or the official EUDAX website for the most current contact information and warranty details.