1. Introduction
This manual provides detailed instructions for the HQparts Generator Carburetor. This carburetor is designed for compatibility with Coleman Maxa 5000 ER Plus 10hp generators and Tecumseh Powerbase Powermate PM0525202 models. Proper installation, operation, and maintenance are crucial for the optimal performance and longevity of your generator's engine. Please read this manual thoroughly before attempting any installation or maintenance procedures.
2. Safety Information
Always prioritize safety when working with engine components and fuel systems. Failure to follow safety precautions can result in serious injury or damage to equipment.
- Ensure the generator is turned off and cooled down before beginning any work.
- Disconnect the spark plug wire to prevent accidental starting.
- Work in a well-ventilated area to avoid inhaling fuel fumes.
- Wear appropriate personal protective equipment, including safety glasses and gloves.
- Handle fuel with extreme care. Keep away from open flames, sparks, and heat sources.
- Dispose of old fuel and parts according to local regulations.
- If you are unsure about any procedure, consult a qualified technician.
3. Product Overview
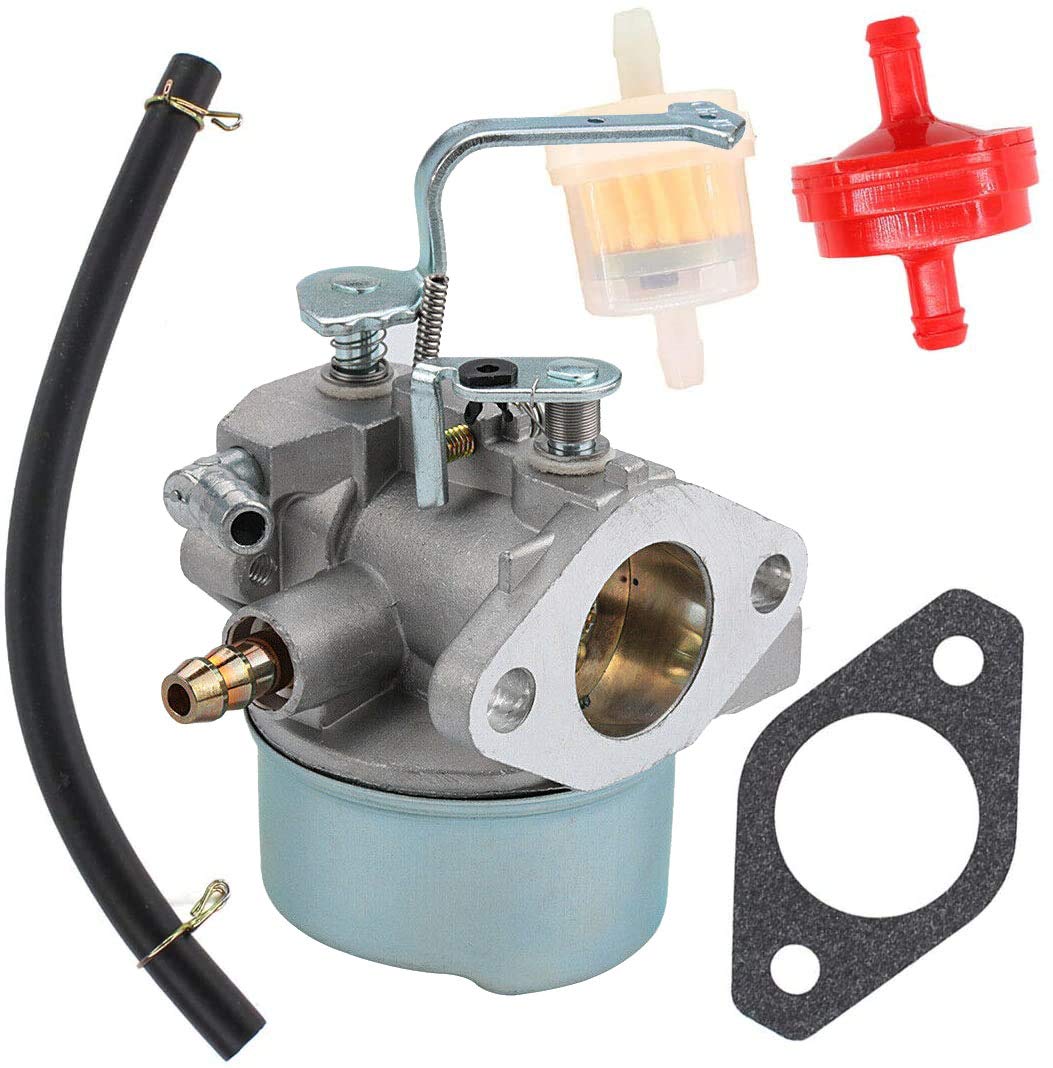
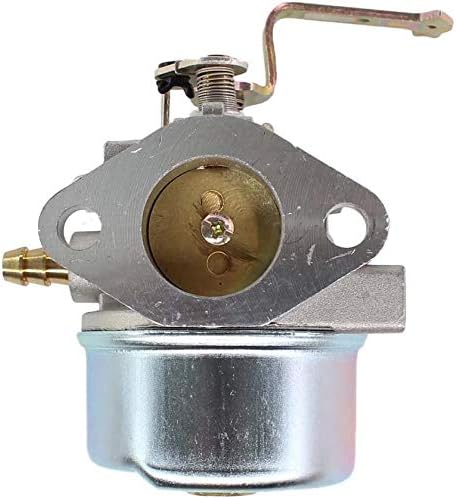
The HQparts Generator Carburetor is a precision-engineered component responsible for mixing air and fuel in the correct ratio for combustion in your generator's engine. It features a durable construction designed for reliable performance.


Product Videos
4. Installation
Replacing a carburetor requires careful attention to detail. Follow these general steps for installation. Specific generator models may have slight variations.
- Preparation: Ensure the generator is off, cool, and the spark plug wire is disconnected. Drain the fuel tank and carburetor bowl.
- Access the Carburetor: Remove any air filter housings, shrouds, or other components that obstruct access to the carburetor. Note the routing of all hoses and linkages.
- Disconnect Components: Carefully disconnect the fuel line, throttle linkage, and choke linkage from the old carburetor. Be mindful of any clips or fasteners.
- Remove Old Carburetor: Unbolt the old carburetor from the engine. There are typically two nuts holding it in place. Remove any gaskets.
- Clean Mounting Surface: Thoroughly clean the engine's mounting surface to ensure a proper seal with the new gaskets.
- Install New Gaskets: Place new gaskets in the correct order and orientation. Refer to your generator's service manual for specific gasket placement.
- Mount New Carburetor: Position the new HQparts carburetor onto the engine, aligning it with the mounting studs. Secure it with the nuts, tightening them evenly to the manufacturer's specifications.
- Reconnect Components: Reattach the fuel line, throttle linkage, and choke linkage. Ensure all connections are secure and move freely without binding.
- Reassemble: Reinstall any removed air filter housings, shrouds, or other components.
- Refuel and Test: Refill the fuel tank. Prime the carburetor if necessary (some models have a primer bulb). Start the generator and check for proper operation and any fuel leaks.
5. Operating Instructions
Once installed, the carburetor functions automatically to regulate the air-fuel mixture. For general generator operation, refer to your generator's specific user manual. Key aspects related to carburetor function include:
- Choke: Used for cold starts. The choke restricts airflow, creating a richer fuel mixture. Gradually open the choke as the engine warms up.
- Throttle: Controls engine speed by regulating the amount of air-fuel mixture entering the engine.
- Fuel Shut-off Valve: Always close the fuel shut-off valve when the generator is not in use to prevent fuel leaks and carburetor issues.
6. Maintenance
Regular maintenance of your carburetor ensures reliable performance and extends its lifespan.
- Fuel Quality: Always use fresh, clean fuel. Stale or contaminated fuel is a primary cause of carburetor problems. Consider using a fuel stabilizer if the generator will be stored for extended periods.
- Fuel Filter: Inspect and replace the fuel filter regularly to prevent debris from reaching the carburetor.
- Air Filter: A clean air filter is essential for proper air-fuel mixture. Clean or replace the air filter as recommended by your generator's manual.
- Carburetor Cleaning: If the carburetor becomes clogged or dirty, it may require cleaning. This typically involves disassembling the carburetor, cleaning jets and passages with carburetor cleaner, and replacing gaskets. This procedure should only be performed by individuals with mechanical experience.
- Storage: Before long-term storage, run the engine until it runs out of fuel, or drain the fuel system completely to prevent gum and varnish buildup in the carburetor.
7. Troubleshooting
If your generator experiences issues related to fuel delivery, the carburetor may be the cause. Here are some common problems and potential solutions:
- Engine Not Starting:
- Check for fuel in the tank and ensure the fuel valve is open.
- Verify the choke is set correctly for starting.
- Inspect the spark plug for fouling or damage.
- A clogged fuel filter or carburetor jet can prevent fuel flow.
- Engine Surges or Runs Unevenly:
- This often indicates a lean fuel mixture, possibly due to a partially clogged main jet or an air leak.
- Check for loose carburetor mounting bolts or damaged gaskets.
- Ensure the air filter is clean and not restricted.
- Fuel Leaks:
- Inspect the fuel lines for cracks or loose connections.
- A faulty float or needle valve in the carburetor bowl can cause overflow.
- Damaged bowl gasket or drain screw.
- Loss of Power:
- Can be caused by a restricted air filter or a partially clogged carburetor.
- Ensure the throttle linkage is operating correctly and fully opening the throttle plate.
For persistent issues, professional service is recommended.
8. Specifications
| ASIN | B076Z8DC5H |
| Brand | HQparts |
| Compatibility | Coleman Maxa 5000 ER Plus 10hp, Tecumseh Powerbase Powermate PM0525202 |
| Material | Metal alloy (typical for carburetors) |
9. Warranty and Support
For warranty information or technical support, please refer to the contact details provided by your retailer or the HQparts official website. Keep your purchase receipt as proof of purchase.


