1. Introduction
The Telwin Maxima 200 Synergic is an advanced inverter welding machine designed for versatile use across various welding processes. This 4-in-1 unit supports MIG-MAG/FLUX/BRAZING, MMA (electrode), and TIG DC-LIFT welding, making it suitable for a wide range of applications from maintenance to installation. Its microprocessor control and synergic parameter adjustment simplify operation, ensuring excellent results even for less experienced welders. This manual provides essential information for safe and effective use, setup, operation, and maintenance of your Telwin Maxima 200 Synergic.
2. Safety Information
Always prioritize safety when operating welding equipment. Failure to follow safety guidelines can result in serious injury or death.
2.1 General Safety Precautions
- Read and understand all instructions before operating the welder.
- Ensure the work area is well-ventilated to avoid inhaling welding fumes.
- Keep children and unauthorized personnel away from the welding area.
- Do not operate the welder in damp or wet conditions.
- Always disconnect power before performing maintenance or changing accessories.
2.2 Personal Protective Equipment (PPE)
Always wear appropriate PPE:
- Welding Helmet: With appropriate shade filter to protect eyes and face from arc rays and sparks.
- Welding Gloves: Heat-resistant gloves to protect hands from heat, sparks, and electrical shock.
- Protective Clothing: Flame-resistant clothing (e.g., leather jacket, heavy cotton) to cover all exposed skin.
- Safety Footwear: Closed-toe, non-slip shoes, preferably with steel toes.
2.3 Electrical Safety
- Ensure the power supply matches the welder's requirements (230V - 16A).
- Use only properly grounded power outlets.
- Inspect power cables and welding leads for damage before each use. Replace if damaged.
- Avoid touching live electrical parts.
3. Product Overview
The Telwin Maxima 200 Synergic is a compact and powerful inverter welding machine. Below are key views and components of the unit.


3.1 Key Components
- Control Panel: Features knobs for process selection (MIG-MAG, TIG, MMA), synergic adjustment, and fine-tuning of welding parameters.
- Wire Feed Unit: Located inside the machine, designed for wire spools up to Ø 200 mm.
- MIG-MAG Torch: For wire welding processes.
- Ground Clamp: Connects to the workpiece to complete the welding circuit.
- Electrode Holder (for MMA): (Optional, not included in standard package but compatible).
- TIG Torch (for TIG DC-LIFT): (Optional, not included in standard package but compatible).
4. Setup
Proper setup is crucial for safe and effective welding.
4.1 Unpacking and Placement
- Carefully remove the welder and all accessories from the packaging.
- Place the welder on a stable, level surface, ensuring adequate ventilation around the unit.
- Keep the welder away from flammable materials and excessive dust.
4.2 Power Connection
- Ensure the main power switch on the welder is in the 'OFF' position.
- Connect the power cable to a grounded 230V - 16A power outlet. The unit is designed to be compatible with household 3 kW meters.
4.3 Wire Spool Installation (MIG-MAG/FLUX/BRAZING)
- Open the side panel of the welder to access the wire feed compartment.
- Mount the wire spool (Ø 100 or 200 mm) onto the spool holder, ensuring it rotates freely.
- Feed the welding wire through the wire guide and into the wire feed rollers.
- Close the wire feed rollers firmly but not excessively tight.
- Feed the wire through the torch liner until it exits the contact tip.

4.4 Gas Connection (MIG-MAG/TIG)
For MIG-MAG and TIG welding, a shielding gas cylinder is required.
- Connect the gas hose from the welder to the pressure regulator on the gas cylinder.
- Ensure all connections are tight to prevent gas leaks.
- Open the gas cylinder valve slowly.
4.5 Torch and Ground Clamp Connection
- Connect the MIG-MAG torch or TIG torch (if applicable) to the appropriate connector on the front panel.
- Connect the ground clamp cable to the designated terminal on the front panel.
- Attach the ground clamp securely to the workpiece, ensuring good electrical contact.
5. Operating
The Telwin Maxima 200 Synergic offers intuitive operation with its synergic control.
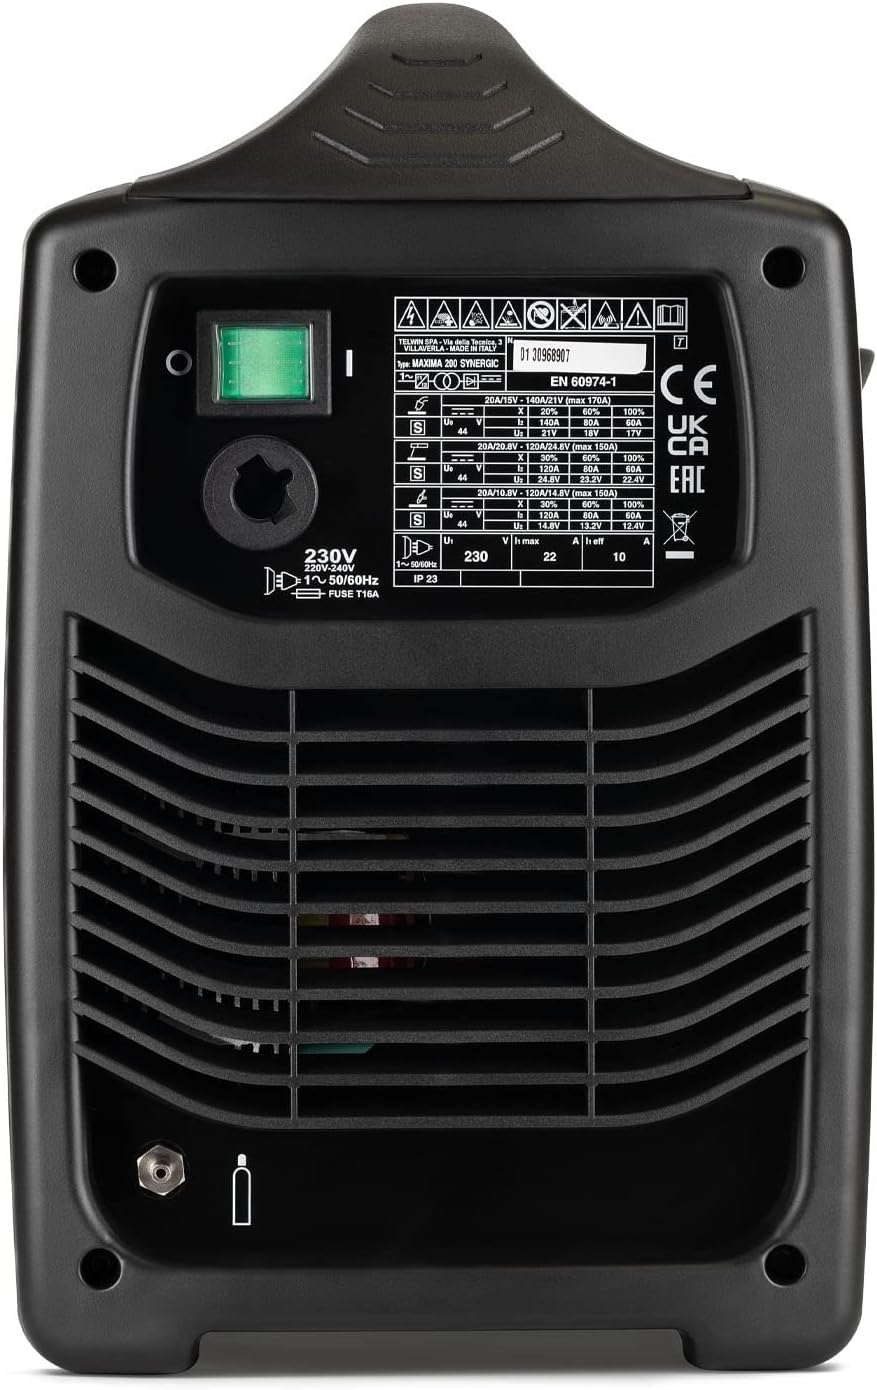
5.1 Powering On
Flip the main power switch on the rear of the unit to the 'ON' position. The control panel indicators will illuminate.
5.2 Process Selection
Use the process selection knob on the control panel to choose your desired welding mode:
- MIG-MAG/FLUX/BRAZING: For wire welding with or without shielding gas.
- MMA: For stick electrode welding.
- TIG DC-LIFT: For TIG welding with DC current and lift arc ignition.
5.3 Synergic Control (MIG-MAG/FLUX/BRAZING)
The synergic control simplifies parameter setting. Simply select the material thickness, and the machine automatically adjusts the optimal welding parameters (wire speed, voltage). You can fine-tune the arc characteristics using the dedicated knob.
5.4 MMA Welding
When in MMA mode, the machine provides features like:
- Arc-Force: Helps maintain a stable arc and prevents sticking.
- Hot-Start: Provides an initial boost of current for easier arc ignition.
- Anti-Stick: Reduces the current if the electrode sticks to the workpiece, allowing for easier removal.
The Telwin Maxima 200 Synergic can weld rutile and basic electrodes up to 3.2 mm in diameter.
5.5 TIG DC-LIFT Welding
For TIG DC-LIFT, touch the tungsten electrode to the workpiece and then lift it slightly to initiate the arc. This method minimizes tungsten contamination.
6. Maintenance
Regular maintenance ensures the longevity and optimal performance of your welder.
6.1 Daily/Before Use
- Inspect all cables (power, torch, ground) for cuts, abrasions, or loose connections.
- Check the condition of the MIG torch consumables (nozzle, contact tip, gas diffuser). Replace if worn.
- Ensure the wire feed rollers are clean and free of debris.
6.2 Monthly/After Extensive Use
- Clean the interior of the welder using dry compressed air to remove dust and metal particles. Ensure power is disconnected.
- Inspect the wire feed mechanism for wear and lubricate moving parts if necessary (refer to specific lubrication points in a detailed service manual if available).
- Check the cooling fan for obstructions.
7. Troubleshooting
This section addresses common issues you might encounter.
| Problem | Possible Cause | Solution |
|---|---|---|
| Welder does not power on | No power supply; Main switch off; Internal fuse blown | Check power outlet and cable; Turn main switch on; Contact service for fuse replacement. |
| No welding arc (MMA/TIG) | Poor ground connection; Incorrect current setting; Wet electrode (MMA); Tungsten contamination (TIG) | Ensure good ground contact; Adjust current; Use dry electrodes; Clean/re-grind tungsten. |
| Wire not feeding (MIG-MAG) | Wire spool tangled; Wire feed rollers too loose/tight; Clogged liner; Worn contact tip | Untangle wire; Adjust roller tension; Clean/replace liner; Replace contact tip. |
| Poor weld quality | Incorrect parameters; Insufficient shielding gas; Contaminated workpiece; Improper technique | Adjust synergic settings; Check gas flow/cylinder; Clean workpiece; Review welding technique. |
| Overheat protection activated | Exceeded duty cycle; Poor ventilation | Allow welder to cool down; Ensure adequate airflow around the unit. |
8. Specifications
Key technical specifications for the Telwin Maxima 200 Synergic Inverter Welder:
- Model: Maxima 200_170A MP
- Manufacturer: TELWIN
- Part Number: 816087
- Power Source: Hand Powered (referring to manual operation, not battery)
- Input Voltage: 230V (compatible with 3 kW household meters)
- Welding Processes: MIG-MAG/FLUX/BRAZING, MMA, TIG DC-LIFT
- Electrode Diameter (MMA): Up to 3.2 mm
- Wire Spool Compatibility: Ø 100 mm and Ø 200 mm
- Weight: 11000 Grams (11 kg)
- Included Components: Wire welding machine, MIG-MAG torch, earth cable and earth clamp.
9. Warranty and Support
For warranty information, please refer to the documentation provided with your purchase or contact your authorized Telwin dealer. For technical support or service, please reach out to Telwin customer service or an authorized service center. Always provide your model number (Maxima 200_170A MP) and serial number when seeking support.


