1. Introduction
This manual provides comprehensive instructions for the installation and use of your LIGHTAILING LED Light Kit, designed specifically to illuminate the LEGO Creator Series Volkswagen T1 Camper Van (LEGO Model 10220). This kit enhances the visual appeal of your model by adding realistic lighting to its interior and exterior features. Please read all instructions carefully before beginning installation.
2. Safety Information
- Always handle the LED components and wires with care. The wires are delicate and can be damaged by excessive force, bending, or shaking.
- Use small tweezers for precise placement of components to avoid damage.
- Ensure the power source voltage is less than 5V to prevent burning out the LEDs.
- Keep the kit out of reach of small children due to small parts and delicate wiring.
3. Package Contents
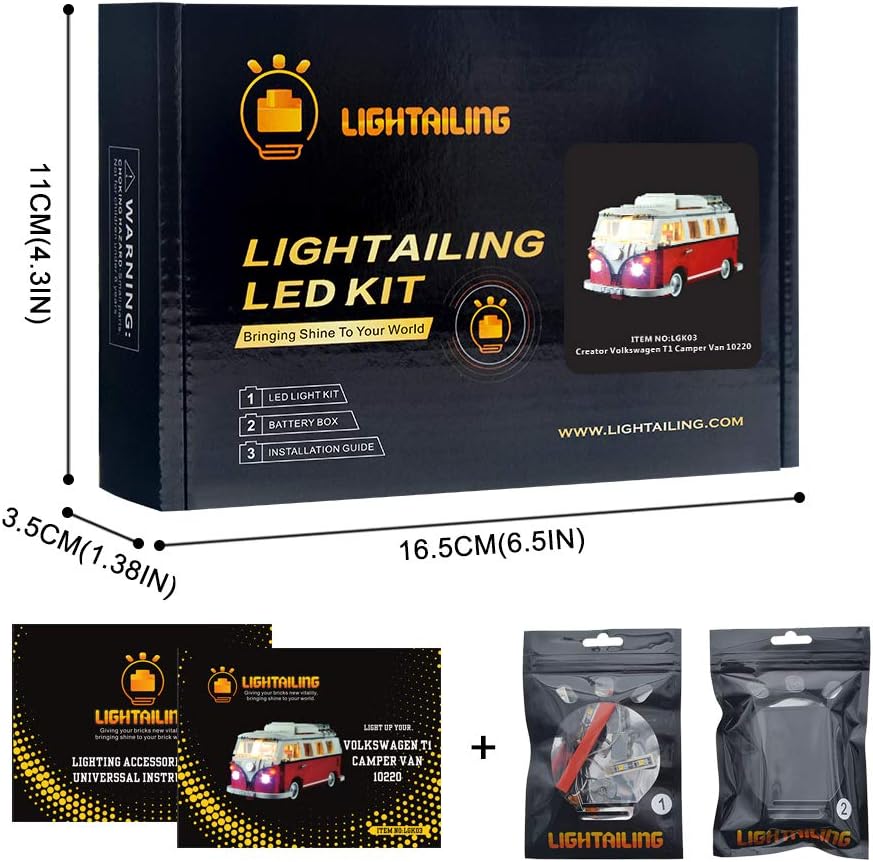
Your LIGHTAILING LED Light Kit package should contain the following items:
- 1 x USB Light Kit (LED lights with integrated wires)
- 1 x Instruction Guide (paper version)
- 1 x Battery Box (requires 3 AAA batteries, not included)
4. Setup and Installation
The installation of the light kit requires careful attention and may involve partial disassembly of your LEGO Volkswagen T1 Camper Van model. It is recommended to follow the detailed steps provided in the included paper instruction guide or refer to the online video tutorials for visual guidance.
General Installation Tips:
- Preparation: Ensure your LEGO model is clean and free of dust. Gather all light kit components and the necessary tools, such as small tweezers.
- Disassembly: You will need to carefully remove certain sections or bricks of your LEGO model to integrate the lights and route the wires. Follow the instruction guide's specific steps for this.
- Wire Management: Route the thin wires discreetly between LEGO bricks and plates. Avoid pinching or sharply bending the wires, as this can damage them.
- Component Placement: Place the LED lights in the designated areas as shown in the instructions. Ensure they are securely fitted but not forced.
- Power Connection: Connect the USB light kit to the battery box or a compatible USB power source (less than 5V).
Visual Installation Guide:
For a detailed step-by-step visual guide, scan the QR code on your product box or visit the LIGHTAILING website for online installation videos. These videos demonstrate the precise placement of each LED and the routing of wires.

5. Operating Instructions
Once the light kit is fully installed and connected to a power source, the lights will illuminate your LEGO model. There are no additional controls for the lights; they are designed for continuous illumination when powered.
- Power On: Connect the USB plug from the light kit to the battery box (with 3 AAA batteries installed) or a USB charger/power bank (ensure output is less than 5V).
- Power Off: Disconnect the USB plug from the power source.


6. Maintenance
To ensure the longevity and optimal performance of your LIGHTAILING LED Light Kit, follow these maintenance guidelines:
- Cleaning: Gently dust the LED components and wires with a soft, dry cloth. Avoid using liquid cleaners directly on the lights or wires.
- Wire Integrity: Periodically inspect the wires for any signs of wear, fraying, or damage. If damage is found, discontinue use and contact customer support.
- Battery Replacement: If using the battery box, replace all three AAA batteries when the lights dim or stop working. Ensure correct polarity when inserting new batteries.
- Storage: When not in use for extended periods, disconnect the power source to conserve battery life and prevent potential issues.
7. Troubleshooting
If you encounter any issues with your LIGHTAILING LED Light Kit, please refer to the following common troubleshooting steps:
- Lights Not Turning On:
- Check the power source: Ensure the battery box has fresh batteries and is correctly connected, or that the USB power source is active and providing less than 5V.
- Verify connections: Make sure all connectors between the LED wires and the main circuit board are securely plugged in.
- Inspect wires: Look for any pinched, cut, or severely bent wires that might be interrupting the circuit.
- Some Lights Are Dim or Flickering:
- Low batteries: Replace the batteries in the battery box.
- Loose connection: Check the connections for the affected lights.
If these steps do not resolve the issue, please contact LIGHTAILING customer support for further assistance.
8. Specifications
| Feature | Detail |
|---|---|
| Product Dimensions (Packaging) | 4.72 x 2.5 x 0.8 inches |
| Item Weight | 7.7 ounces |
| Compatible LEGO Model | Creator Series Volkswagen T1 Camper Van (Model 10220) |
| Power Source | USB (Voltage less than 5V) or 3 AAA Batteries (not included) |
| Manufacturer Recommended Age | 6 years and up |
9. Warranty and Support
LIGHTAILING is committed to providing quality products and customer service. If you encounter any problems or have questions regarding your LED Light Kit, please do not hesitate to contact us. We aim to ensure a happy shopping experience and support you in making your creations unique.
For assistance, please refer to the contact information provided in your product packaging or on the official LIGHTAILING website.


