1. Introduction
This manual provides detailed instructions for the safe and effective operation of your YeeSite YS-BR24 72W 24LED RGB Stage Light Bar. Please read this manual thoroughly before use and retain it for future reference.
2. Product Features
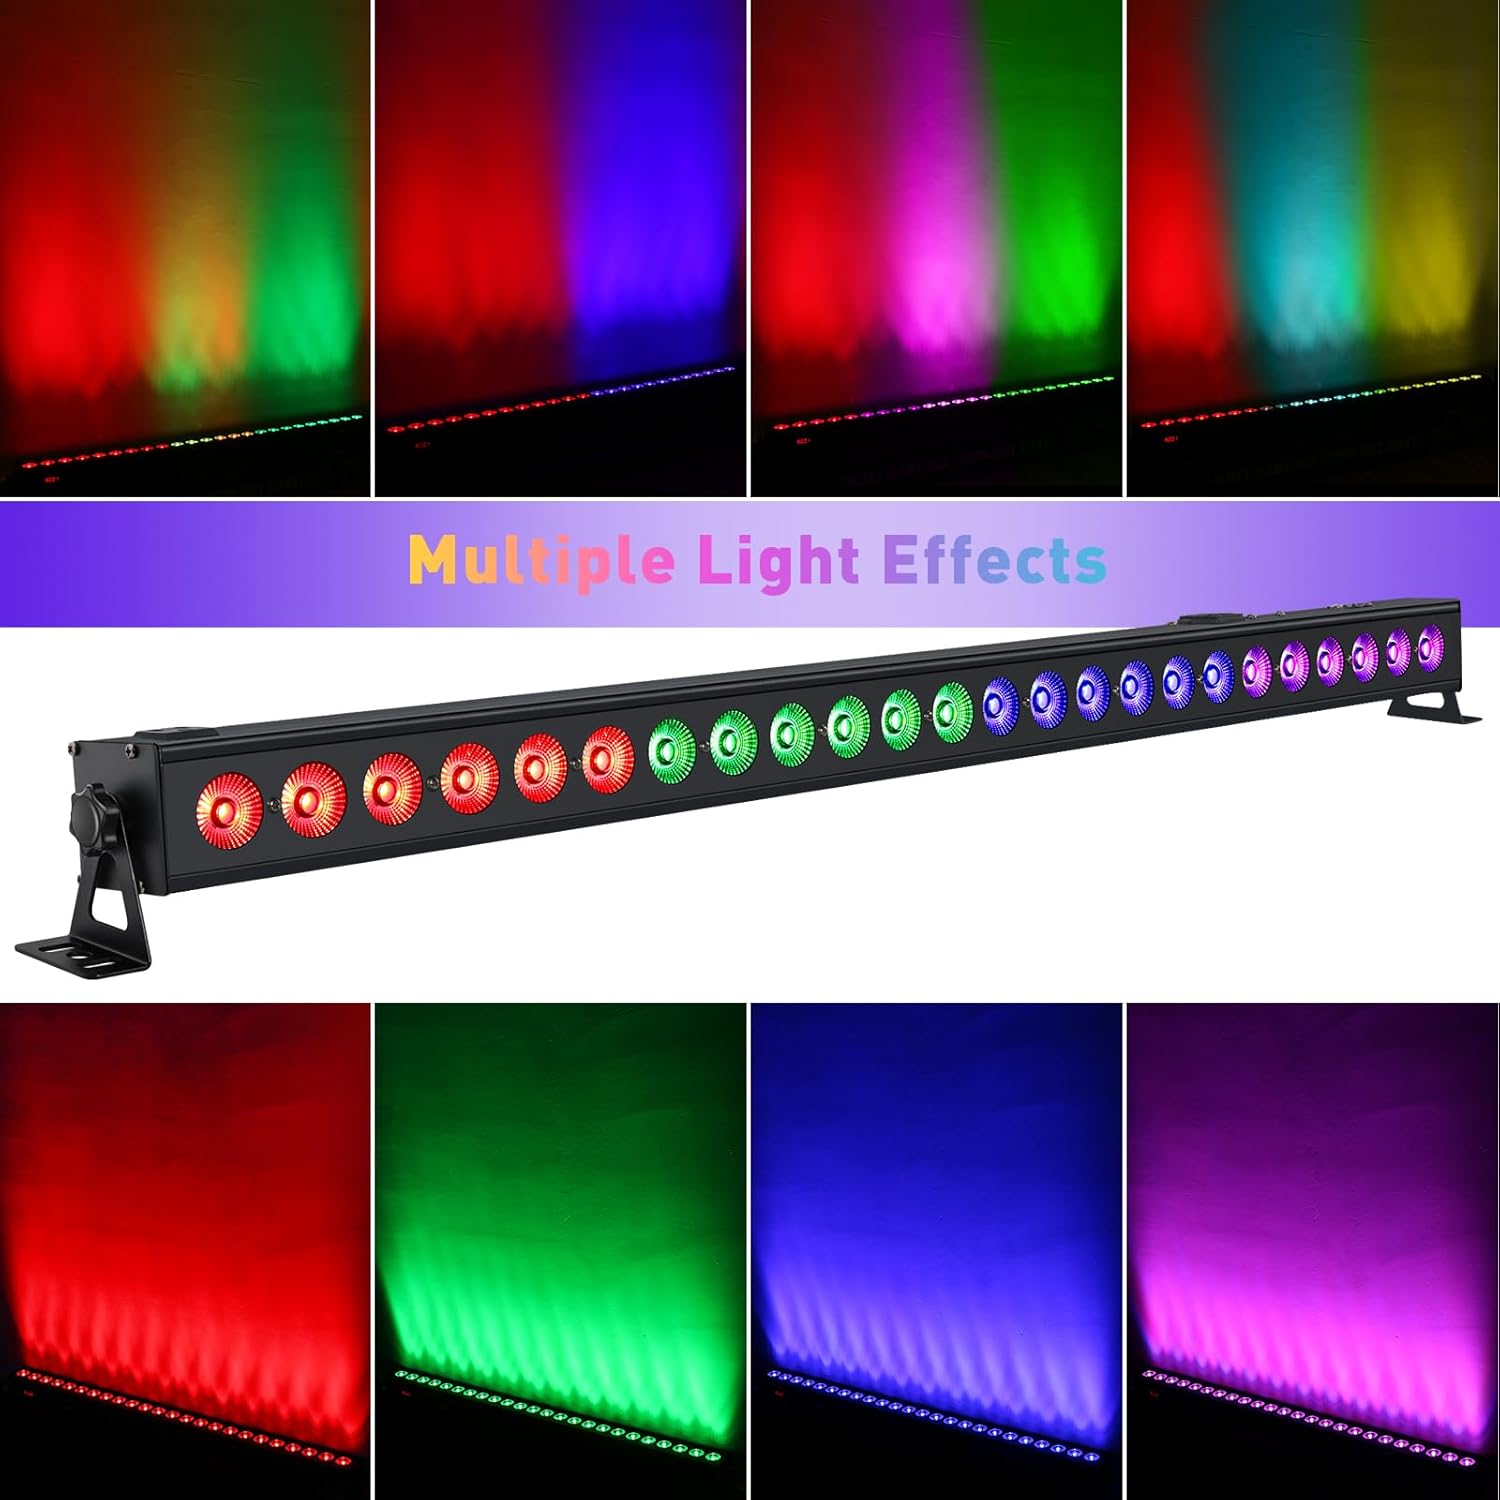
- High Brightness: Equipped with 24 x 3-Watt 3-IN-1 RGB LEDs, providing vibrant red, green, and blue colors for diverse lighting effects.
- Versatile Operational Modes: Features a 4-button digital display for easy navigation through DMX, Sound Active, and Master/Slave modes.
- Wide Coverage: A 40-degree beam angle ensures broad illumination for stages, walls, and dance floors.
- Smooth Color Mixing: Exceptional RGB color mixing capabilities allow for seamless color transitions.
- Customizable DMX Control: Supports 5 DMX channel modes (5, 8, 14, 26, and 50 channels) for flexible programming.
- Flicker-Free Operation: Designed for professional use with DMX-512 protocol compatibility, suitable for various event lighting needs.
3. Safety Information
- Ensure the power supply voltage matches the product's requirements (110 Volts).
- Do not expose the device to rain or moisture to prevent electric shock or fire.
- Always disconnect from power before cleaning or servicing.
- Avoid direct eye exposure to the light source.
- Ensure proper ventilation around the unit to prevent overheating.
- Mount the fixture securely using appropriate hardware for wall, ceiling, or floor installation.
4. Package Contents
Verify that all items are present upon unpacking:
- YeeSite YS-BR24 72W 24LED RGB Stage Light Bar
- Power Cord (US Plug, 4.0 Ft length)
- Mounting Brackets and Screws
- Instruction Manual (This document)

5. Setup
5.1 Physical Installation
The light bar can be mounted in various positions: wall, ceiling, or floor. Use the provided mounting brackets to secure the unit. Ensure the mounting surface is stable and can support the weight of the fixture (approximately 4 pounds).

5.2 Power Connection
Connect the provided power cord to the 'POWER IN' port on the back of the unit and then to a standard 110V AC power outlet.

For multiple units, use the 'POWER OUT' port to daisy-chain power to additional light bars. This eliminates the need for multiple power outlets.
6. Operating Modes
The YeeSite YS-BR24 offers several operational modes, selectable via the 4-button digital display on the rear panel (MENU, UP, DOWN, ENTER).

6.1 Auto-Run Mode
In Auto-Run mode, the light bar cycles through pre-programmed patterns and color changes automatically. Use the UP/DOWN buttons to select different auto programs or adjust speed.
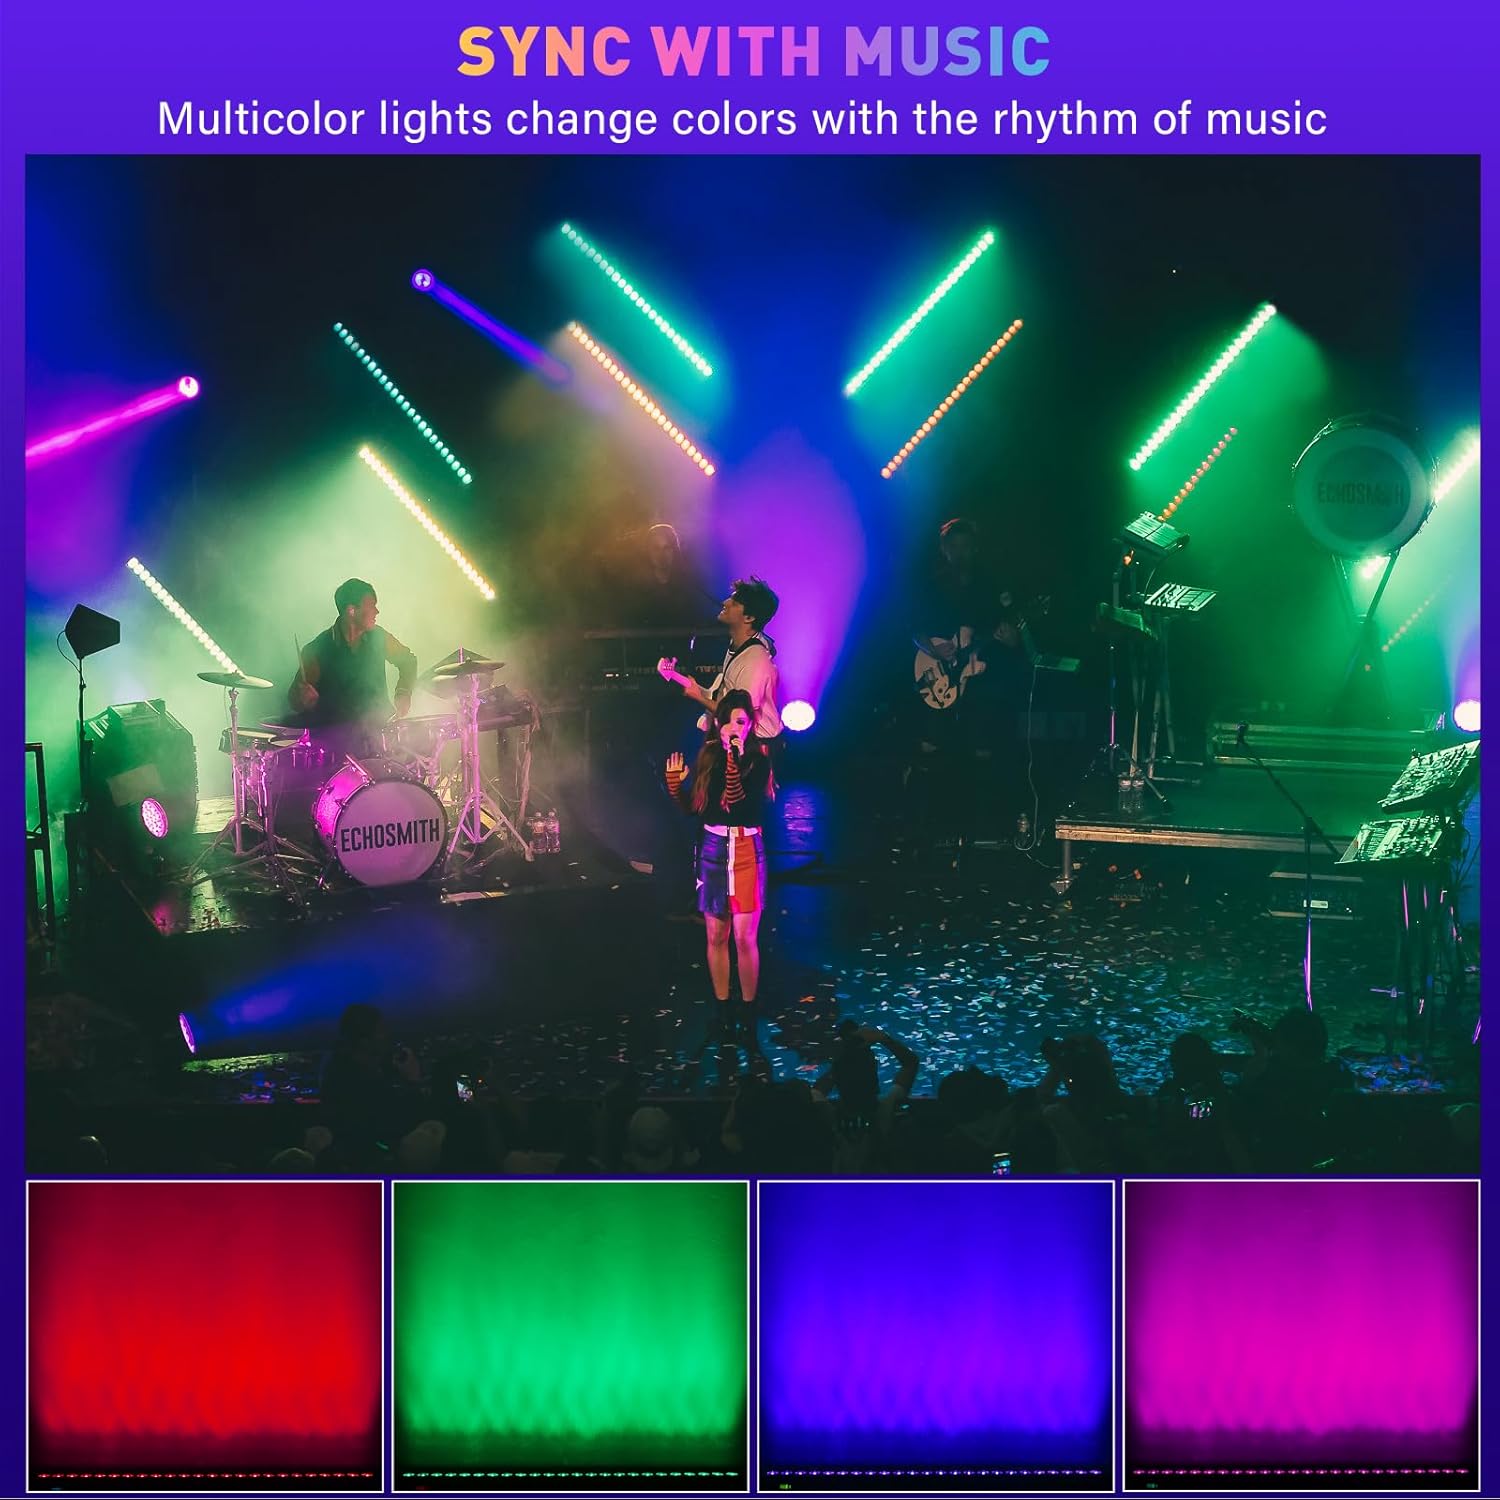
6.2 Sound Active Mode
The Sound Active mode allows the light bar to react to ambient sound or music via its built-in microphone. The light patterns and colors will change in sync with the rhythm. Adjust sensitivity using the UP/DOWN buttons.
6.3 Static Color Mode
Select Static Color mode to display a single, continuous color. Use the UP/DOWN buttons to choose from a range of colors (Red, Green, Blue, or mixed colors).
6.4 Master/Slave Mode
To synchronize multiple YS-BR24 units, connect them using DMX cables. Set one unit as the 'Master' and the others as 'Slave' units. The Slave units will mimic the Master's operation, ensuring synchronized lighting effects across all connected fixtures.
7. DMX Control
The YS-BR24 is compatible with DMX-512 protocol, allowing for advanced control via an external DMX controller. Connect the DMX output of your controller to the 'DMX IN' port of the first light bar. For multiple units, daisy-chain DMX cables from 'DMX OUT' to 'DMX IN' of subsequent units.
7.1 DMX Address Setting
Use the digital display and buttons to set the DMX address for each fixture. Each fixture in a DMX chain requires a unique starting address.
7.2 DMX Channel Modes
The YS-BR24 offers 5 DMX channel modes: 5, 8, 14, 26, and 50 channels. Select the mode that best suits your control requirements. Higher channel counts provide more granular control over individual LEDs, color mixing, and effects.
- 5-Channel Mode: Basic RGB control (Red, Green, Blue intensity) plus chase selection and speed.
- 8, 14, 26, 50-Channel Modes: Offer progressively more control options, including dimmer, strobe, various pre-programmed effects, and finer control over color mixing. Refer to the DMX chart in the full technical specifications for detailed channel assignments.
8. Maintenance
- Cleaning: Regularly clean the lens and housing with a soft, lint-free cloth. Do not use abrasive cleaners or solvents.
- Inspection: Periodically check power cables and DMX connections for any signs of damage.
- Storage: When not in use, store the light bar in a dry, dust-free environment.
9. Troubleshooting
| Problem | Possible Cause | Solution |
|---|---|---|
| Light does not turn on | No power, faulty cable, unit off | Check power connection, try another outlet, ensure unit is powered on. |
| No DMX control | Incorrect DMX address, faulty DMX cable, incorrect channel mode | Verify DMX address, check DMX cable connections, ensure correct DMX channel mode is selected. |
| Sound Active mode not working | Low sound input, microphone obstructed, sensitivity too low | Increase music volume, ensure microphone is clear, adjust sound sensitivity setting. |
| Lights flicker or behave erratically | Power fluctuations, DMX signal interference, loose connection | Ensure stable power supply, check DMX connections, try a different DMX cable. |
10. Specifications
| Feature | Detail |
|---|---|
| Model Number | YS-BR24 |
| Light Source | 24 x 3W RGB 3-in-1 LEDs |
| Total Wattage | 72 Watts |
| Input Voltage | 110 Volts AC |
| Amperage | 0.3 Amps |
| Beam Angle | 40 Degrees |
| Control Modes | DMX512, Sound Active, Auto-Run, Master/Slave, Static Color |
| DMX Channels | 5, 8, 14, 26, 50 channels |
| Material | Aluminum (Powder Coated) |
| Dimensions (L x W x H) | 40" x 2.5" x 2.5" |
| Item Weight | 4 Pounds |
| Mounting Type | Wall mount, Ceiling mount, Floor mount |
11. Warranty and Support
For warranty information or technical support, please refer to the contact details provided with your purchase or visit the official YeeSite website. Keep your proof of purchase for warranty claims.


