Introduction
This manual provides detailed instructions for the RASTAR Ferrari La Ferrari RC Car, Model AC-50100. Please read this manual thoroughly before operating the vehicle to ensure proper use and longevity of the product. This 1/14 scale replica offers an authentic driving experience with meticulous attention to detail.

Image: The RASTAR Ferrari La Ferrari RC Car in yellow, showcasing its detailed design.
1. Setup
1.1 Unboxing
Carefully remove all components from the packaging. Ensure all items listed in the "What's in the Box" section are present.
- Ferrari La Ferrari RC Car (Model AC-50100)
- Remote Control
- Rechargeable Battery (7.4V)
- USB Charging Cable
- Small Screwdriver

Image: Top-down view of the RASTAR Ferrari La Ferrari RC Car, highlighting its sleek design.
1.2 Battery Installation (RC Car)
- Locate the battery compartment on the underside of the RC car.
- Use the provided screwdriver to open the battery compartment cover.
- Connect the rechargeable 7.4V battery to the car's battery connector.
- Carefully place the battery inside the compartment and secure the cover with the screwdriver.
- Ensure the car's power switch (located near the battery compartment) is in the "OFF" position before installation.
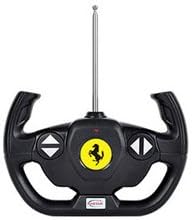
Image: The bottom of the RC car, indicating the battery compartment and power switch.
1.3 Battery Installation (Remote Control)
- Locate the battery compartment on the back of the remote control.
- Open the battery compartment cover.
- Insert 4 AA batteries (not included) into the compartment, ensuring correct polarity (+/-).
- Close the battery compartment cover.
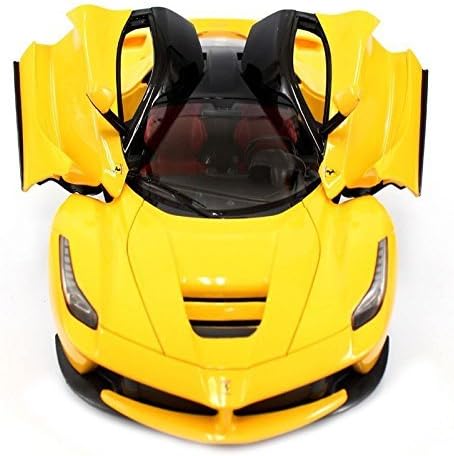
Image: The remote control unit, featuring a steering wheel design.
1.4 Remote Control Wheel Assembly
The steering wheel for the remote control may need to be attached. Simply align the wheel with the designated slot on the side of the remote control and push it firmly into place until it clicks securely.
3. Maintenance
3.1 Battery Charging
To charge the RC car's rechargeable battery:
- Connect the rechargeable battery to the provided USB charging cable.
- Plug the USB cable into a compatible USB power source (e.g., computer, USB wall adapter).
- The charging indicator on the USB cable will show the charging status (e.g., red light for charging, green light for fully charged).
- A full charge typically takes approximately 2 hours. Do not leave batteries unattended while charging.
- Always disconnect the battery from the charger once fully charged.
3.2 Cleaning
To maintain the appearance and functionality of your RC car:
- Wipe the car's body with a soft, dry cloth to remove dust and dirt.
- Avoid using harsh chemicals or abrasive cleaners, as these can damage the finish.
- Keep the car and remote control away from water and moisture.


