1. Introduction
Thank you for choosing the Thor Kitchen HRD3606U Range. This manual provides essential information for the safe and efficient installation, operation, and maintenance of your new appliance. Please read all instructions carefully before use and retain this manual for future reference.
2. Important Safety Information
WARNING: To reduce the risk of fire, electric shock, injury to persons, or damage when using the appliance, follow basic precautions, including the following:
- Read all instructions before using the appliance.
- Ensure proper installation and grounding by a qualified technician.
- Do not store flammable materials in or near the appliance.
- Never use the appliance for warming or heating the room.
- Do not leave children unattended near the range.
- Always use dry potholders. Moist or damp potholders on hot surfaces may result in burns from steam.
- Do not touch heating elements or interior surfaces of the oven.
- Clean the range regularly to prevent grease buildup.
- In case of a gas leak, do not light any appliance, do not touch any electrical switch, and ventilate the area immediately.
3. Product Overview
The Thor Kitchen HRD3606U is a 36-inch freestanding professional-style range featuring a powerful gas cooktop and a spacious electric convection oven. It is designed for versatile cooking performance.
3.1 Key Features
- Cooktop: Six sealed gas burners for various cooking needs:
- Two 18,000 BTU sealed single burners
- One 15,000 BTU dual burner with 650 BTU simmer function
- Three 12,000 BTU sealed single burners
- Oven: 5.2 cu. ft. electric convection oven with a 3,500W top electric broiler and 850W (top) & 3000W (base) electric convection elements.
- User-Friendly Design: Automatic re-ignition for burners, black porcelain drip pan for easy cleaning, and twin halogen lights for oven interior visibility.
- Controls: Manual convection cooking mode and oven control with durable metal control knobs.
3.2 Component Identification

Figure 3.2.1: Front Panel Controls and Features. This image highlights the indicator light, convection fan ON/OFF switch, various burner control knobs, oven control knob, and halogen light ON/OFF switch on the front panel of the HRD3606U range.
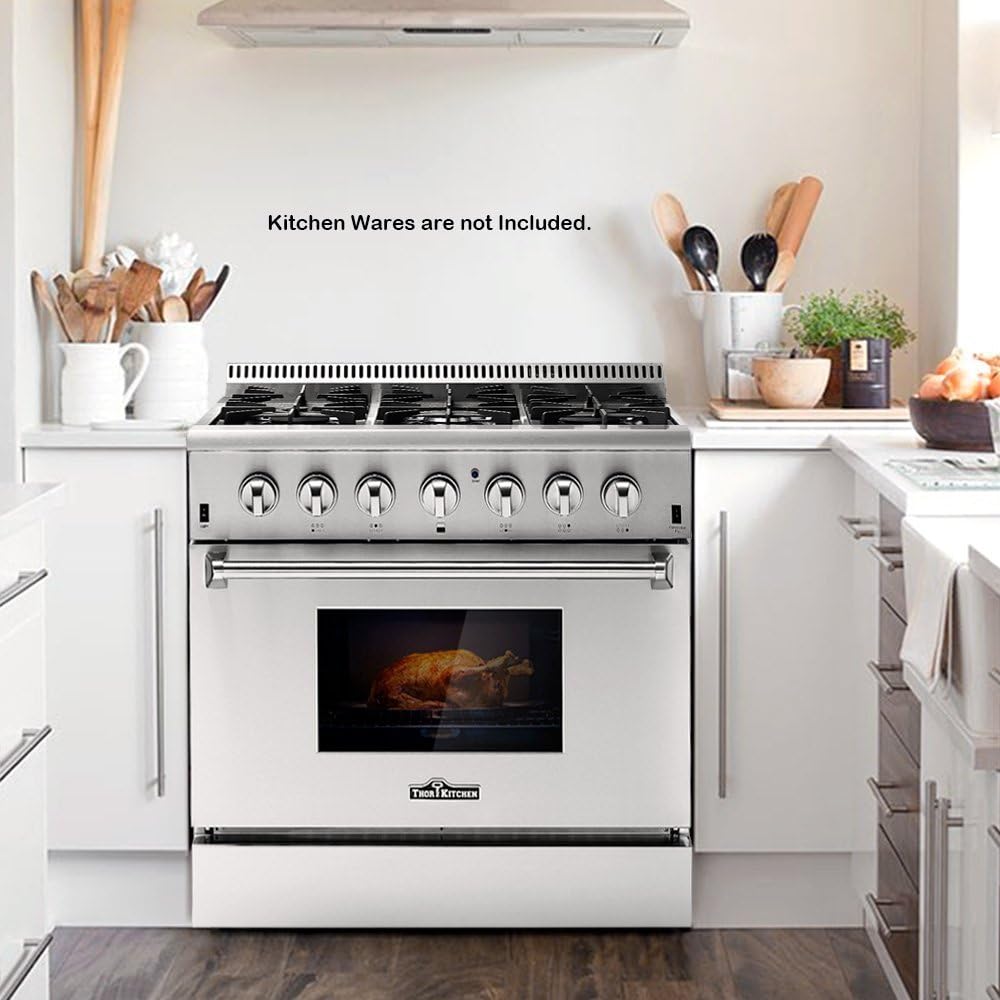
Figure 3.2.2: Thor Kitchen HRD3606U Range in a Kitchen. This image shows the overall appearance of the HRD3606U range, including the cooktop and oven, as it would appear installed in a kitchen environment.

Figure 3.2.3: Cooktop Burners. A detailed view of the six sealed gas burners and heavy-duty cast-iron cooking grates on the HRD3606U range cooktop.

Figure 3.2.4: Key Components. This diagram illustrates various internal and external components of the range, including cast-iron cooking grates, metal control knobs, large oven window, heating pipe, convection fan, and grill racks.
4. Setup & Installation
The Thor Kitchen HRD3606U is a freestanding range. Proper installation is critical for safety and optimal performance. It is highly recommended that installation be performed by a qualified professional.
4.1 Pre-Installation Checklist
- Verify that the installation area meets local codes and ordinances.
- Ensure adequate ventilation is available.
- Confirm electrical supply (240/120 Volts) and gas supply are correctly installed and accessible.
- Check product dimensions: 36 x 27.5 x 39 inches (Width x Depth x Height).
- Ensure the floor can support the appliance weight (approximately 382 pounds).
- Unpack the range carefully and inspect for any shipping damage.
4.2 Leveling the Range
The range must be level for proper cooking performance. Adjust the leveling legs located at each corner of the range until the appliance is stable and level. Use a spirit level to verify.
4.3 Anti-Tip Bracket Installation
An anti-tip bracket must be properly installed to prevent the range from tipping over. Follow the instructions provided with the anti-tip bracket for secure installation to the wall or floor.
5. Operating Instructions
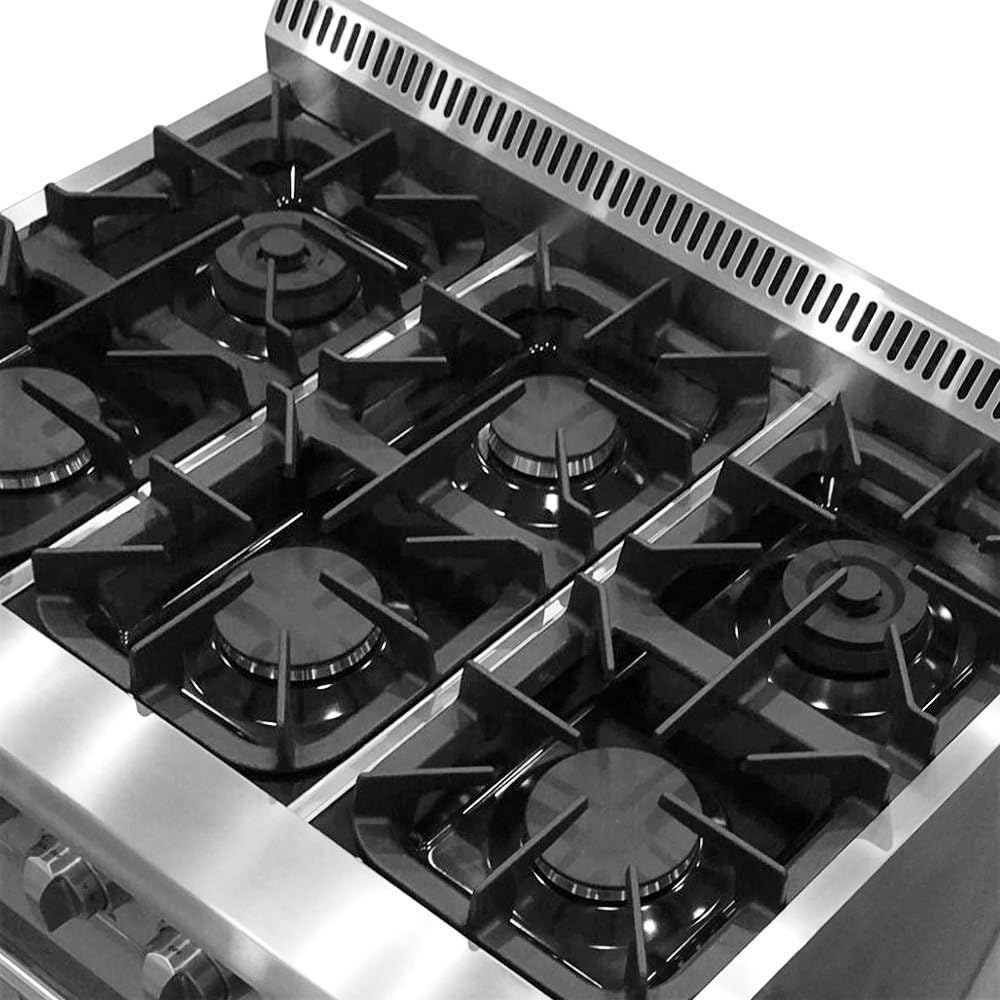
Figure 5.1.1: Control Knobs. A detailed view of the durable metal control knobs, used for adjusting burner flame intensity and oven temperature settings.
5.1 Cooktop Operation
The cooktop features six sealed burners with automatic re-ignition. Each burner is controlled by a dedicated knob on the front panel.
- Igniting a Burner: Push in the desired burner control knob and turn it counter-clockwise to the "HI" position. You will hear a clicking sound as the igniter sparks.
- Adjusting Flame: Once the burner ignites, continue to hold the knob in for a few seconds to allow the thermocouple to heat up. Then, release the knob and rotate it to adjust the flame size from "HI" (high) to "LO" (low).
- Simmer Function: The 15,000 BTU dual burner includes a 650 BTU simmer function. To activate, turn the knob to the lowest setting.
- Turning Off: Turn the burner control knob clockwise to the "OFF" position.
5.2 Oven Operation
The 5.2 cu. ft. electric convection oven offers multiple cooking modes.
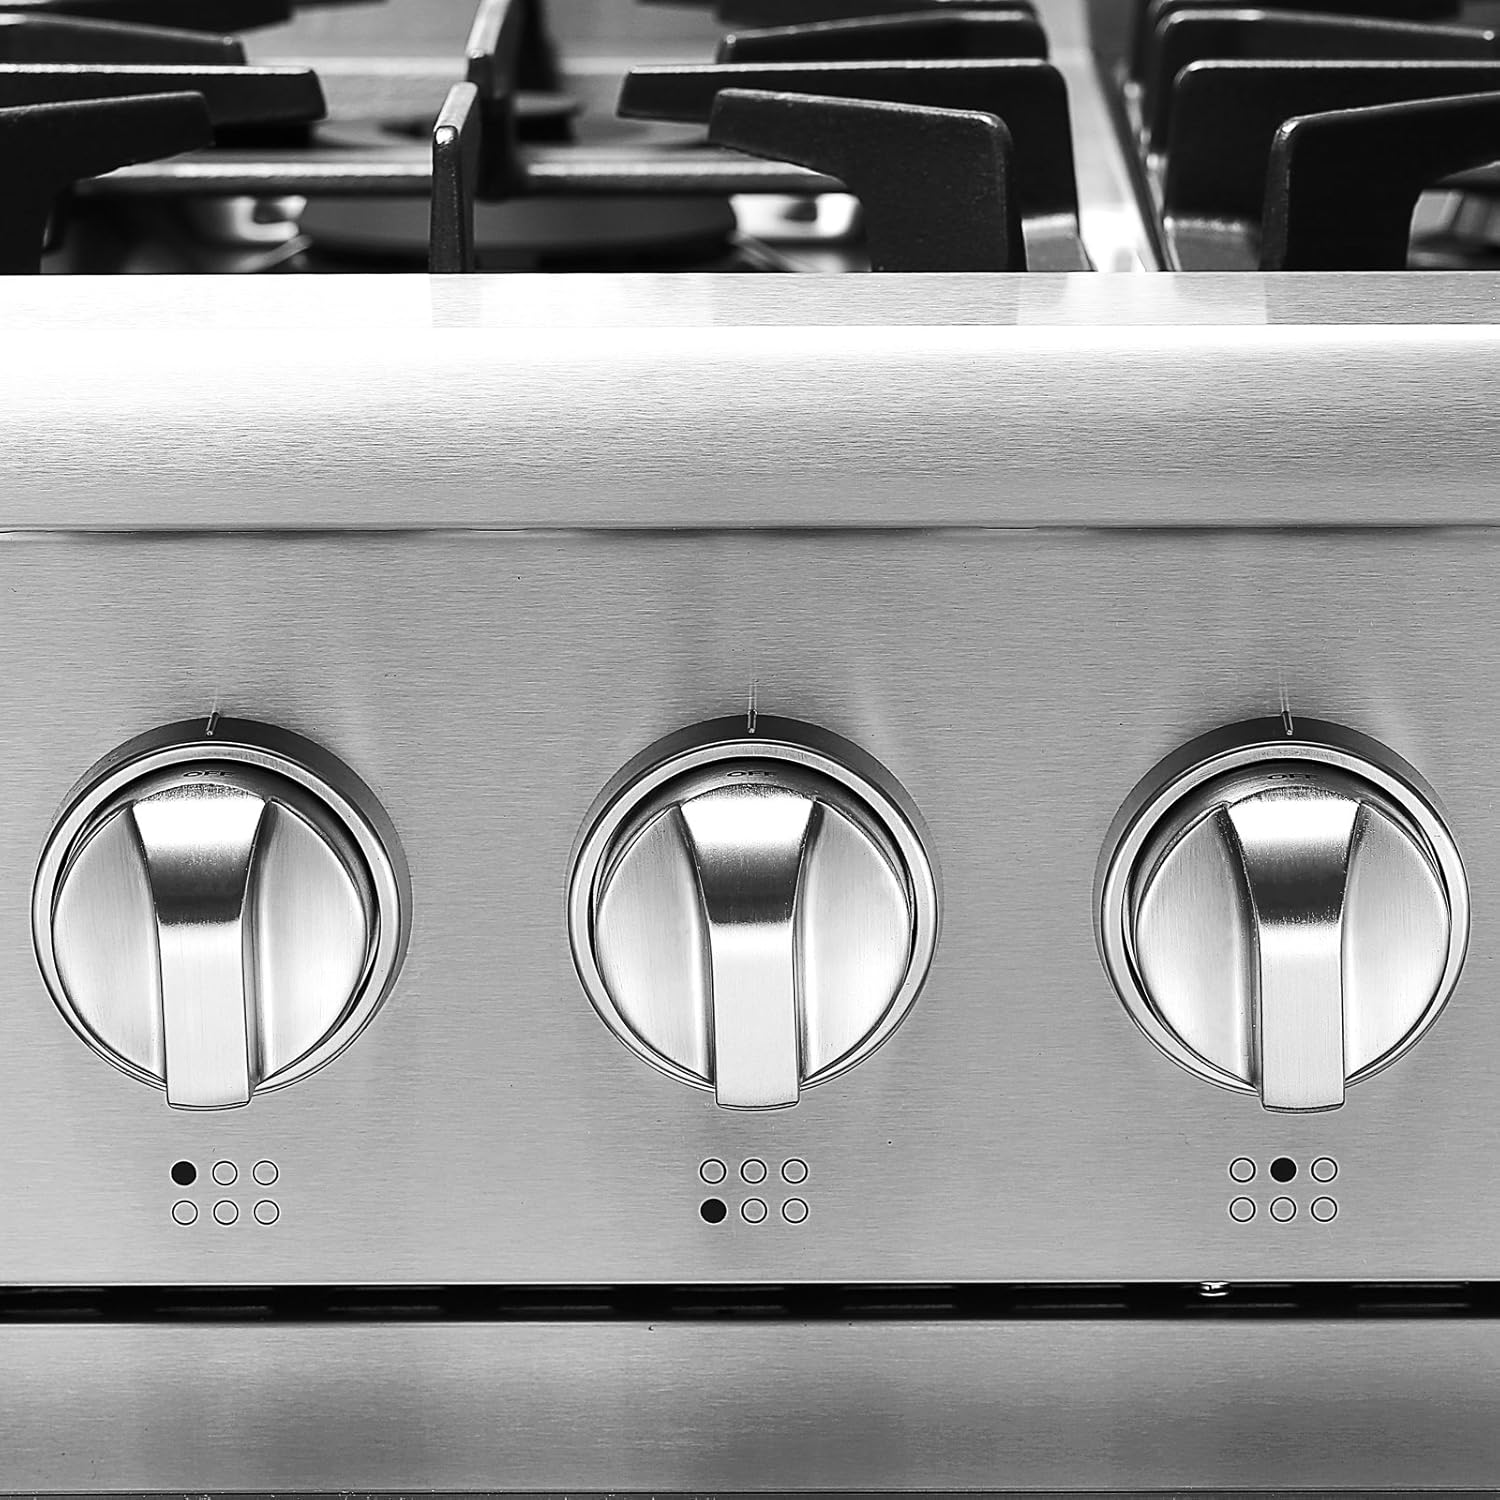
Figure 5.2.1: Oven Interior. This image displays the spacious 5.2 cu. ft. oven interior with two adjustable racks, providing ample space for various cooking needs.
- Setting Oven Temperature: Push in the oven control knob and turn it to the desired temperature. The oven will begin to preheat.
- Convection Cooking: The oven features a commercial convection fan for even heat distribution. To activate the convection fan, press the "Convection Fan ON/OFF" switch located on the front panel.
- Broiling: The top electric broiler (3,500W) is ideal for searing and browning. Select the broiler setting on the oven control knob.
- Oven Lights: The twin halogen lights illuminate the oven interior. Use the "Halogen Light ON/OFF" switch to control them.
- Oven Racks: The oven comes with two racks. Adjust their position before preheating for optimal cooking results.
6. Care and Maintenance
Regular cleaning and maintenance will ensure the longevity and optimal performance of your Thor Kitchen HRD3606U Range.
6.1 Cleaning the Cooktop
- Burners and Grates: Allow burners and cast-iron grates to cool completely. Remove grates and clean with warm, soapy water. For stubborn stains, use a non-abrasive cleaner.
- Porcelain Drip Pan: The black porcelain drip pan facilitates surface cleaning. Wipe spills immediately with a damp cloth. For baked-on food, use a mild abrasive cleaner or a baking soda paste.
- Stainless Steel Surfaces: Clean with a soft cloth and a stainless steel cleaner. Always wipe in the direction of the grain.
6.2 Cleaning the Oven
- Oven Interior: The black porcelain oven interior can be cleaned with warm, soapy water and a soft cloth. For heavy soil, use an oven cleaner specifically designed for porcelain enamel, following the product instructions carefully.
- Oven Racks: Remove racks and clean with warm, soapy water. For stubborn residue, a scouring pad can be used.
- Oven Door: Clean the glass with a non-abrasive glass cleaner.
6.3 Replacing Halogen Lights
Ensure the oven is cool and disconnected from power before attempting to replace halogen bulbs. Refer to the specific instructions in the full manual for bulb type and replacement procedure.
7. Troubleshooting Guide
Before contacting customer service, please refer to the following troubleshooting guide for common issues.
| Problem | Possible Cause | Solution |
|---|---|---|
| Burner does not ignite. |
|
|
| Oven not heating. |
|
|
| Uneven cooking in oven. |
|
|
If the problem persists after attempting these solutions, please contact Thor Kitchen customer support.
8. Product Specifications
| Feature | Detail |
|---|---|
| Brand Name | Thor Kitchen |
| Model Info | HRD3606U |
| Item Weight | 382 pounds |
| Product Dimensions (W x D x H) | 36 x 27.5 x 39 inches |
| Capacity | 5.2 Cubic Feet (Oven) |
| Installation Type | Freestanding |
| Form Factor | Single Oven |
| Oven Cooking Mode | Convection |
| Burner Type | Sealed |
| Drawer Type | Broiler |
| Heating Elements | 6 (Burners) |
| Color | Black (Oven Interior), Stainless Steel (Exterior) |
| Control Console | Knob |
| Voltage | 240/120 Volts |
| Racks | 2 (Oven) |
| Fuel Type | Electric (Oven), Gas (Cooktop) |
| Material Type | Stainless Steel |
| Included Components | Manual |
9. Warranty and Customer Support
For warranty information and details regarding your Thor Kitchen HRD3606U Range, please refer to the separate warranty card included with your purchase or visit the official Thor Kitchen website. For technical assistance, parts, or service inquiries, please contact Thor Kitchen customer support.
Thor Kitchen Customer Support:
- Visit the Thor Kitchen Store on Amazon
- Refer to your product documentation for direct contact information.


