1. Introduction
The Dell PowerEdge R720 is a 2-socket, 2U rack server designed for complex workloads, offering highly scalable memory, I/O capacity, and flexible network options. This manual provides essential information for setting up, operating, maintaining, and troubleshooting your server.

Image: Front view of the Dell PowerEdge R720 server, showing the drive bays and control panel.
2. Key Features
- Processor: Dual 2.60GHz E5-2670 processors, providing 16 total cores for high-performance computing.
- Memory: 192GB RAM for extensive multitasking and demanding applications.
- Storage: 8x 2TB 7.2K SATA 3.5" HDDs, offering substantial storage capacity.
- RAID Controller: H710P with 512MB cache for advanced data protection and performance.
- Remote Management: Integrated Dell Remote Access Controller 7 (iDRAC7) for out-of-band management.
- Power Supply: Dual 750W Power Supply Units (PSUs) for redundancy and reliable power delivery.
- Optical Drive: Includes a DVD-ROM drive.

Image: Angled front view of the Dell PowerEdge R720 server, showcasing its rack-mountable design.
3. Setup Guide
3.1 Unpacking and Inspection
Carefully remove the server from its packaging. Inspect for any signs of damage during transit. Ensure all components listed in your packing slip are present.
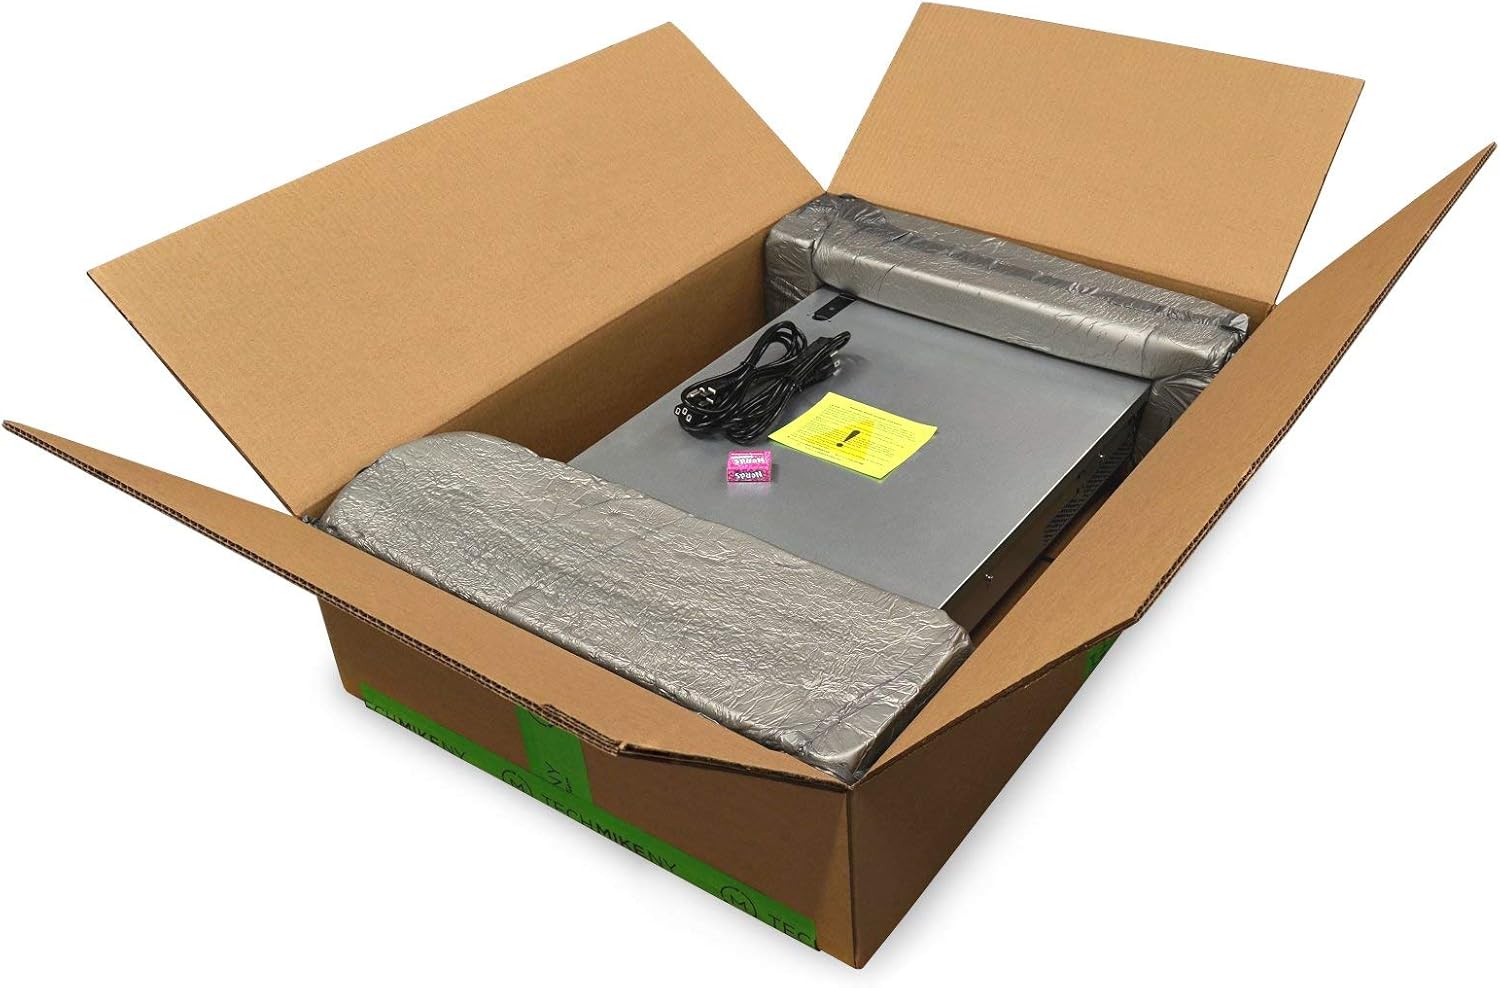
Image: The Dell PowerEdge R720 server as it appears when unpacked from its shipping box.
3.2 Rack Installation
Install the server into a standard 2U rack using compatible rack rails (not included). Ensure proper ventilation around the server for optimal cooling.
3.3 Power Connection
Connect both 750W power supply units to separate, grounded power sources for redundancy. Power on the server using the power button on the front panel.

Image: Rear view of the Dell PowerEdge R720 server, highlighting the dual power supplies and network ports.
3.4 Initial Configuration
Upon first boot, access the BIOS settings to configure boot options, including UEFI booting if desired. Configure the RAID controller (H710P) to set up your storage arrays (e.g., RAID 1 for OS, RAID 5 for data) before installing an operating system.
4. Operating Instructions
4.1 Powering On/Off
- To Power On: Press the power button on the front panel.
- To Power Off: Perform a graceful shutdown through the operating system. For a hard shutdown, press and hold the power button until the server powers off.
4.2 iDRAC7 Remote Management
The iDRAC7 (Integrated Dell Remote Access Controller 7) allows for remote management of the server, including monitoring, power control, and virtual console access. Connect the iDRAC network port to your network and access its web interface via a web browser using its assigned IP address. Ensure the iDRAC Enterprise license is active for full functionality.
4.3 Operating System Installation
Install your preferred operating system (e.g., Windows Server, Linux distributions like Ubuntu Server, Proxmox, ESXi) after configuring the RAID arrays. You can use the DVD-ROM drive or a bootable USB drive for installation. Ensure all necessary drivers are installed for optimal performance.
5. Maintenance
5.1 Regular Cleaning
Periodically clean the server's exterior and ensure air vents are free from dust and obstructions to maintain proper airflow and cooling. Use compressed air to gently clear dust from internal components if necessary, ensuring the server is powered off and unplugged.
5.2 Firmware Updates
Regularly check Dell's support website for the latest firmware updates for the BIOS, iDRAC, and RAID controller. Keeping firmware up-to-date ensures optimal performance, stability, and security.
5.3 Drive Management
Monitor the health of your hard drives through the RAID controller utility or iDRAC. In case of a drive failure, replace it promptly with a compatible drive to maintain data integrity and RAID array functionality.
6. Troubleshooting
6.1 Hard Drives Not Recognized
If hard drives are not recognized, ensure they are properly seated in their bays. Check the RAID controller configuration within the BIOS or iDRAC to confirm the drives are detected and configured correctly. Verify that the physical disks are inserted into the enclosure or attached to the backplane. Ensure the host system is powered on or shut down as required for detection.
6.2 Power Issues
If the server does not power on, verify that both power supply units are securely connected to active power outlets. Check the power supply status indicators. If one PSU fails, the redundant PSU should keep the server operational.
6.3 System Alerts
Monitor system alerts via the iDRAC web interface or the server's front panel display. These alerts provide critical information regarding hardware status, fan speeds, temperatures, and other potential issues.
7. Technical Specifications
| Component | Detail |
|---|---|
| Model | Dell PowerEdge R720 |
| Processor | 2x Intel Xeon E5-2670 (2.6 GHz, 8 Cores each, 16 Cores Total) |
| RAM | 192 GB DDR3 SDRAM |
| Hard Drives | 8x 2TB 7.2K SATA 3.5" HDD |
| RAID Controller | H710P with 512MB |
| Remote Management | iDRAC7 |
| Optical Drive | DVD-ROM |
| Power Supplies | 2x 750W PSU |
| Dimensions (LxWxH) | 27.64 x 18.99 x 3.44 inches |
| Weight | 57.9 pounds |
8. Warranty and Support
This Dell PowerEdge R720 server, as a Certified Refurbished product, includes a minimum 90-day warranty. For technical support, warranty claims, or further assistance, please refer to the documentation provided by your reseller or visit the official Dell support website.
For additional resources and community support, you may find information on Dell's official forums or IT professional communities.


