
1. Introduction
Thank you for purchasing the SMART SENSOR Digital Anemometer AS806. This compact and lightweight device is designed for accurate measurement of wind speed and wind temperature. It features multiple functions including current, maximum, minimum, and average value display, data hold, manual/auto power off, low battery indication, and backlight. Please read this manual thoroughly before use to ensure proper operation and to extend the life of your device.
2. Safety Information
- Do not attempt to disassemble or modify the device.
- Keep the device away from water and high humidity environments.
- Avoid exposing the device to extreme temperatures or direct sunlight for prolonged periods.
- Remove the battery if the device will not be used for an extended period to prevent leakage.
- Handle the impeller carefully to prevent damage.
3. Product Overview
3.1 Components
The SMART SENSOR AS806 Digital Anemometer consists of a main body with an LCD display and an integrated impeller for wind speed measurement.
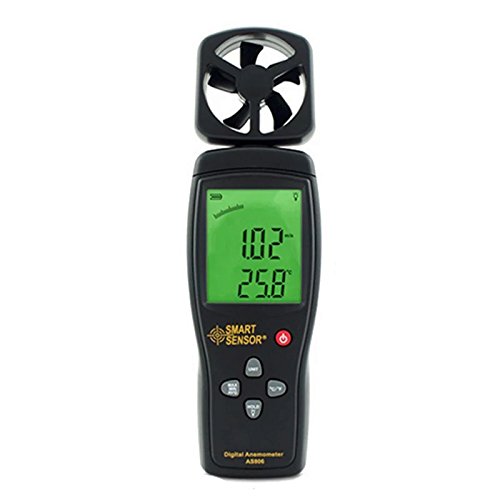
Figure 1: Front view of the SMART SENSOR AS806 Digital Anemometer.
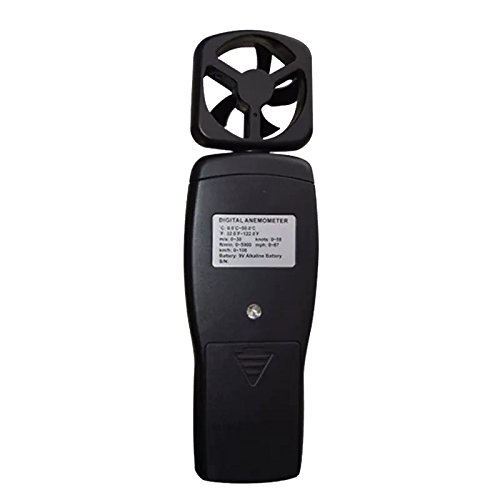
Figure 2: Back view of the device, showing the battery compartment.
3.2 Display and Buttons
The device features an LCD display that shows measurement readings and various indicators. Control buttons allow for mode selection, unit conversion, data hold, and backlight activation.
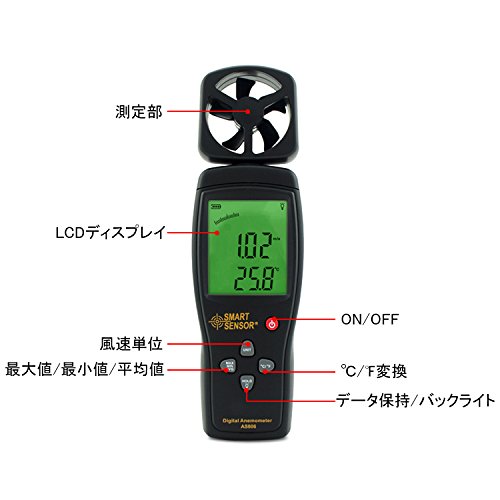
Figure 3: Detailed view of the LCD display and control buttons. Key elements include the measurement section (impeller), LCD display, ON/OFF button, wind unit selection, Max/Min/Avg function, °C/°F conversion, and Data Hold/Backlight button.
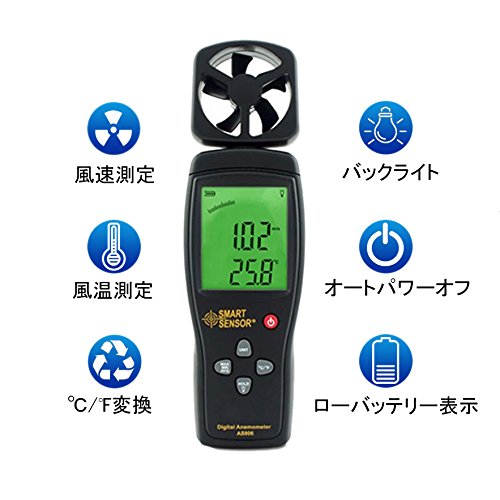
Figure 4: Overview of key features: Wind Speed Measurement, Wind Temperature Measurement, °C/°F Conversion, Backlight, Auto Power Off, and Low Battery Indicator.
4. Specifications
4.1 Technical Parameters
| Parameter | Value |
|---|---|
| Wind Speed Range | 0.3 ~ 45 m/s |
| Wind Speed Accuracy | ±3% + 0.1 |
| Wind Speed Units | m/s, Ft/min, Knots, km/h, Mph |
| Wind Temperature Range | 0 ~ 45 °C |
| Wind Temperature Accuracy | ±2 °C |
| Resolution | 0.001 m/s |
| Max/Min/Average Value | Yes |
| °C/°F Conversion | Yes |
| Backlight | Yes |
| Manual/Auto Power Off | Yes |
| Analog Display | Yes |
| Data Hold Function | Yes |
4.2 General Specifications
- Power Supply: 9V Battery
- Weight: 170g
- Dimensions: 220 x 65 x 30 mm
- Material: Plastic PCB
- UPC: 799789670206
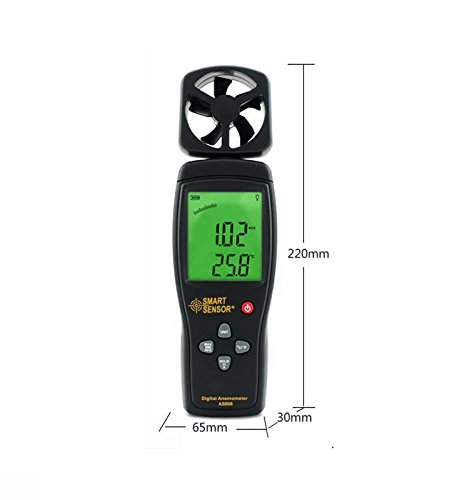
Figure 5: Device dimensions: 220mm (height), 65mm (width), 30mm (depth).
5. Setup
5.1 Battery Installation
- Locate the battery compartment cover on the back of the device (refer to Figure 2).
- Slide the cover downwards to open the compartment.
- Insert a 9V battery, ensuring the correct polarity (+/-).
- Close the battery compartment cover by sliding it upwards until it clicks into place.
Note: A low battery indicator will appear on the display when the battery needs replacement.
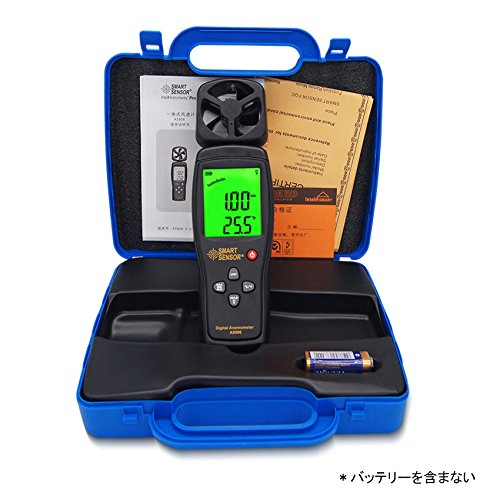
Figure 6: Package contents, including the anemometer and user manual. Note: Battery is not included.
6. Operating Instructions
6.1 Power On/Off
- To power on the device, press the ON/OFF button.
- To power off the device, press and hold the ON/OFF button for a few seconds.
- The device also features an auto power-off function to conserve battery life. It will automatically shut down after a period of inactivity.
6.2 Wind Speed and Temperature Measurement
Once powered on, the device will immediately begin measuring wind speed and temperature. Hold the device so that the impeller faces the wind source for accurate readings. The current wind speed and temperature will be displayed on the LCD.
6.3 Unit Conversion
- Wind Speed Units: Press the UNIT button to cycle through available wind speed units: m/s, Ft/min, Knots, km/h, Mph.
- Temperature Units: Press the °C/°F button to switch between Celsius and Fahrenheit for temperature display.
6.4 Data Hold Function
To freeze the current readings on the display, press the HOLD button. Press it again to release the hold and resume live measurement.
6.5 Backlight
To activate the display backlight for better visibility in low-light conditions, press the LIGHT button (often combined with HOLD). Press it again to turn off the backlight.
6.6 Max/Min/Average Measurement
The device can display the maximum, minimum, and average wind speed values recorded during a measurement session. Refer to the specific button labeled for these functions (e.g., MAX/MIN/AVG or similar) and press it to cycle through these modes.
7. Maintenance
- Cleaning: Wipe the device with a soft, dry cloth. Do not use abrasive cleaners or solvents.
- Storage: Store the device in a cool, dry place when not in use. Remove the battery for long-term storage.
- Impeller Care: Ensure the impeller is free from dust and debris for accurate readings. Avoid touching the impeller blades directly.
8. Troubleshooting
| Problem | Possible Cause | Solution |
|---|---|---|
| Device does not power on. | Low or dead battery; incorrect battery installation. | Replace the 9V battery; ensure correct polarity. |
| Inaccurate readings. | Impeller obstructed; device not positioned correctly. | Clear any obstructions from the impeller; ensure impeller faces the wind directly. |
| Display is dim or blank. | Low battery; backlight off. | Replace battery; press the backlight button. |
9. Warranty and Support
This product comes with a manufacturer's warranty. Please refer to the warranty card included in the package for details regarding coverage and duration. For technical support or warranty claims, please contact your retailer or the manufacturer directly.


