Introduction
Thank you for choosing the EXTEL DiBi More Universal Wireless Doorbell Extension. This device is designed to enhance your home's accessibility by extending the reach of your existing doorbell or intercom system. With its wireless capabilities and long range, you can ensure you are always aware of visitors, no matter where you are in your home or garden.
This manual provides detailed instructions for setting up, operating, and maintaining your EXTEL DiBi More system. Please read it carefully before use to ensure proper functionality and to maximize the lifespan of your product.
Product Overview

Figure 1: The EXTEL DiBi More system, showing the white chime unit and the black universal transmitter.
The EXTEL DiBi More system consists of two main components:
- Chime Unit (Receiver): This is the white unit that produces the sound and flash alerts. It can be wall-mounted or placed on a table.
- Universal Transmitter (Sensor): This is the black unit that detects the sound of your existing doorbell or intercom and sends a signal to the chime unit. It is designed for wall mounting.
Key Features
- Universal doorbell extension with a range of up to 200 meters in open field.
- Compatible with various intercom and doorbell systems.
- Low battery alert function for both chime and transmitter.
- Silent mode with visual flash notification.
- Adjustable volume and choice of 6 ringtones.
- Customizable ringtones for different stations to differentiate entry points.
- Expandable platform supporting up to 4 chimes and 4 transmitters.
Package Contents
Please ensure all items are present in the package:
- 1 x Flash Chime Unit (Receiver)
- 1 x Universal Extension Transmitter (Sensor)
- User Manual (this document)
Note: Batteries are not included and must be purchased separately.
Setup
1. Battery Installation
For the Chime Unit:
- Locate the battery compartment on the back of the chime unit.
- Open the compartment cover.
- Insert 3 x AA (LR06) batteries, ensuring correct polarity (+/-).
- Close the battery compartment cover securely.
For the Universal Transmitter:
- Locate the battery compartment on the back of the transmitter.
- Open the compartment cover.
- Insert 2 x AA (LR06) batteries, ensuring correct polarity (+/-).
- Close the battery compartment cover securely.
2. Placement

Figure 2: Example placement of the chime unit in a living area.
Chime Unit:
- The chime unit is designed for indoor use only.
- It can be placed on a flat surface (e.g., table, shelf) or wall-mounted using appropriate screws (not supplied).
- Choose a central location within your home where the chime can be easily heard and seen.
Universal Transmitter:
- The transmitter is designed for outdoor use (IP44 rated) and should be wall-mounted.
- Mount the transmitter near your existing doorbell or intercom speaker. Ensure it is close enough to reliably detect the sound of your original doorbell.
- Optimal placement is typically within 10-30 cm of the sound source.
3. Pairing / Association
The chime and transmitter are usually pre-paired from the factory. If they do not communicate, or if you are adding additional units, follow these steps:
- On the chime unit, press and hold the Music Note button (ringtone selection) for approximately 3 seconds until the chime emits a short beep and its LED indicator starts flashing, indicating it is in pairing mode.
- Within 10 seconds, activate your existing doorbell or intercom system. The transmitter will detect the sound and send a signal.
- The chime unit will ring once to confirm successful pairing. The LED indicator will stop flashing.
- You can associate up to 4 transmitters with one chime, and up to 4 chimes with one transmitter. Repeat the process for each additional unit.
Operation
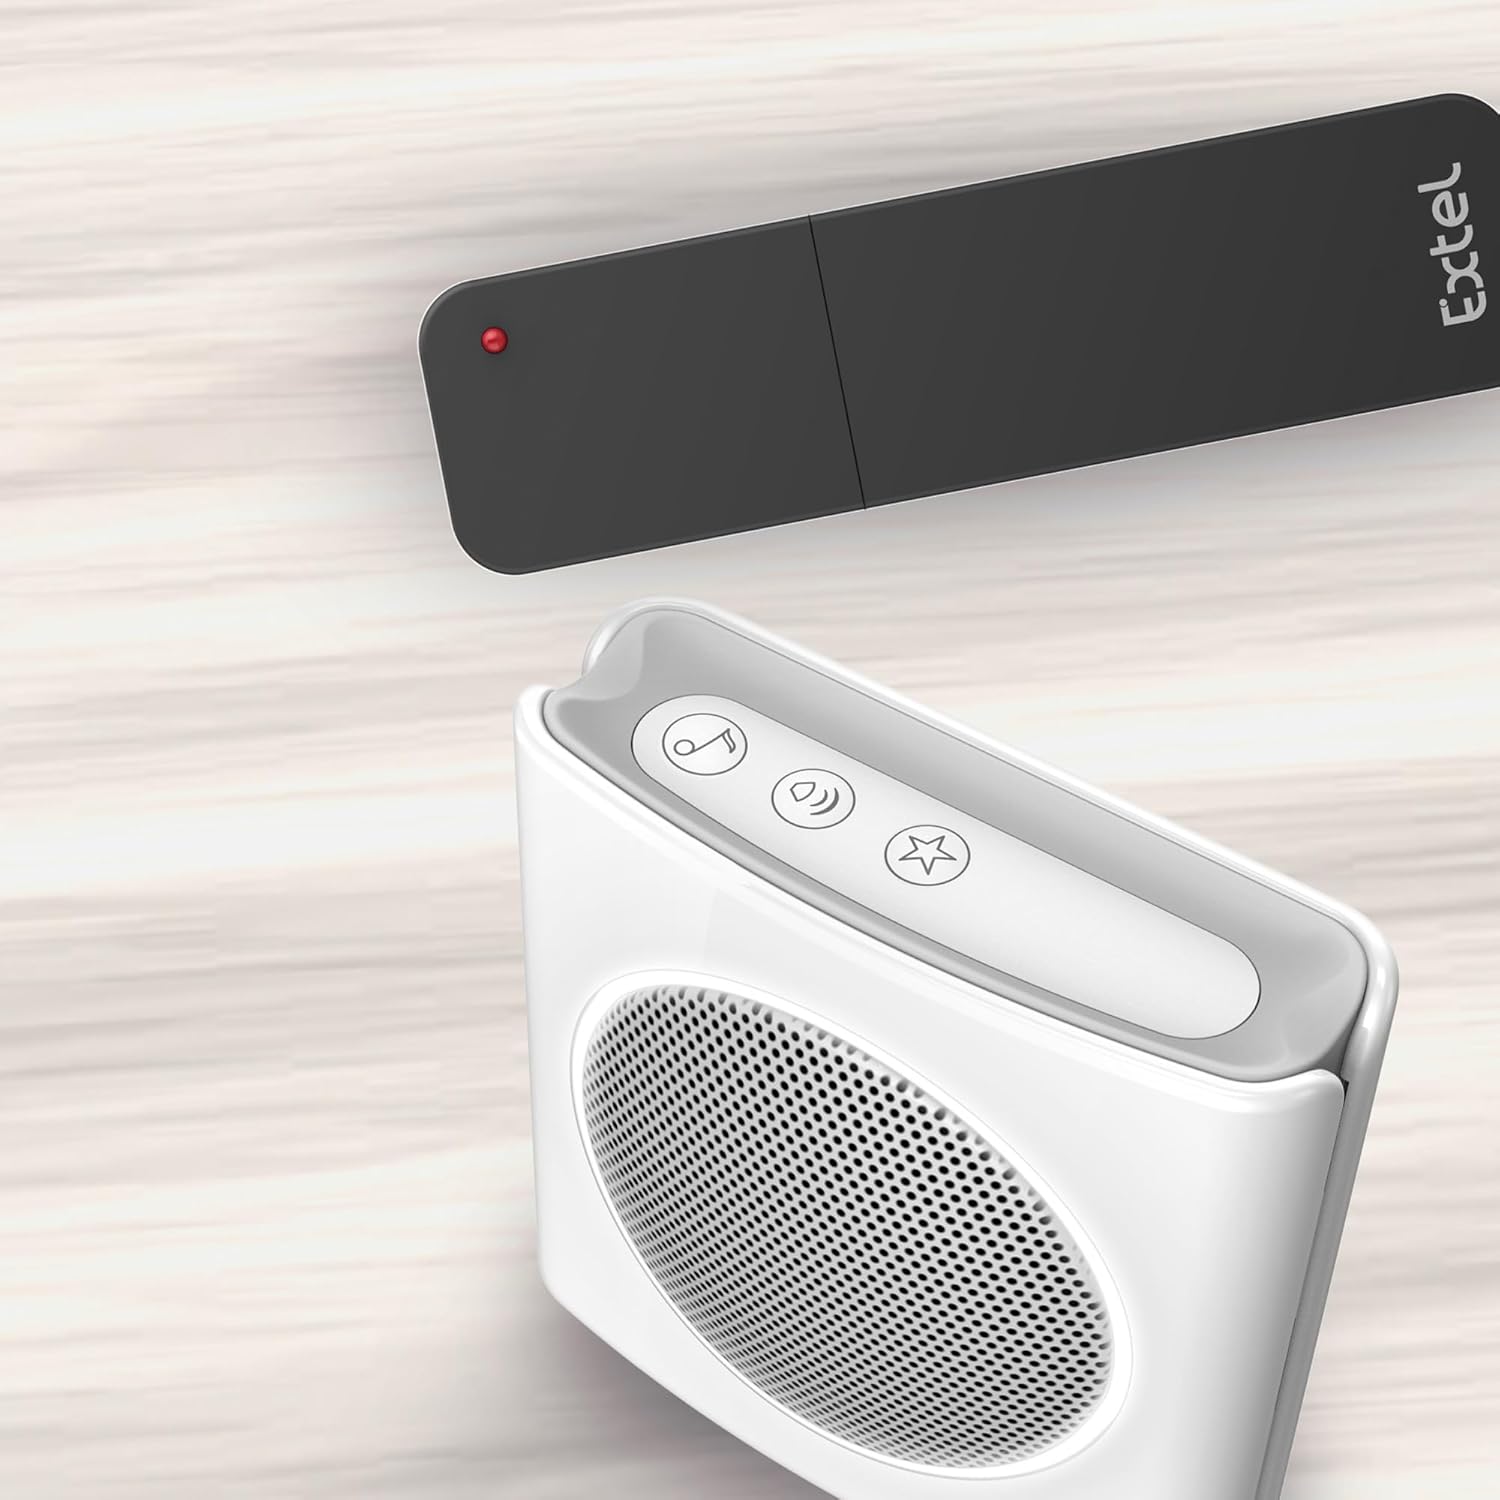
Figure 3: Top view of the chime unit, showing the control buttons.
1. Adjusting Volume
- Press the Speaker button (volume control) on the chime unit repeatedly to cycle through the available volume levels. There are multiple levels, including a silent mode.
2. Changing Ringtone
- Press the Music Note button (ringtone selection) on the chime unit repeatedly to cycle through the 6 available ringtones. The chime will play a preview of each ringtone.
3. Chime Modes (Ring / Flash / Silent)
- The chime unit offers three modes: Ring (sound only), Flash (silent with visual flash), and Ring + Flash (sound and visual flash).
- To change the mode, press the Star button (mode selection) on the chime unit repeatedly until you reach your desired mode.
4. Low Battery Alert
- The system features a low battery alert. When the batteries in either the chime or the transmitter are low, the chime unit will emit a flash and a beep to notify you. Replace the batteries promptly to ensure continuous operation.
5. Detection Sensitivity (Transmitter)
The transmitter has an adjustable detection sensitivity. This can help prevent false alarms from ambient noise while ensuring it picks up your doorbell's sound.
- To adjust sensitivity, open the transmitter's battery compartment.
- Locate the small potentiometer (a screw-like dial) inside the compartment.
- Use a small screwdriver to turn the potentiometer. Turning it counter-clockwise typically decreases sensitivity, while turning it clockwise increases it.
- Test the sensitivity after each adjustment by activating your main doorbell.
Maintenance
Battery Replacement
When the low battery alert activates, replace the batteries in the respective unit (chime or transmitter) as soon as possible. Refer to the 'Battery Installation' section for instructions on opening the compartments and inserting new batteries.
Cleaning
Clean the units with a soft, dry cloth. Do not use abrasive cleaners, solvents, or harsh chemicals, as these can damage the plastic surfaces. Ensure no liquid enters the units, especially the chime unit which is for indoor use only.
Water Resistance
The universal transmitter is rated IP44, meaning it is protected against solid objects larger than 1mm and against splashing water from any direction. While suitable for outdoor use, avoid submerging it in water or exposing it to direct, heavy rainfall for extended periods.
Troubleshooting
| Problem | Possible Cause | Solution |
|---|---|---|
| Chime does not ring when doorbell is activated. |
|
|
| Chime rings or flashes without doorbell activation (false alarms). |
|
|
| Short battery life. |
|
|
| Limited range. |
|
|
Specifications
| Brand | EXTEL |
| Model Number | 081748 |
| Connectivity | Wireless |
| Max Range (Open Field) | 200 meters |
| Frequency | 433 MHz |
| Ringtones | 6 Extel ringtones |
| Sound Level | 85dB |
| Chime Modes | Ring / Flash (silent) / Ring + Flash |
| Max Transmitters | 4 |
| Max Receivers | 4 |
| Low Battery Alert | Yes (flash + beep) |
| Chime Power Supply | 3 x AA (LR06) batteries (not supplied) |
| Transmitter Power Supply | 2 x AA (LR06) batteries (not supplied) |
| Chime Use Environment | Indoor |
| Transmitter Use Environment | Outdoor (IP44) |
| Chime Dimensions (H x W x D) | 90 x 90 x 35 mm |
| Transmitter Dimensions (H x W x D) | 130 x 35 x 20 mm |
| Certifications | CE, RoHS, REACH |
Warranty and Support
Specific warranty information for the EXTEL DiBi More is not provided in this manual. For details regarding warranty coverage, duration, and claims, please refer to the documentation included with your purchase or contact EXTEL customer support directly.
For technical assistance, troubleshooting beyond this manual, or spare parts inquiries, please visit the official EXTEL website or contact their customer service department. Contact information can typically be found on the product packaging or the manufacturer's website.


