
Introduction
The Whitmor 5 Line Retractable Dryer provides a convenient and space-saving solution for air-drying clothes. This wall-mounted unit offers 170 feet of drying space across 5 retractable lines, suitable for both indoor and outdoor use. This manual provides detailed instructions for the proper installation, operation, and maintenance of your retractable dryer.
Safety Information
- Ensure the mounting surface is sturdy and capable of supporting the weight of the unit and wet laundry.
- Do not overload the lines. The unit is designed for typical household laundry items.
- Keep children and pets away from the retractable lines during use to prevent entanglement or injury.
- Always retract the lines when not in use to prevent accidental contact and maintain product longevity.
- Use appropriate tools for installation as specified.
Package Contents
Verify that all components are present before beginning installation:
- 1 x Whitmor 5 Line Retractable Dryer Unit
- 1 x Wall Mounting Bracket (for the main unit)
- 1 x End Mounting Bracket (for securing the lines)
- Mounting Hardware (screws, wall anchors)
Specifications
| Feature | Detail |
|---|---|
| Model Number | 6242-8750-BB |
| Material | Metal, Plastic, Polyethylene |
| Product Dimensions | 8.07"D x 36.61"W x 4.92"H |
| Item Weight | 11.12 Pounds |
| Mounting Type | Wall Mount |
| Number of Lines | 5 |
| Total Drying Space | 170 feet |
| Special Feature | Adjustable, Retractable |
| Assembly Required | Yes |
Setup and Installation
Tools required: Phillips screwdriver, drill (if using wall anchors), pencil, measuring tape.
- Choose Location: Select a suitable wall for mounting. Ensure the wall is structurally sound and can support the weight. The distance between the main unit and the end bracket should allow for the desired line length, up to 170 feet.
- Mount Main Unit: Position the main retractable dryer unit at the desired height. Mark the screw holes with a pencil. Drill pilot holes if necessary and secure the unit to the wall using the provided mounting hardware and a Phillips screwdriver.
- Mount End Bracket: Extend one of the lines from the main unit to the opposite wall where you intend to secure the lines. Mark the position for the end mounting bracket. Ensure the line is taut and level. Secure the end bracket to the wall using the provided hardware.
- Attach Lines: Each line has a small knob at its end. Pull out a line and hook the knob into the designated slot on the end mounting bracket.
- Lock and Tighten Lines: On the main unit, locate the 'Unlock' knob (Image 3) and the 'Tightens' knob (Image 4). After attaching the line to the end bracket, turn the 'Tightens' knob to remove any slack and ensure the line is taut.

Image 1: Main unit with 'Unlock' knob.

Image 2: Main unit with 'Tightens' knob for tension adjustment.

Image 3: Attaching the line to the end bracket.
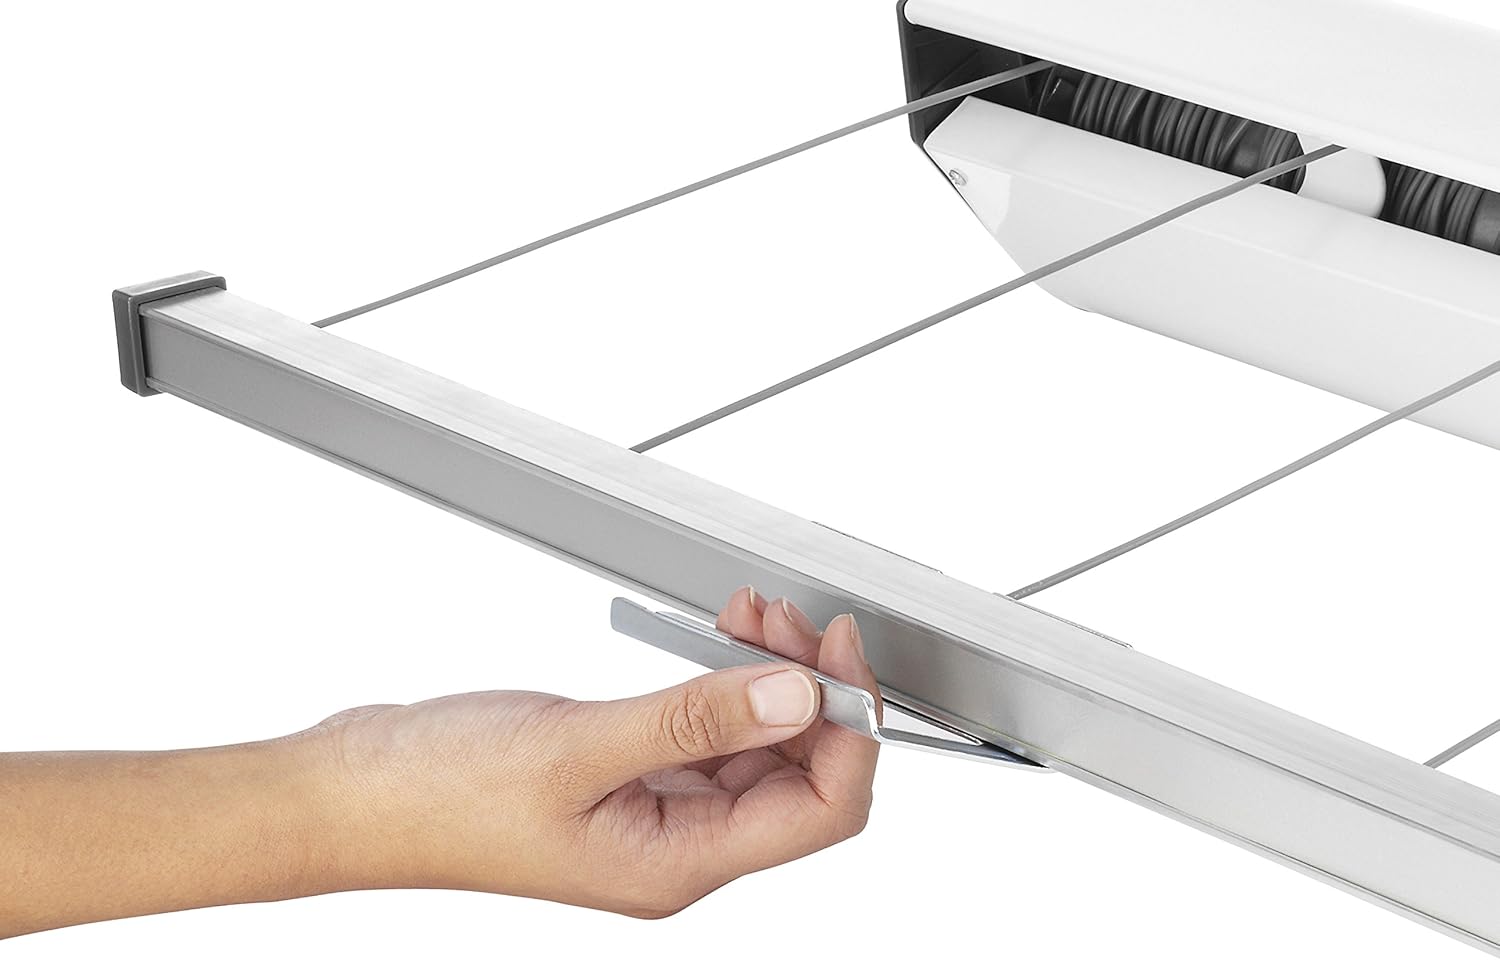
Image 4: End bracket for securing the lines.
Video 1: Demonstration of retractable clothesline installation and use. This video shows the process of mounting the unit, extending the lines, and securing them, highlighting the auto-recycling and one-click lock features.
Operating Instructions
- Extend Lines: Gently pull the knob at the end of each line from the main unit. The lines will extend smoothly.
- Secure Lines: Hook the knob at the end of the extended line into the corresponding slot on the end mounting bracket.
- Tighten Lines: Once all desired lines are secured, turn the 'Tightens' knob on the main unit to increase tension and prevent sagging when clothes are hung.
- Hang Clothes: Hang your wet clothes evenly across the taut lines. Ensure not to exceed the weight capacity.
- Retract Lines: When drying is complete, remove all clothes. Loosen the 'Tightens' knob on the main unit, then unhook the line from the end bracket. The line will automatically retract back into the main unit.

Image 5: Whitmor 5 Line Retractable Dryer in use, showing clothes drying on extended lines.
Maintenance
- Cleaning: Wipe the unit and lines with a damp cloth periodically to remove dust or residue. Avoid harsh chemicals.
- Inspection: Regularly check the lines for any signs of wear, fraying, or damage. Inspect mounting hardware for tightness.
- Lubrication: No lubrication is typically required for the internal mechanism.
Troubleshooting
- Lines Sagging: Ensure the 'Tightens' knob on the main unit is fully engaged and tightened after extending the lines. If lines still sag, reduce the amount of laundry or distribute weight more evenly.
- Lines Not Retracting: Check for any obstructions preventing the lines from retracting. Ensure the 'Tightens' knob is in the loosened position before attempting to retract.
- Difficulty Extending Lines: Ensure the 'Unlock' knob is in the correct position to allow lines to extend freely.
Warranty and Support
Whitmor is a 4th generation family-owned and operated business, dedicated to quality products. We stand behind our product 100%.
If you have questions or problems, please contact our customer service department for immediate assistance. Customer service is available in English and Spanish, Monday through Friday from 8am - 4:30pm CST.
Phone: 1-888-944-8667
Email: customer_serviceatwhitmor.com


