1. Introduction
Thank you for purchasing the Gingko Cube LED Click Clock. This innovative alarm clock combines elegant design with smart functionality, displaying time, date, and temperature. Its unique sound-activated display ensures a dark room at night, illuminating only when needed. Please read this manual carefully to ensure proper setup and operation of your device.
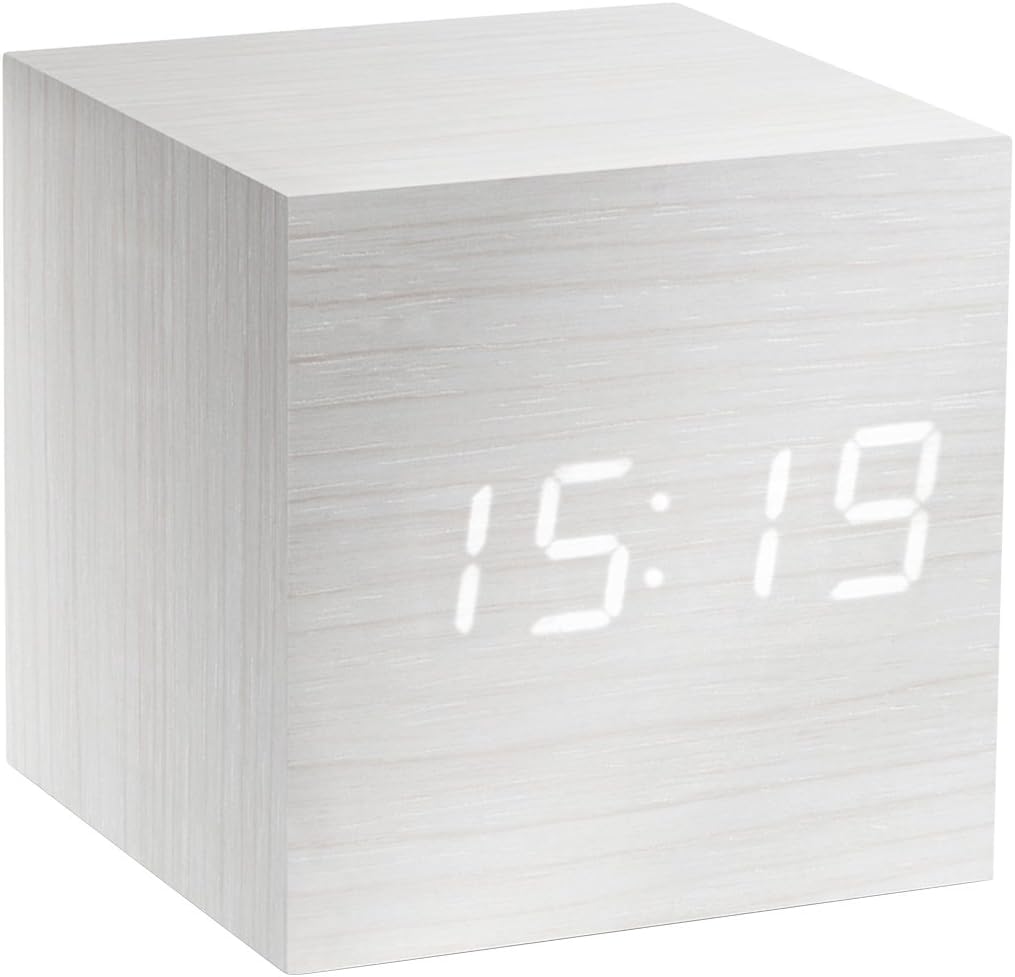
Figure 1: The Gingko Cube LED Click Clock displaying the time 15:19. The clock features a minimalist cube design with a white wood-grain finish and bright white LED digits.
2. Safety Information
- Do not expose the device to water or excessive moisture.
- Avoid extreme temperatures, direct sunlight, or heat sources.
- Do not attempt to disassemble or modify the device. This will void the warranty.
- Use only the provided USB adapter or compatible power sources.
- Keep out of reach of children.
- Dispose of batteries responsibly according to local regulations.
3. Package Contents
Please check the box for the following items:
- Gingko Cube LED Click Clock (Model GK08W13)
- USB Power Adapter
- USB Cable
- Instruction Manual (this document)
4. Product Overview
The Gingko Cube LED Click Clock is designed for simplicity and functionality. Its main features include a hidden LED display that appears through the wood-grain finish, and control buttons located on the back panel.

Figure 2: Rear view of the Gingko Cube LED Click Clock. This image shows the battery compartment cover removed, revealing slots for three AAA batteries. Above the battery compartment, five small control buttons are visible: SET, UP, DOWN, V/S, and RESET.
4.1 Control Buttons
- SET: Enters setting mode for time, date, and alarms. Confirms selections.
- UP: Increases values during setting.
- DOWN: Decreases values during setting.
- V/S (Voice/Sound): Toggles between sound-activated display mode and permanent display mode.
- RESET: Resets the clock to factory defaults.
4.2 Power Input
The clock can be powered via the included USB cable and adapter, or by 3 x AAA batteries (not included). An internal battery is included to retain settings during power outages.
5. Setup
5.1 Powering On
- Using USB Power: Connect the small end of the USB cable to the DC5V port on the back of the clock. Plug the larger end into the USB power adapter, then plug the adapter into a wall outlet.
- Using Batteries: Open the battery compartment cover on the back of the clock. Insert 3 x AAA batteries, ensuring correct polarity (+/-). Close the battery compartment cover securely.
The display will light up, indicating the clock is powered on.
5.2 Initial Settings (Time, Date, Temperature Format)
Press and hold the SET button for 3 seconds to enter setting mode. The display will flash, indicating the current setting is ready for adjustment. Use the UP and DOWN buttons to change values. Press SET to confirm and move to the next setting.
- Year Setting: Adjust the year (e.g., 2024). Press SET.
- Month Setting: Adjust the month. Press SET.
- Date Setting: Adjust the day. Press SET.
- 12/24 Hour Format: Select "12H" or "24H". Press SET.
- Hour Setting: Adjust the hour. Press SET.
- Minute Setting: Adjust the minute. Press SET.
- Temperature Unit: Select "°C" (Celsius) or "°F" (Fahrenheit). Press SET.
The clock will exit setting mode automatically after a few seconds of inactivity or after the last setting is confirmed.
6. Operating Instructions
6.1 Display Modes (Time, Date, Temperature)
The clock can cycle through displaying time, date, and temperature. By default, it will alternate between these displays.

Figure 3: The clock displaying the time 11:43, positioned on a dark desk next to a laptop. This illustrates the clock's compact size and clear LED display in a typical environment.
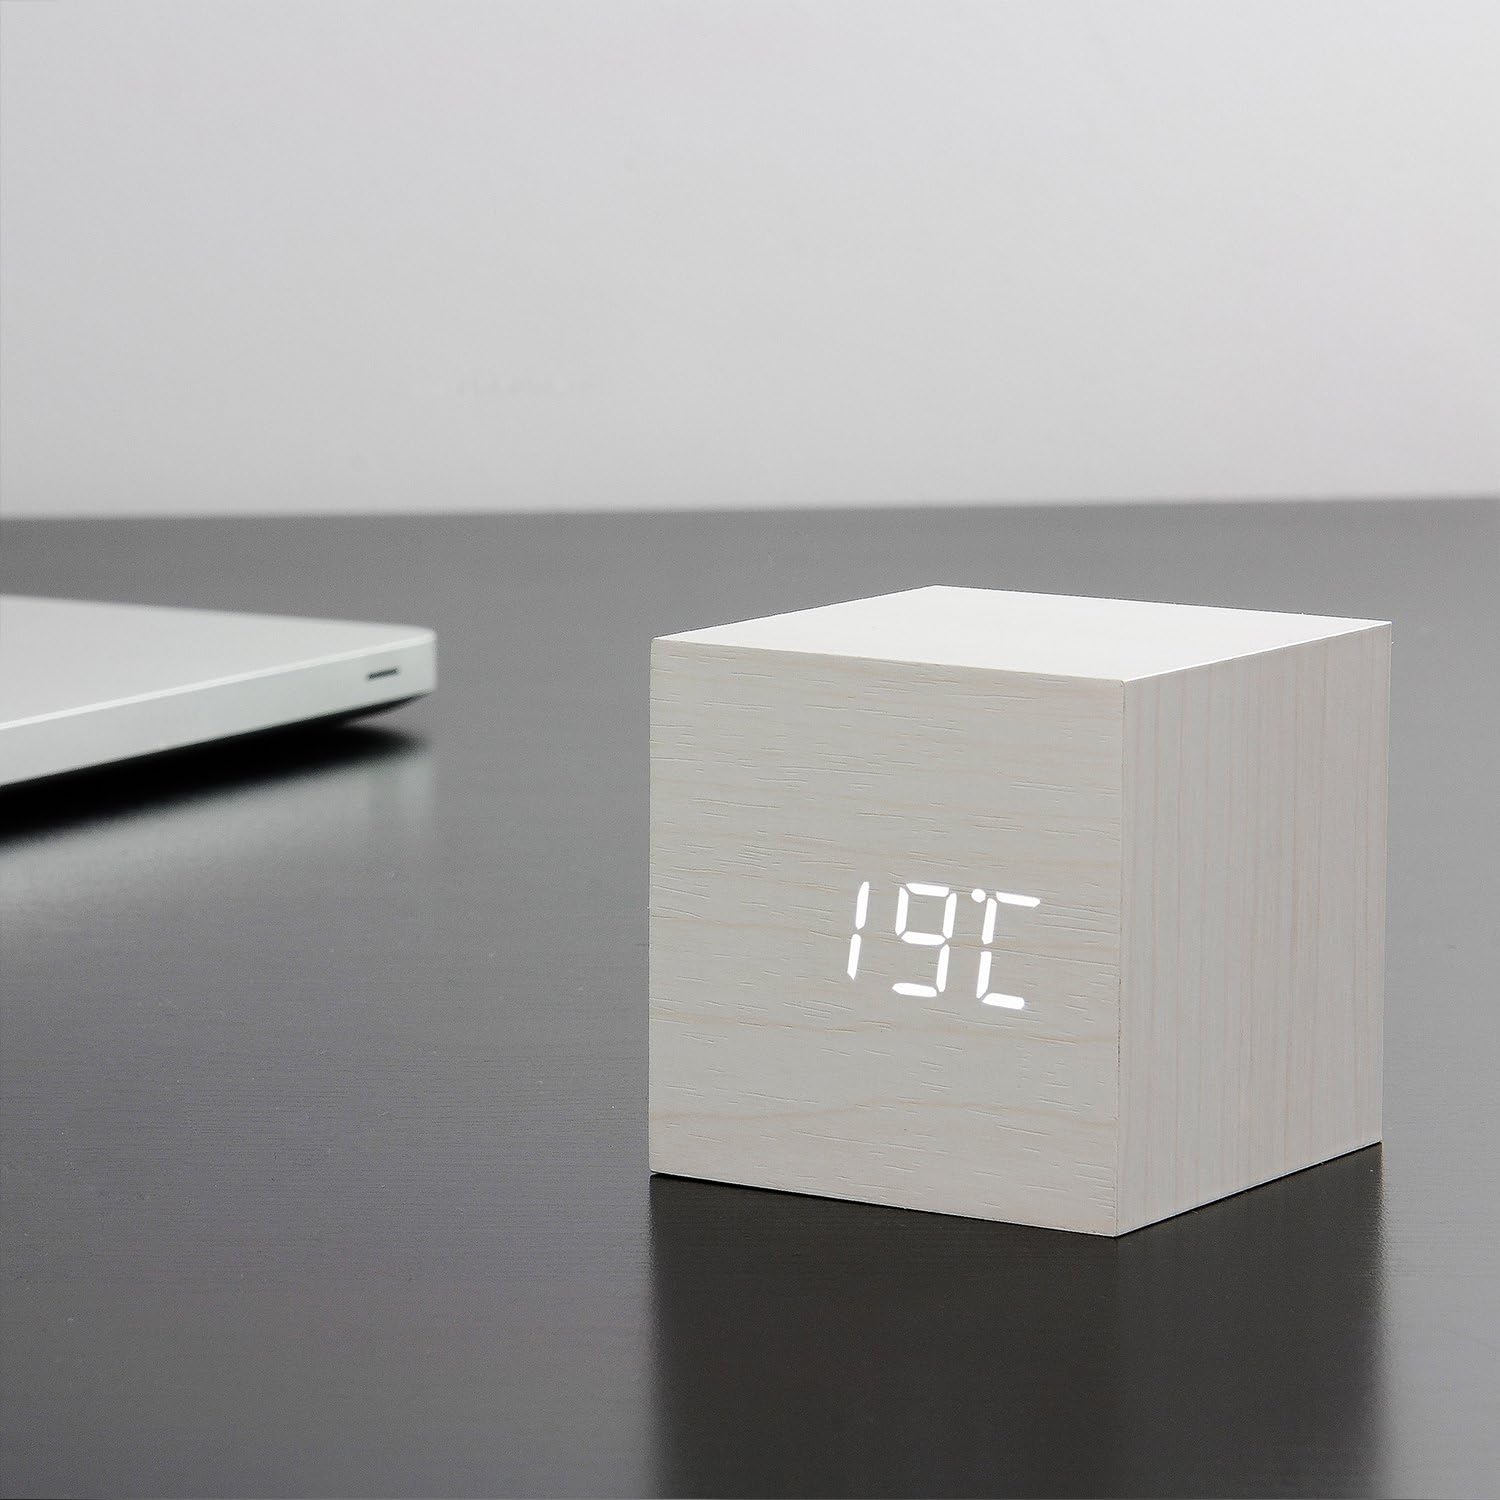
Figure 4: The clock displaying the temperature 19°C, also on a dark desk next to a laptop. This shows the clock's ability to display environmental temperature in addition to time and date.
6.2 Sound Activation (V/S Mode)
The clock features a sound-activated display mode, which conserves power and keeps your room dark. In this mode, the display turns off when the room is quiet and illuminates when a sound (like a clap or tap) is detected.
- Press the V/S button to toggle between sound-activated display (display turns off after a few seconds of silence) and permanent display (display remains on).
- When in sound-activated mode, a sound above 60dB (e.g., a clap, finger snap, or gentle tap on the clock/surface) will activate the display for approximately 10 seconds.
6.3 Alarm Settings
The clock supports up to three different alarm settings (AL1, AL2, AL3).
- From the normal display mode, short press the SET button repeatedly until "AL1", "AL2", or "AL3" appears.
- To set an alarm, press and hold the SET button for 3 seconds when the desired alarm (e.g., "AL1") is displayed. The hour digits will flash.
- Use UP and DOWN to set the alarm hour. Press SET.
- Use UP and DOWN to set the alarm minute. Press SET.
- The display will show "ON:AL" or "OFF:AL". Use UP or DOWN to toggle the alarm ON or OFF. Press SET to confirm.
- Repeat for AL2 and AL3 if desired.
When an alarm sounds, it will last for 1 minute. To stop the alarm, press any button. The alarm will automatically turn off after 1 minute if no button is pressed.
6.4 Dimmer Function
The clock features an automatic dimmer function. The display brightness will automatically adjust between brighter (7:00 AM - 6:59 PM) and dimmer (7:00 PM - 6:59 AM) modes to suit ambient light conditions.
7. Maintenance
- Clean the clock surface with a soft, dry cloth. Do not use abrasive cleaners or solvents.
- If using batteries, replace them when the display becomes dim or erratic. Remove batteries if the clock will not be used for an extended period.
8. Troubleshooting
| Problem | Possible Cause | Solution |
|---|---|---|
| Display is off or dim. | Sound-activated mode is on; low batteries; no power. | Tap the clock or make a sound to activate. Press V/S to switch to permanent display. Replace batteries or ensure USB power is connected. |
| Clock not responding to buttons. | Temporary software glitch. | Press the RESET button on the back of the clock. Re-enter settings if necessary. |
| Alarm does not sound. | Alarm is set to OFF; incorrect alarm time. | Check alarm settings (AL1/AL2/AL3) to ensure it is set to ON and the time is correct. |
| Incorrect time/date/temperature. | Settings not correctly configured. | Re-enter setting mode (Section 5.2) and adjust values. |
9. Specifications
| Feature | Detail |
|---|---|
| Model Number | GK08W13 |
| Dimensions (L x W x H) | 68 x 68 x 68 mm (2.68 x 2.68 x 2.68 inches) |
| Weight | 120 grams (0.26 lbs) |
| Material | Plastic |
| Color | White / White LED |
| Display Type | Digital LED |
| Power Source | USB Cable (DC5V) or 3 x AAA Batteries |
| Features | Time, Date, Temperature Display, Sound Activation, 3 Alarm Settings, Dimmer Function, Internal Battery for Settings Retention |
10. Warranty and Support
Gingko products are designed and manufactured to the highest standards. For warranty information or technical support, please refer to the official Gingko website or contact your retailer. Please have your model number (GK08W13) and purchase details ready when seeking support.
For more information, visit: www.gingkodesign.com


