1. Introduction
This manual provides instructions for the VINABTY RM-AAU170 replacement remote control, designed for use with Sony STR-DN840 and STRDN840 Home Theater systems. This remote is pre-programmed and requires no setup other than battery installation.
2. Product Overview
The VINABTY RM-AAU170 remote control features a comprehensive set of buttons for managing your Sony Home Theater system. Familiarize yourself with the layout and functions described below.
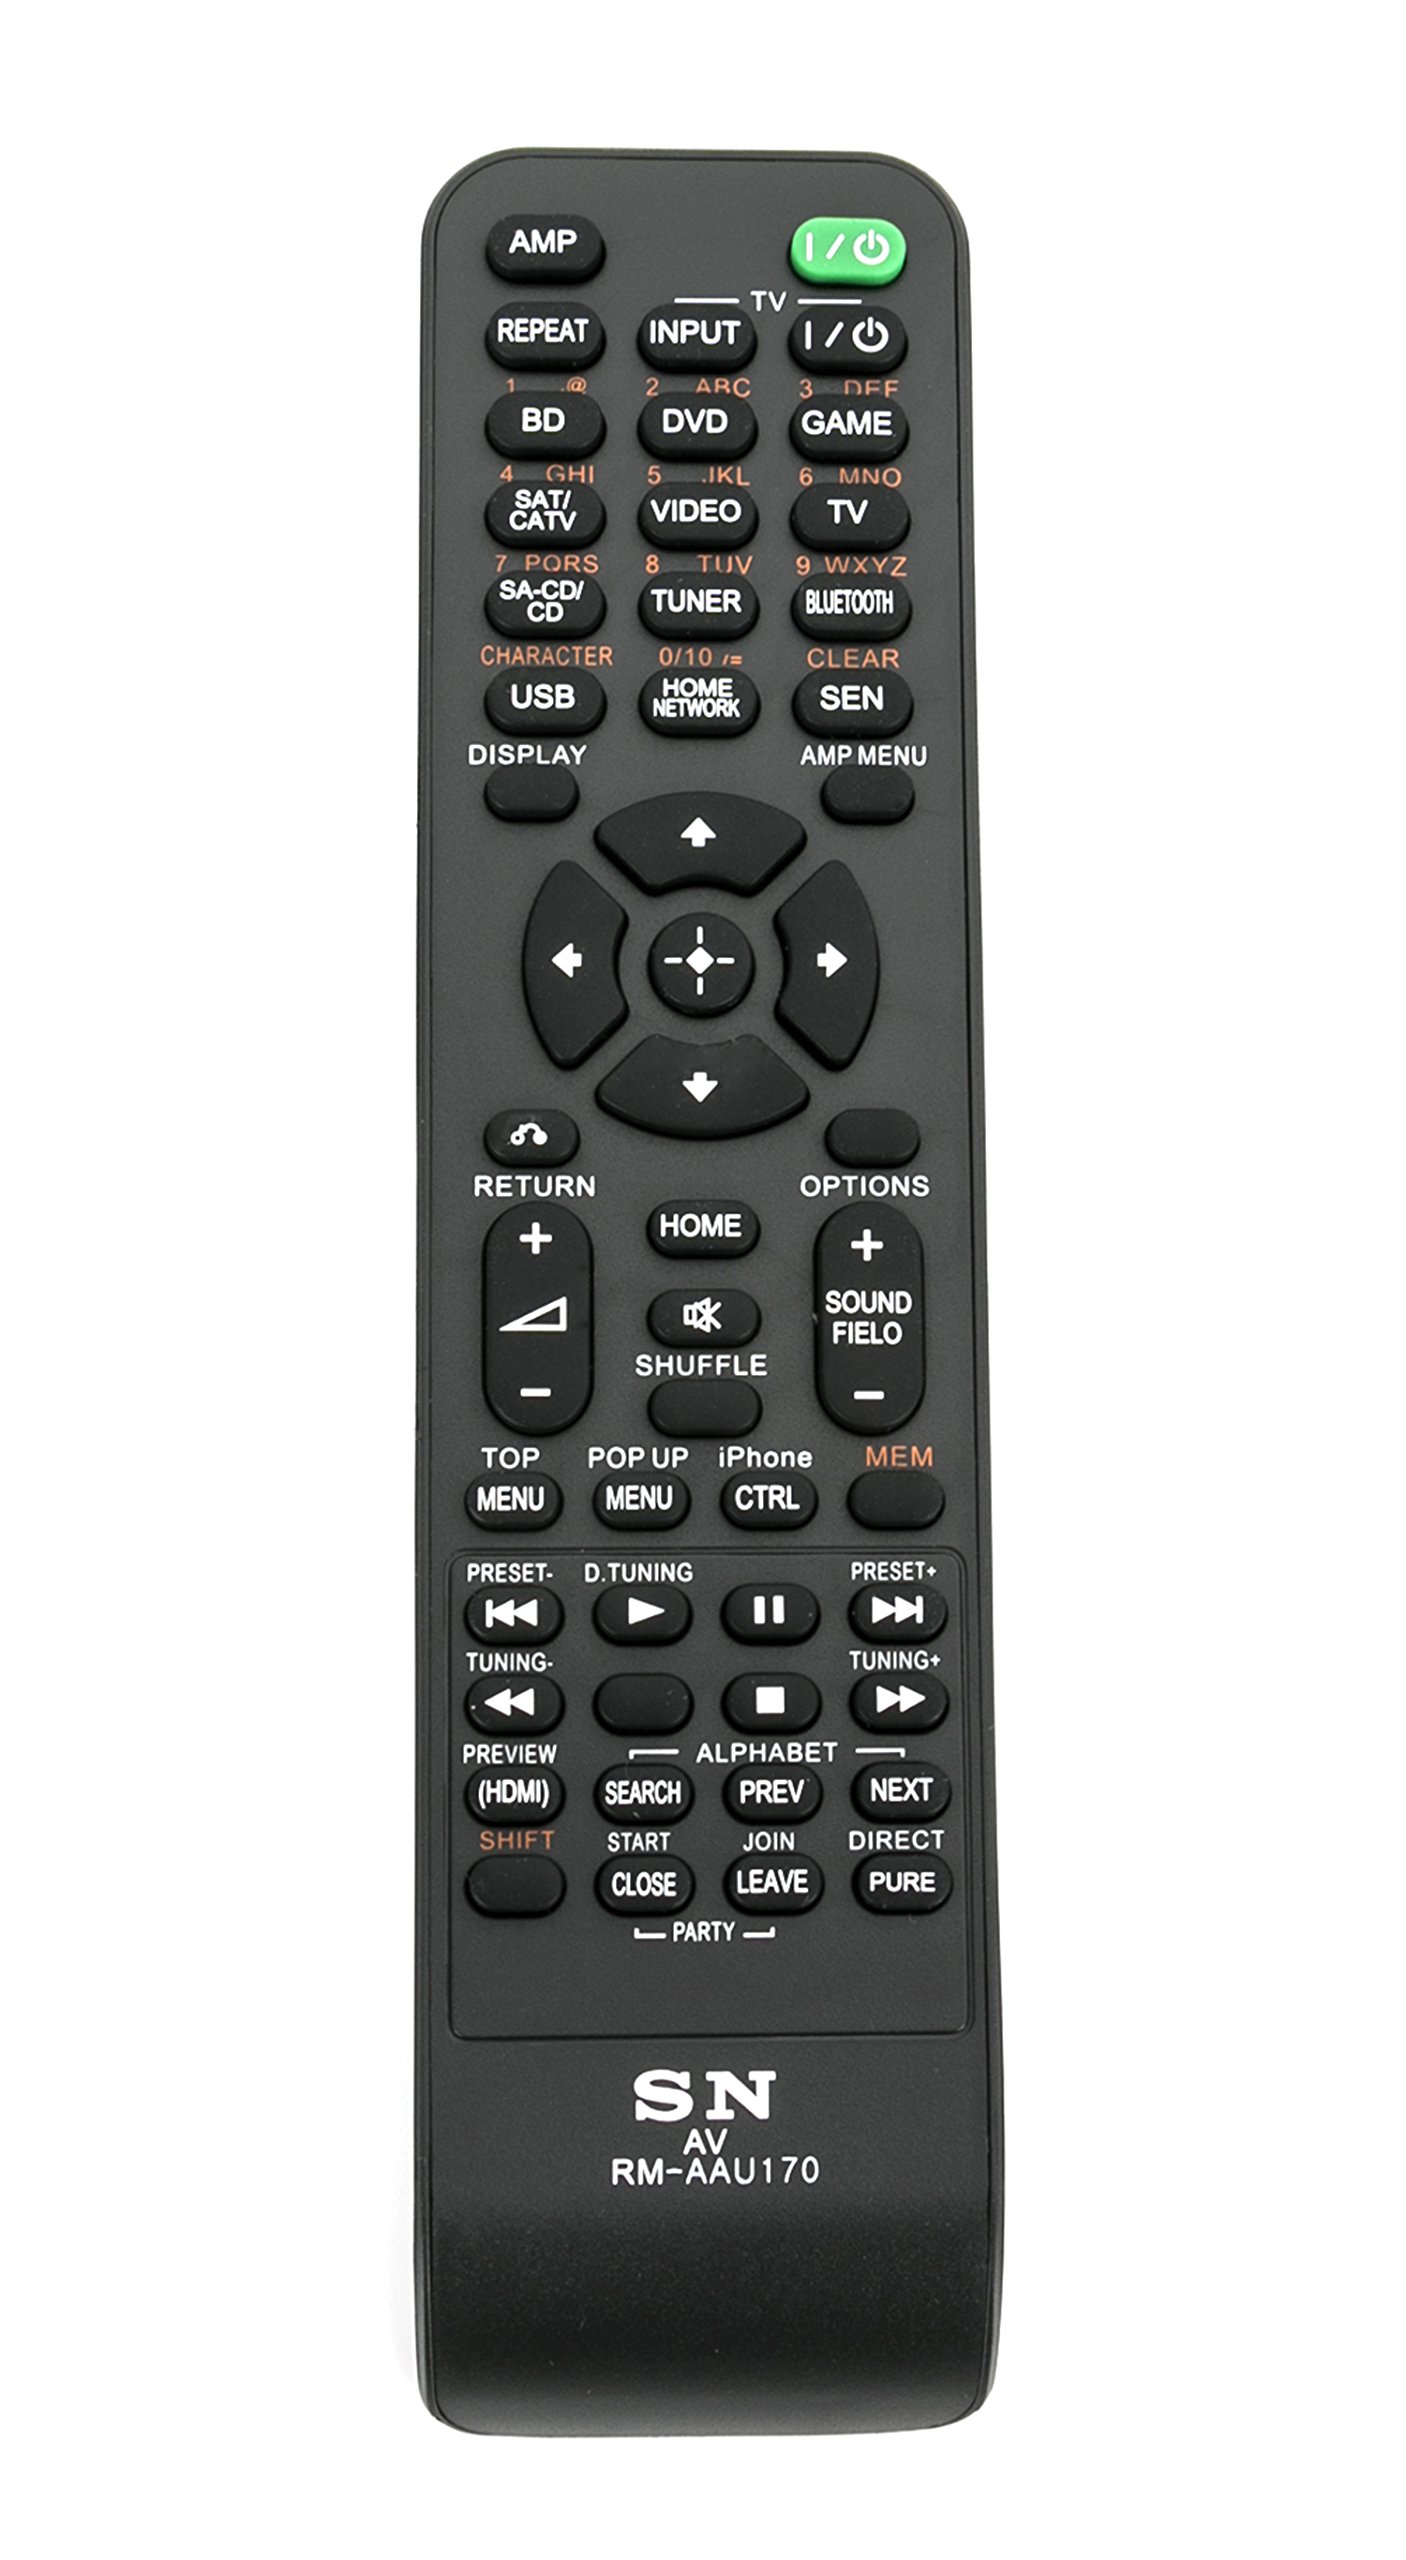
Image: The VINABTY RM-AAU170 remote control, showing its full button layout.
Button Functions:
- Power/Input Selection: AMP, REPEAT, INPUT, TV, I/O (Power), BD, DVD, GAME, SAT/CATV, SA-CD/CD, VIDEO, TUNER, BLUETOOTH, HOME NETWORK. These buttons allow you to power on/off the device and select various input sources.
- Navigation & Menu: Up, Down, Left, Right, Enter (center button), RETURN, HOME, OPTIONS, TOP MENU, POP UP MENU, AMD MENU. Used for navigating menus, confirming selections, and returning to previous screens.
- Playback & Media Control: SHUFFLE, MFM, PRESET-, TUNING-, PREVIEW (HDMI), SEARCH, SHIFT, START, CLOSE, JOIN, LEAVE, DIRECT, PURE, PARTY-, PRESET+, TUNING+, PREV, NEXT, Play/Pause, Stop, Fast Forward, Rewind. Control media playback, radio presets, and specific functions like HDMI preview.
- Audio & Display: SOUND FIELD, CHARACTER, USB, DISPLAY, CLEAR, SEN. Adjust sound modes, display information, and access other specific features.
- iPhone Control: iPhone CTRL. Dedicated button for controlling compatible iPhone devices.
3. Setup
Battery Installation:
- Locate the battery compartment on the back of the remote control.
- Slide open the battery compartment cover.
- Insert two (2) AAA batteries, ensuring the positive (+) and negative (-) terminals match the diagrams inside the compartment.
- Close the battery compartment cover securely.
The remote control is now ready for use. No additional programming or pairing is required.
4. Operating Instructions
Once batteries are installed, the VINABTY RM-AAU170 remote control is immediately functional with compatible Sony STR-DN840 Home Theater systems. Point the remote control directly at your home theater receiver.
- Power On/Off: Press the I/O button to turn your system on or off.
- Input Selection: Use the dedicated input buttons (e.g., BD, DVD, TV, HDMI) to switch between connected devices.
- Volume Control: Use the Volume + and Volume - buttons to adjust the audio level.
- Navigation: Use the directional arrow buttons and the central Enter button to navigate menus on your connected display.
- Playback: Use the Play, Pause, Stop, Fast Forward, and Rewind buttons for media playback.
5. Troubleshooting
- Remote not responding:
- Ensure batteries are inserted correctly with the correct polarity.
- Replace old batteries with new AAA batteries.
- Ensure there are no obstructions between the remote control and the home theater receiver.
- Confirm the remote is pointed directly at the receiver's IR sensor.
- Specific functions not working:
- Verify that your Sony STR-DN840 system supports the specific function you are trying to use.
- Some advanced functions may require the original remote or specific system settings.
6. Maintenance
- Cleaning: Wipe the remote control with a soft, dry cloth. Do not use liquid cleaners or abrasive materials.
- Battery Replacement: Replace batteries when the remote's performance diminishes. Remove batteries if the remote will not be used for an extended period to prevent leakage.
- Storage: Store the remote in a cool, dry place away from direct sunlight and extreme temperatures.
7. Specifications
| Model Number | RM-AAU170 |
| Compatible Devices | Sony STR-DN840, STRDN840 Home Theater Systems |
| Power Source | 2 x AAA Batteries (not included) |
| Dimensions | 5 x 1.9 x 0.5 inches (12.7 x 4.8 x 1.3 cm) |
| Item Weight | 2.39 ounces (67.7 grams) |
| Color | Black |
8. Warranty and Support
For warranty information or technical support regarding your VINABTY RM-AAU170 remote control, please refer to the retailer or manufacturer's official website where the product was purchased. Keep your purchase receipt for any warranty claims.


