Introduction
This manual provides essential information for the installation, operation, and maintenance of your Carvin 7-Way Multi-Port Valve. This valve is designed for use with Carvin and Jacuzzi Laser sand filters, specifically models L192, L225, and L250. Proper use and maintenance will ensure efficient and long-lasting performance of your pool filtration system.
Important Safety Information
Always follow basic safety precautions when installing and operating this product. Failure to do so could result in serious injury or property damage.
- Read all instructions before installation and operation.
- Ensure all power to the pump is disconnected before performing any service or maintenance.
- Do not operate the valve under pressure. Always turn off the pump before changing valve positions.
- Consult a qualified pool professional for any installation or service beyond the scope of this manual.
Product Components
The Carvin 7-Way Multi-Port Valve includes the main valve body, a handle for mode selection, and various ports for connection to your pool's plumbing system.

Front view of the Carvin 7-Way Multi-Port Valve, showing the handle and main body. This image highlights the overall design and the "Do Not Overtighten" label.

Top view of the valve, clearly displaying the seven operational modes: Test, Backwash, Drain, Filtration, Rinse, Whirlpool, and Winterize.
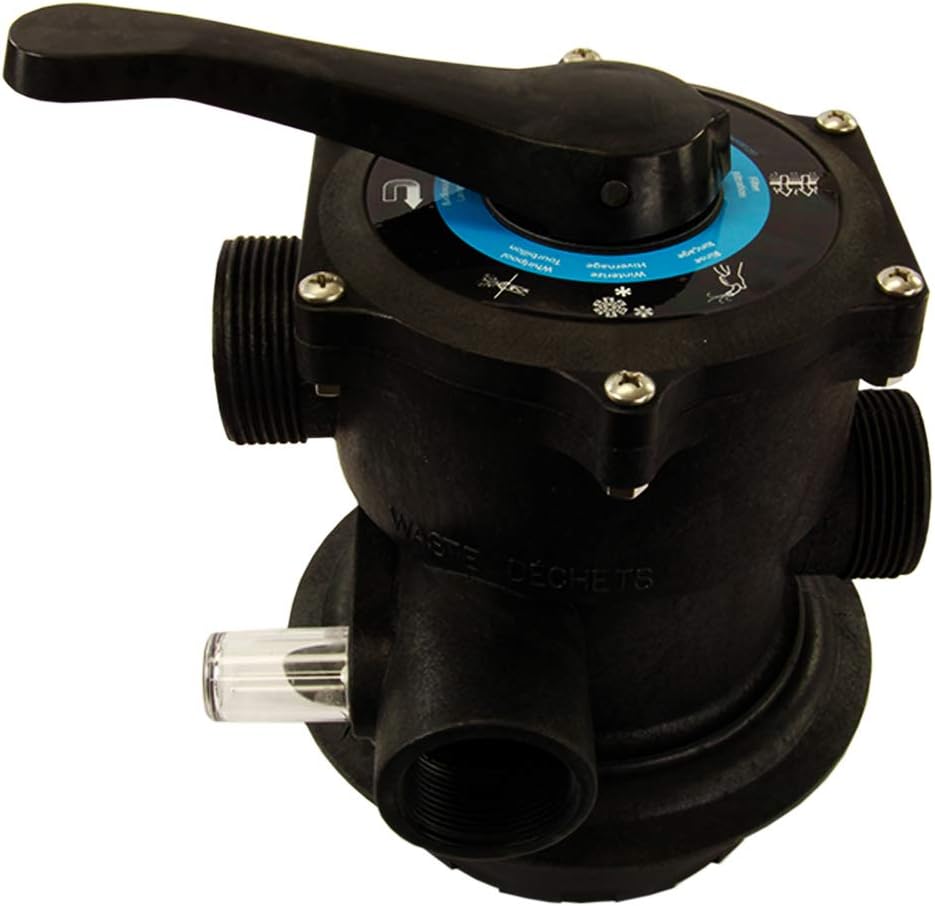
Side view of the valve, showing the clear sight glass, which allows observation of water clarity during backwash and rinse cycles.

Another side view of the valve, providing a different angle of the port connections and the overall compact design.

A top-down perspective of the valve, emphasizing the circular dial and the robust handle mechanism.
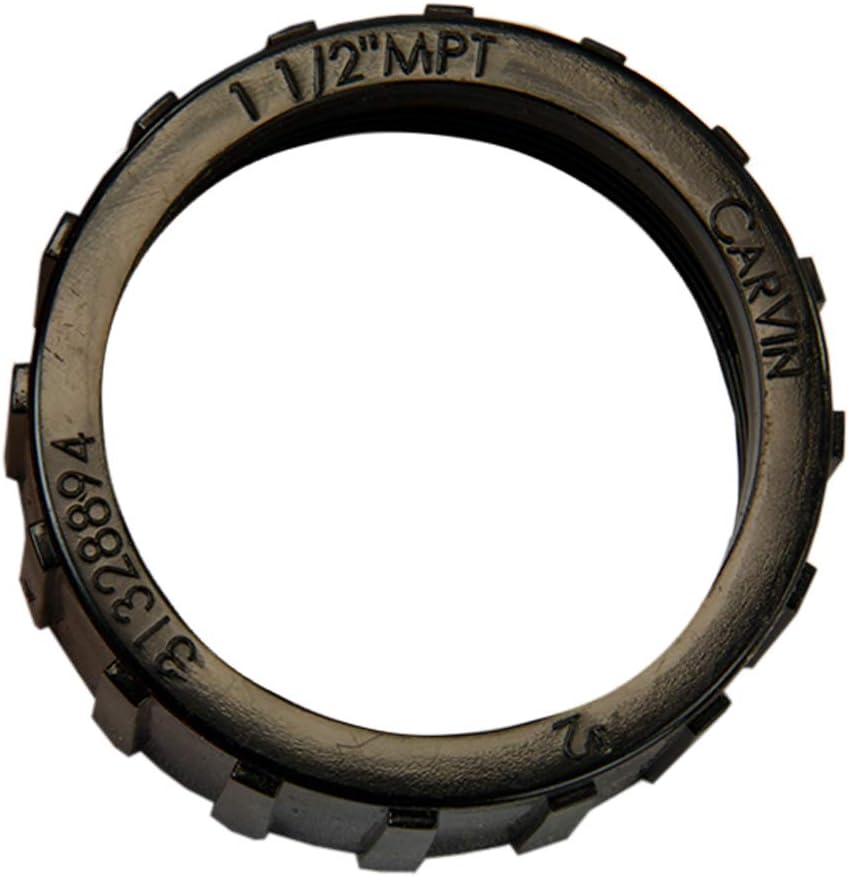
Close-up of a 1 1/2 inch MPT (Male Pipe Thread) fitting ring, indicating compatibility with standard plumbing connections.

Image of a Carvin pressure gauge, which is often used in conjunction with multi-port valves to monitor filter pressure.
Setup and Installation
This section outlines the steps for properly installing your Carvin Multi-Port Valve. Ensure all necessary tools and materials are available before beginning.
Pre-Installation Checklist:
- Verify compatibility with your sand filter model (Jacuzzi Laser, Carvin Laser L192, L225, L250).
- Ensure all plumbing connections are clean and free of debris.
- Have appropriate PVC cement and primer if solvent welding connections.
- Confirm power to the pool pump is OFF at the circuit breaker.
Installation Steps:
- Prepare the Filter Tank: If replacing an old valve, remove it and clean the top opening of the filter tank. Ensure the standpipe inside the filter is intact and properly seated.
- Attach the Valve: Carefully align the multi-port valve with the standpipe inside the filter tank. Lower the valve onto the tank, ensuring the standpipe slides into the valve's bottom opening.
- Secure the Valve: Use the provided clamp or bolts to secure the valve to the filter tank. Tighten evenly to create a watertight seal. Refer to the "Do Not Overtighten" label on the valve for guidance.
- Connect Plumbing: Connect the pool pump discharge line to the valve's "PUMP" port. Connect the return line to the pool to the valve's "RETURN" port. Connect the waste line to the valve's "WASTE" port. Use appropriate fittings and sealants (e.g., Teflon tape for threaded connections, PVC cement for solvent weld connections). The valve features 1.5-inch female threaded PVC inlet and outlet connections.
- Check for Leaks: After all connections are made, slowly turn on the pump and check for any leaks. Address any leaks immediately by tightening connections or re-sealing.
Operating Instructions
The Carvin 7-Way Multi-Port Valve offers seven operational modes. Always turn off the pool pump before changing the valve position to prevent damage to the valve or plumbing.
Valve Positions and Functions:
| Mode | Function | Description |
|---|---|---|
| FILTER | Normal Filtration | For daily filtering of pool water. Water flows through the filter media and returns to the pool. |
| BACKWASH | Filter Cleaning | Reverses water flow through the filter to flush trapped debris out to the waste line. Perform when pressure gauge reads 8-10 PSI above normal clean pressure. |
| RINSE | Post-Backwash Rinse | Used after backwashing to settle the filter media and flush any remaining dirty water to waste before returning to FILTER mode. Run for 30-60 seconds. |
| WHIRLPOOL | Circulate/Bypass Filter | Circulates water through the system without passing it through the filter media. Useful for chemical distribution or when filter is not needed. |
| DRAIN | Empty Pool/Lower Water Level | Drains water directly from the pool to the waste line, bypassing the filter. |
| WINTERIZE | Prepare for Winter | Positions the internal valve components to allow for proper draining and winterization of the filter system, preventing freeze damage. |
| TEST | Pressure Test | Allows for testing of system pressure without filtering. |
To Change Valve Position:
- Turn off the pool pump.
- Press down on the valve handle and rotate it to the desired position.
- Release the handle, ensuring it locks into place.
- Restart the pool pump.
Maintenance
Regular maintenance of your multi-port valve ensures optimal performance and extends its lifespan.
- Backwashing: Backwash your filter regularly, typically when the pressure gauge reads 8-10 PSI above its clean operating pressure.
- Rinsing: Always follow backwashing with a rinse cycle to prevent dirty water from returning to the pool.
- O-Ring Lubrication: Periodically inspect the valve's O-rings for cracks or wear. Lubricate with a silicone-based lubricant designed for pool equipment to maintain a good seal.
- Winterization: Follow the winterization procedure outlined in the operating instructions to protect the valve from freezing temperatures.
- Handle Operation: Ensure the handle moves freely and locks securely into each position. Do not force the handle.
Troubleshooting
This section provides solutions to common issues you might encounter with your multi-port valve.
| Problem | Possible Cause | Solution |
|---|---|---|
| Water leaking from valve handle or top. | Worn or damaged spider gasket/O-rings, loose bolts. | Inspect and replace spider gasket or O-rings. Tighten bolts evenly. |
| Water leaking from plumbing connections. | Improperly sealed connections, cracked fittings. | Re-tape or re-seal threaded connections. Replace cracked fittings. Ensure proper PVC cementing if applicable. |
| Valve handle is stiff or difficult to turn. | Lack of lubrication, debris under handle, worn internal components. | Lubricate handle shaft and O-rings. Disassemble and clean if debris is present. If persistent, internal components may need replacement. |
| Poor filtration or cloudy water. | Valve not fully in FILTER position, damaged internal components, filter media issues. | Ensure valve is securely in FILTER mode. Check for internal valve damage. Backwash and rinse filter. Inspect filter sand. |
Specifications
- Model Numbers: 39263105 / 39263020R
- Brand: Carvin
- Valve Type: 7-Way Multi-Port Valve
- Material: Durable Plastic
- Inlet Connection Size: 1.5 Inches
- Inlet Connection Type: Female Threaded PVC
- Outlet Connection Size: 1.5 Inches
- Outlet Connection Type: Female Threaded PVC
- Number of Ports: 7
- Product Dimensions (L x W x H): Approximately 12 x 9 x 12 inches
- Item Weight: Approximately 5.35 pounds
- Compatible Filter Models: Jacuzzi Laser, Carvin Laser L192, L225, L250
Warranty Information
Carvin products are manufactured to high standards and are backed by a manufacturer's warranty. For specific warranty terms and conditions, please refer to the warranty card included with your product or visit the official Carvin website. Keep your proof of purchase for warranty claims.
Customer Support
For technical assistance, replacement parts, or further inquiries, please contact Carvin customer support. You can typically find contact information on the manufacturer's website or on the product packaging.
Online Resources: Visit the official Carvin website for FAQs, product registration, and additional support documents. www.carvinpool.com


