
1. Introduction
This manual provides essential information for the safe and efficient operation, installation, and maintenance of your Gree Multi21+ Tri-Zone Floor/Ceiling Mini Split Air Conditioner Heat Pump. Please read this manual thoroughly before installation and operation, and retain it for future reference.
The Gree Multi21+ Tri-Zone system is designed to provide efficient heating and cooling for multiple zones, utilizing GREE's advanced G10 inverter-driven compressor technology and eco-friendly R410A refrigerant. This system allows for independent temperature control in up to three separate areas.

Figure 1.1: Overview of the Gree Multi21+ Tri-Zone Mini Split System, showing three indoor floor/ceiling units and a single outdoor condenser unit.
2. Safety Information
Important Safety Instructions: Always follow basic precautions to reduce the risk of fire, electric shock, or injury to persons.
- Professional Installation Required: Installation, maintenance, and repair of this equipment must be performed by a state-licensed HVAC contractor. Improper installation can result in electric shock, fire, or water leakage.
- Electrical Safety: Ensure the power supply matches the unit's specifications. Do not operate with damaged power cords or plugs. Always disconnect power before servicing.
- Refrigerant Handling: This unit uses R410A refrigerant. Only qualified personnel should handle refrigerant.
- Clearances: Maintain adequate clearances around indoor and outdoor units for proper airflow and service access.
- Children and Pets: Keep children and pets away from the unit during operation and maintenance.
For detailed safety warnings, refer to the complete installation manual provided with the product packaging.
3. Components and Features
Your Gree Multi21+ Tri-Zone system consists of the following main components:
- Outdoor Condenser Unit: The primary unit responsible for heat exchange, housing the G10 inverter compressor.
- Indoor Floor/Ceiling Units (x3): These units are designed for flexible installation, either suspended from a ceiling or mounted low on a wall. They distribute conditioned air into the living space.
- Wired Remote Controllers: Each indoor unit comes with a wired remote controller for precise temperature and mode adjustments.
- Wireless Remote Controllers: Additional handheld wireless remote controllers provide convenient operation from anywhere in the room.
- Line Sets (Not Included): Refrigerant lines and communication cables connecting indoor and outdoor units.

Figure 3.1: Gree indoor floor/ceiling unit with its accompanying wired and wireless remote controllers.

Figure 3.2: Close-up view of the Gree outdoor condenser unit, highlighting the fan grille and branding.
Key Features:
- G10 Inverter Technology: Provides energy savings, reduced outdoor noise, and stable room temperature by eliminating harsh starts and stops.
- Tri-Zone Capability: Heats and cools up to three independent zones without the need for distribution boxes.
- Floor/Ceiling Installation: Versatile indoor unit design suitable for various room layouts, especially where wall space is limited.
- Air Purification Filter: Enhances indoor air quality.
- R410A Refrigerant: Eco-friendly, non-ozone-depleting refrigerant.

Figure 3.3: Visual representation of key product features and certifications, including warranty, refrigerant type, and energy efficiency.
4. Setup and Installation
WARNING: Installation must be performed by a state-licensed HVAC contractor. Attempting to install this unit without proper qualifications can lead to serious injury, property damage, and void the product warranty.
Pre-Installation Checklist:
- Verify power supply (208/230V).
- Ensure adequate space for indoor and outdoor units, considering airflow and maintenance access.
- Confirm availability of required line sets (1/4" x 3/8" for 9K/12K/18K indoor units, 3/8" x 5/8" for 24K indoor units).
- Review local building codes and regulations.
Installation Steps (Overview for Professional):
- Outdoor Unit Placement: Select a stable, level location with sufficient clearance for airflow and drainage.
- Indoor Unit Placement: Mount indoor units either on the ceiling or low on a wall, ensuring proper air distribution.
- Refrigerant Piping: Connect the refrigerant lines between the indoor and outdoor units. Ensure proper flaring and torque.
- Electrical Wiring: Connect power and communication wiring according to the wiring diagram in the detailed installation manual.
- Vacuuming and Charging: Evacuate the refrigerant lines to remove air and moisture, then charge the system with R410A refrigerant as needed.
- Test Run: Perform a test run to verify proper operation in all modes (cooling, heating, fan).

Figure 4.1: Example floor plan illustrating how a multi-zone system can provide independent temperature control in different areas of a building.
5. Operating Instructions
Each indoor unit can be controlled independently using its wired or wireless remote controller.
Basic Operation:
- Power On/Off: Press the ON/OFF button to start or stop the unit.
- Mode Selection: Press the MODE button to cycle through operating modes: AUTO, COOL, DRY, FAN, and HEAT.
- Temperature Adjustment: Use the TEMP UP/DOWN buttons to set your desired temperature.
- Fan Speed: Press the FAN button to adjust fan speed (Auto, Low, Medium, High).
- Swing Function: Use the SWING button to control the louver direction for optimal air distribution.
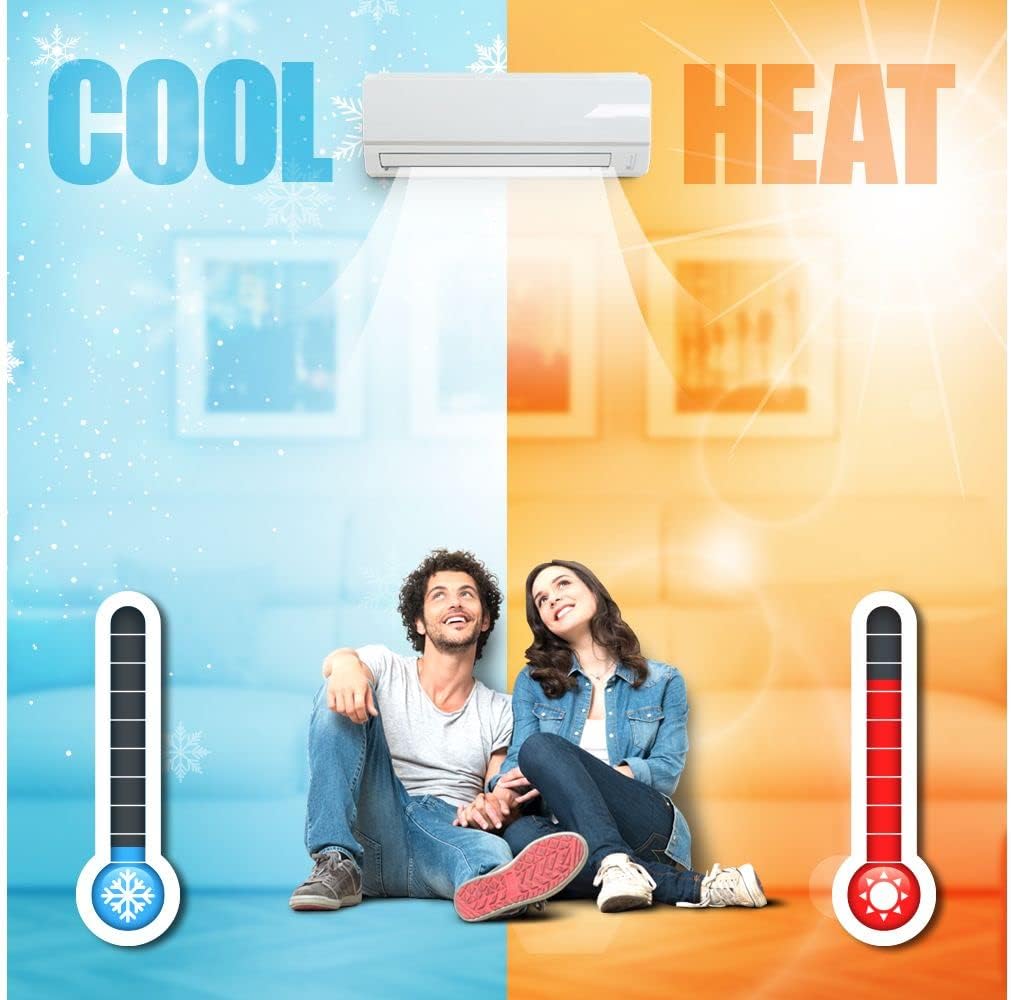
Figure 5.1: The system provides both cooling and heating capabilities for year-round comfort.
Advanced Functions:
- Timer Function: Set the unit to turn on or off automatically at a specified time. Refer to the remote controller manual for detailed timer settings.
- Sleep Mode: Adjusts temperature and fan speed for comfortable sleep and energy savings.
- I FEEL Mode: The remote controller senses the temperature at its location and transmits the signal back to the indoor unit, optimizing comfort where you are.
6. Maintenance
Regular maintenance ensures optimal performance and longevity of your Gree mini split system. Always disconnect power before performing any maintenance.
Indoor Unit Maintenance:
- Air Filter Cleaning: Clean the air filters every two weeks or more frequently depending on usage and air quality. Remove filters, wash with lukewarm water and mild detergent, rinse, and air dry completely before reinstallation.
- Unit Surface Cleaning: Wipe the indoor unit's surface with a soft, damp cloth. Do not use harsh chemicals or abrasive cleaners.
Outdoor Unit Maintenance:
- Coil Cleaning: Periodically inspect and clean the outdoor coil to remove dirt, leaves, and debris. This should ideally be done by a professional HVAC technician.
- Clearances: Ensure no obstructions (e.g., overgrown plants, debris) block the airflow around the outdoor unit.
- Drainage: Check that the condensate drain line is clear and free-flowing.
Annual Professional Service: It is highly recommended to have your system inspected and serviced by a licensed HVAC professional annually to ensure peak performance and identify any potential issues.
7. Troubleshooting
Before contacting customer support, please check the following common issues:
| Problem | Possible Cause | Solution |
|---|---|---|
| Unit does not start | No power; Remote control batteries low; Circuit breaker tripped. | Check power supply; Replace batteries; Reset circuit breaker. |
| Insufficient cooling/heating | Dirty air filters; Blocked outdoor unit; Incorrect mode/temperature setting; Low refrigerant. | Clean air filters; Clear obstructions; Adjust settings; Contact HVAC professional for refrigerant check. |
| Unusual noise | Loose parts; Debris in fan; Refrigerant flow noise (normal). | Inspect for loose parts; Remove debris; If noise persists, contact professional. |
| Water leakage from indoor unit | Clogged drain pipe; Improper installation. | Clear drain pipe; Contact HVAC professional for inspection. |
| Remote control not working | Batteries dead; Obstruction between remote and unit; Remote malfunction. | Replace batteries; Remove obstruction; If still not working, contact support. |
If the problem persists after attempting these solutions, please contact a licensed HVAC professional or Gree customer support.
8. Specifications
The following table provides detailed technical specifications for the Gree Multi21+ Tri-Zone Floor/Ceiling Mini Split Air Conditioner Heat Pump (Model: MULTI42CFLR306).
| Specification | Value |
|---|---|
| Brand Name | GREE |
| Model Info | MULTI42CFLR306 |
| Item Weight | 300 pounds |
| Product Dimensions | 35 x 23 x 29 inches |
| Capacity | 3.5 Tons (42,000 BTU) |
| Installation Type | Split System |
| Special Features | Air Purification Filter |
| Color | White |
| Voltage | 230 Volts |
| Material Type | Steel |
| Cooling Power | 42000 British Thermal Units |
| Seasonal Energy Efficiency Ratio (SEER) | 21 |
| Refrigerant | R 410A |
| Power Source | Corded Electric |

Figure 8.1: Dimensions for various BTU capacities of Gree Floor/Ceiling indoor and outdoor units.

Figure 8.2: Detailed performance specifications for Gree Floor/Ceiling indoor units across different models.
9. Warranty and Support
Manufacturer's Warranty:
- Parts: 5 Year Limited Warranty on parts.
- Compressor: 7 Year Limited Warranty on the compressor.
Important Warranty Condition: To be eligible for the manufacturer's warranty, installation must be performed by a state-licensed HVAC contractor. Proof of professional installation may be required for warranty claims.
Customer Support:
For technical assistance, warranty claims, or to locate a licensed service professional, please refer to the contact information provided in your product packaging or visit the official Gree website. When contacting support, please have your model number (MULTI42CFLR306) and purchase date readily available.

