
1. Important Safety Information
Please read all instructions carefully before installation and operation. Failure to follow these instructions may result in property damage, personal injury, or death. Keep this manual for future reference.
- Professional Installation Required: Installation, maintenance, and repair of this unit must be performed by a qualified, licensed HVAC technician. Improper installation can void the warranty and create safety hazards.
- Electrical Safety: This unit operates on 208/230V. Ensure proper grounding and electrical connections are made by a qualified electrician to prevent electric shock. Disconnect power before servicing.
- Refrigerant: This system uses R410A refrigerant. Handling of refrigerant must be done by certified personnel only.
- Clearances: Maintain adequate clearances around both indoor and outdoor units for proper airflow and service access.
- Children and Pets: Keep children and pets away from the unit during operation and maintenance.
2. Product Overview
The Gree LIVO+ Ductless Mini Split Air Conditioner Heat Pump system provides efficient heating and cooling for single zones. It consists of an indoor wall-mounted air handler, an outdoor condenser unit, and a wireless remote control. The system utilizes Gree's G10 Inverter and variable compressor technology with R410A refrigerant for optimal performance.

Figure 2.1: Overview of the Gree LIVO+ Mini Split system, showing the indoor unit, outdoor condenser, and the wireless remote control.

Figure 2.2: The indoor wall-mounted air handler unit, designed for quiet and efficient air distribution.

Figure 2.3: The outdoor condenser unit, featuring a large fan for heat exchange and the Gree logo.
3. Setup and Installation
Installation of the Gree LIVO+ Mini Split system requires specialized tools and knowledge. To ensure proper function, safety, and warranty validity, installation must be performed by a state-licensed HVAC contractor.
3.1 Components Required (Not Included)
- Lineset: Refrigerant lines connecting the indoor and outdoor units are required and must be sized appropriately for the unit's capacity and installation distance.
- Electrical Wiring: Appropriate gauge wiring and a dedicated circuit breaker are necessary for the 208/230V power supply.
- Condensate Drain: Tubing for draining condensate from the indoor unit.
- Wi-Fi Kit (Optional): For smartphone control, the Universal Wi-Fi Technology Kit (WSBEC02) must be purchased separately and installed by a qualified technician.
3.2 Installation Overview
The installation process typically involves:
- Mounting the indoor unit on an interior wall.
- Mounting the outdoor unit on a stable, level surface.
- Connecting the refrigerant lines between the indoor and outdoor units.
- Making electrical connections to both units.
- Evacuating the refrigerant lines and charging the system.
- Connecting the condensate drain.
- Testing the system for proper operation.

Figure 3.1: Example of a Gree LIVO+ indoor unit properly installed on a wall in a residential living space.
4. Operating Instructions
The Gree LIVO+ system is controlled primarily via the wireless remote control. Ensure the remote has fresh batteries and is pointed towards the indoor unit during operation.
4.1 Remote Control Functions

Figure 4.1: The wireless remote control for the Gree LIVO+ system, showing its display and various function buttons.
- ON/OFF Button: Powers the unit on or off.
- MODE Button: Cycles through operating modes: Auto, Cool, Dry, Heat, Fan.
- FAN Button: Adjusts fan speed (Auto, Low, Medium, High).
- TEMP ▲/▼ Buttons: Increases or decreases the desired temperature setting.
- SWING Button: Controls the vertical louver movement for air direction.
- SLEEP Button: Activates sleep mode for reduced noise and energy consumption during sleep.
- TIMER Button: Sets the unit to turn on or off automatically after a set period.
- LIGHT Button: Turns the display light on the indoor unit on or off.
4.2 Basic Operation
- Press the ON/OFF button to start the unit.
- Press the MODE button to select your desired operating mode (e.g., Cool for cooling, Heat for heating).
- Use the TEMP ▲/▼ buttons to set the desired room temperature.
- Adjust the fan speed with the FAN button if needed.
4.3 Wi-Fi Control (with optional WSBEC02 kit)
If the optional Wi-Fi kit (WSBEC02) is installed, you can control your Gree LIVO+ unit from your smartphone or tablet via a dedicated app. Refer to the Wi-Fi kit's instructions for pairing and app usage. This allows for remote control and scheduling from anywhere with internet access.
5. Maintenance
Regular maintenance ensures optimal performance and longevity of your Gree LIVO+ system. Always turn off the power to the unit before performing any maintenance.
5.1 Indoor Unit Filter Cleaning
The air filters in the indoor unit should be cleaned every 2-4 weeks, or more frequently depending on usage and air quality.
- Open the front panel of the indoor unit.
- Remove the air filters.
- Clean the filters using a vacuum cleaner or by washing them with lukewarm water and a mild detergent.
- Allow filters to dry completely before reinstalling.
- Close the front panel.
5.2 Outdoor Unit Maintenance
The outdoor unit should be inspected periodically for debris accumulation on the coil and fan blades. Clean the coil gently with a soft brush or water hose. Ensure the area around the outdoor unit is clear of obstructions.
5.3 Professional Maintenance
It is recommended to have a licensed HVAC technician perform professional maintenance annually. This includes checking refrigerant levels, electrical connections, drain lines, and overall system performance.
6. Troubleshooting
Before contacting service, review the following common issues and solutions.
| Problem | Possible Cause | Solution |
|---|---|---|
| Unit does not turn on | No power, remote batteries low, circuit breaker tripped | Check power supply, replace remote batteries, reset circuit breaker. |
| Insufficient cooling/heating | Dirty air filters, blocked outdoor unit, wrong mode selected, temperature setting incorrect | Clean filters, clear obstructions, select correct mode, adjust temperature. |
| Unusual noises | Loose parts, fan obstruction, refrigerant flow noise (normal) | Inspect for loose parts or obstructions. Gurgling sounds are often normal refrigerant flow. If noise is persistent or loud, contact service. |
| Water leakage from indoor unit | Clogged condensate drain line, improper installation | Check and clear drain line. If issue persists, contact a licensed technician. |
For issues not listed or if troubleshooting steps do not resolve the problem, contact a licensed HVAC professional for assistance.
7. Specifications
Key technical specifications for the Gree LIVO+ 24,000 BTU Mini Split Heat Pump (Model: LIVS24HP230V1B).
| Specification | Value |
|---|---|
| Model Number | LIVS24HP230V1B |
| Cooling Capacity | 24,000 BTU |
| Heating Capacity | 24,000 BTU (approx. 2 Tons) |
| Seasonal Energy Efficiency Ratio (SEER) | 16.0 |
| Heating Seasonal Performance Factor (HSPF) | 9.0 |
| Voltage | 208/230 Volts |
| Refrigerant Type | R410A |
| Sound Level (Indoor Unit) | Not specified (typically low for mini-splits) |
| Sound Level (Outdoor Unit) | 56 Decibels |
| Indoor Unit Dimensions (L x W x H) | Approx. 38.5 x 11.5 x 12.5 inches (based on typical 24k BTU units) |
| Outdoor Unit Dimensions (L x W x H) | Approx. 37 x 16 x 31 inches (based on typical 24k BTU units) |
| Item Weight (Outdoor Unit) | 40 pounds (Note: This seems low for a 24k BTU outdoor unit, typically heavier) |
| Special Feature | Air Purification Filter |

Figure 7.1: U.S. Government EnergyGuide label for the Gree LIVS24HP230V1B, indicating a Cooling Efficiency Rating (SEER) of 16.0 and a Heating Efficiency Rating (HSPF) of 9.0.
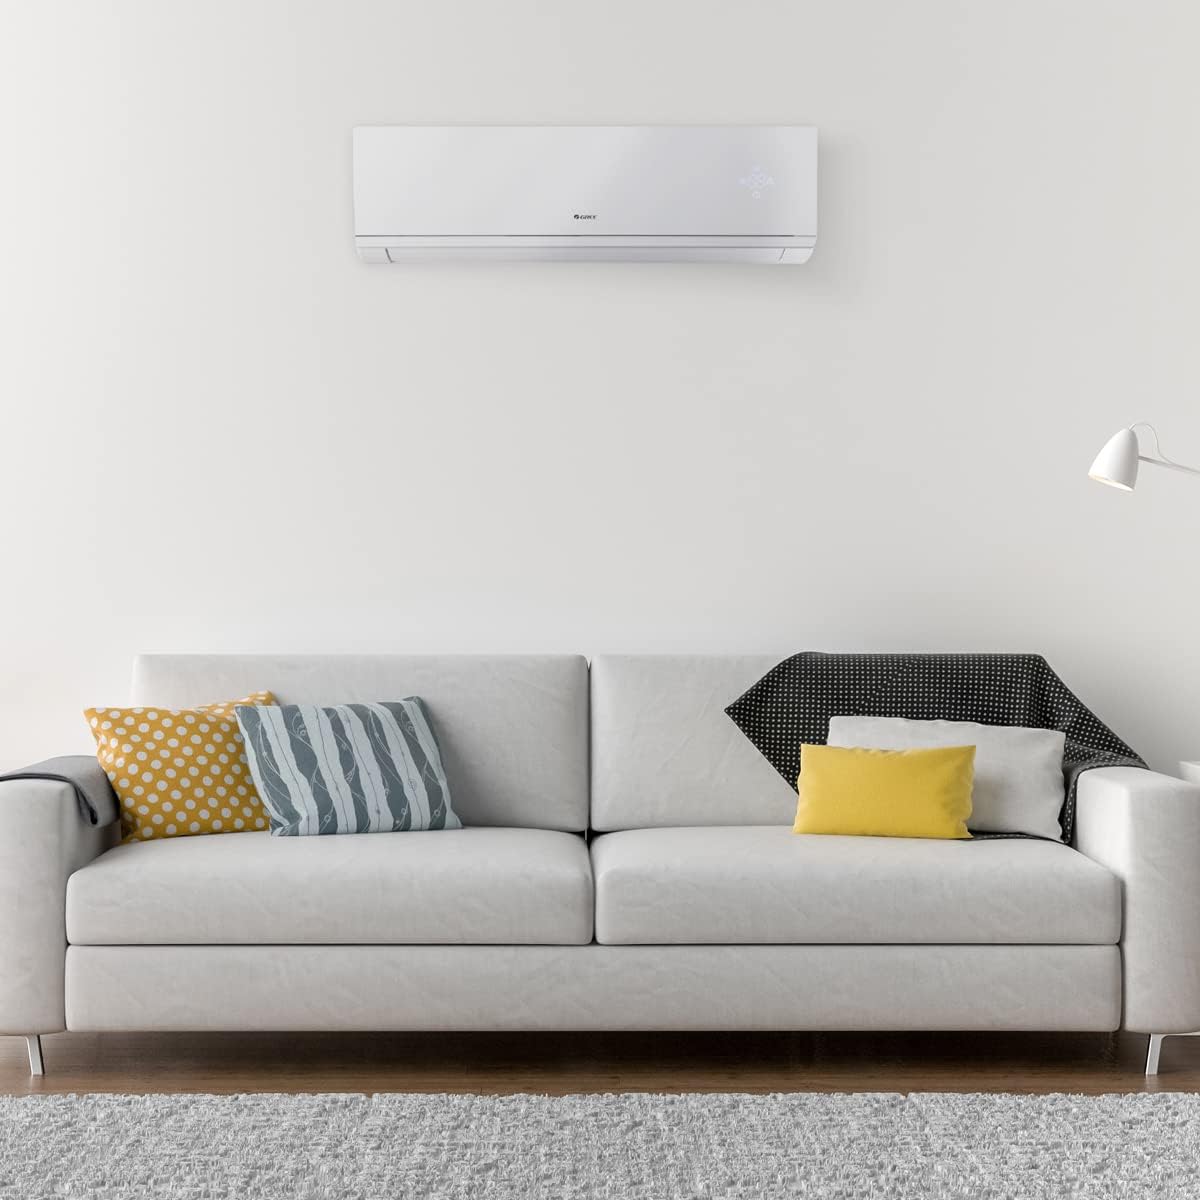
Figure 7.2: Visual representation of key features including 5-year parts warranty, optional WiFi, heating and cooling functionality, AHRI and ETL certifications, and G10 Inverter Technology.
8. Warranty and Support
8.1 Manufacturer's Warranty
The Gree LIVO+ system comes with a manufacturer's warranty:
- Parts: 5 Year Limited Warranty
- Compressor: 7 Year Limited Warranty
Important: To be eligible for this warranty, installation must be performed by a state-licensed HVAC contractor. Proof of professional installation may be required for warranty claims.
8.2 Customer Support
For technical support, warranty claims, or service inquiries, please contact your installing HVAC contractor or the retailer from whom you purchased the unit. For general product information, you may visit the official GREE website.
This product was supplied by Furnace Factory Outlet. For purchase-related inquiries, please contact them directly.


