1. Product Overview
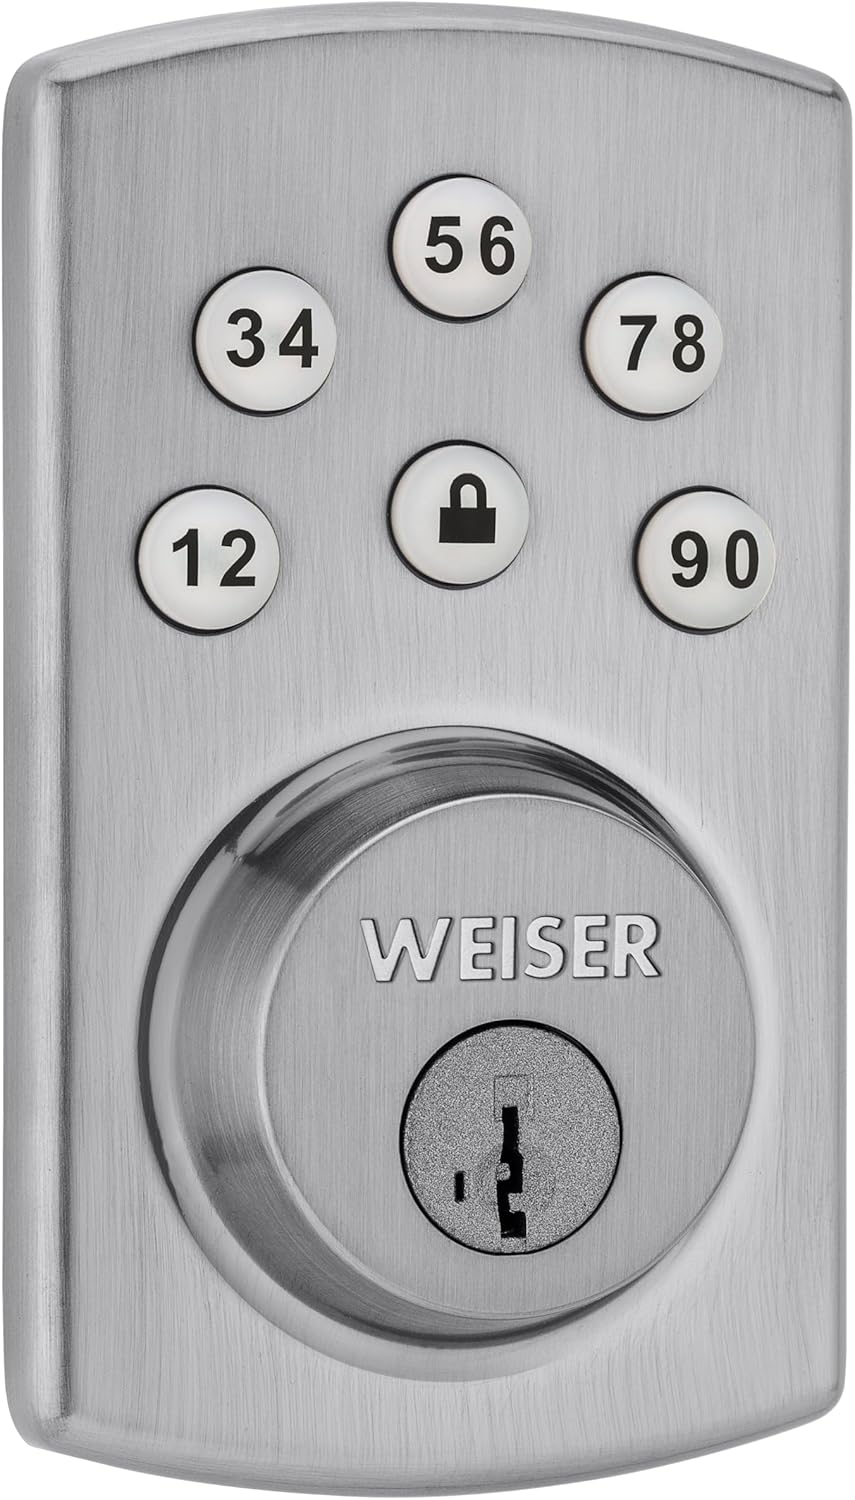
The Weiser Powerbolt 2 is a keyless entry deadbolt lock designed for convenient and secure access. It features a keypad for personalized access codes, motorized locking, and SmartKey re-key technology. This single cylinder deadbolt can be operated using the keypad or a traditional key from the outside, and a turn button from the inside. The Satin Chrome finish provides a modern aesthetic.

2. Setup and Installation
2.1 Package Contents
Before beginning installation, ensure all components are present:
- Interior and Exterior Assembly Units
- Interior Cover
- Drive-in Collar
- 4 AA Batteries (not always included, check packaging)
- Mounting Plate
- Latch
- Strike Plate
- Screws
- 2 Keys
- SmartKey Tool
- Instruction Manual
2.2 Door Preparation and Installation
The Powerbolt 2 is designed for easy installation with a standard screwdriver. Ensure your door meets the following specifications:
- Bore Hole: 2 1/8 inches (54 mm)
- Door Thickness: 1 3/8 inches to 1 3/4 inches (35 mm - 44 mm)
Follow the detailed instructions provided in the included manual for step-by-step installation. This typically involves installing the latch, exterior keypad assembly, interior mounting plate, and interior assembly.

2.3 Battery Installation
The lock operates on 4 AA batteries. Install these into the interior assembly unit as directed in the manual. Ensure correct polarity. The lock will indicate low battery status when replacement is needed.
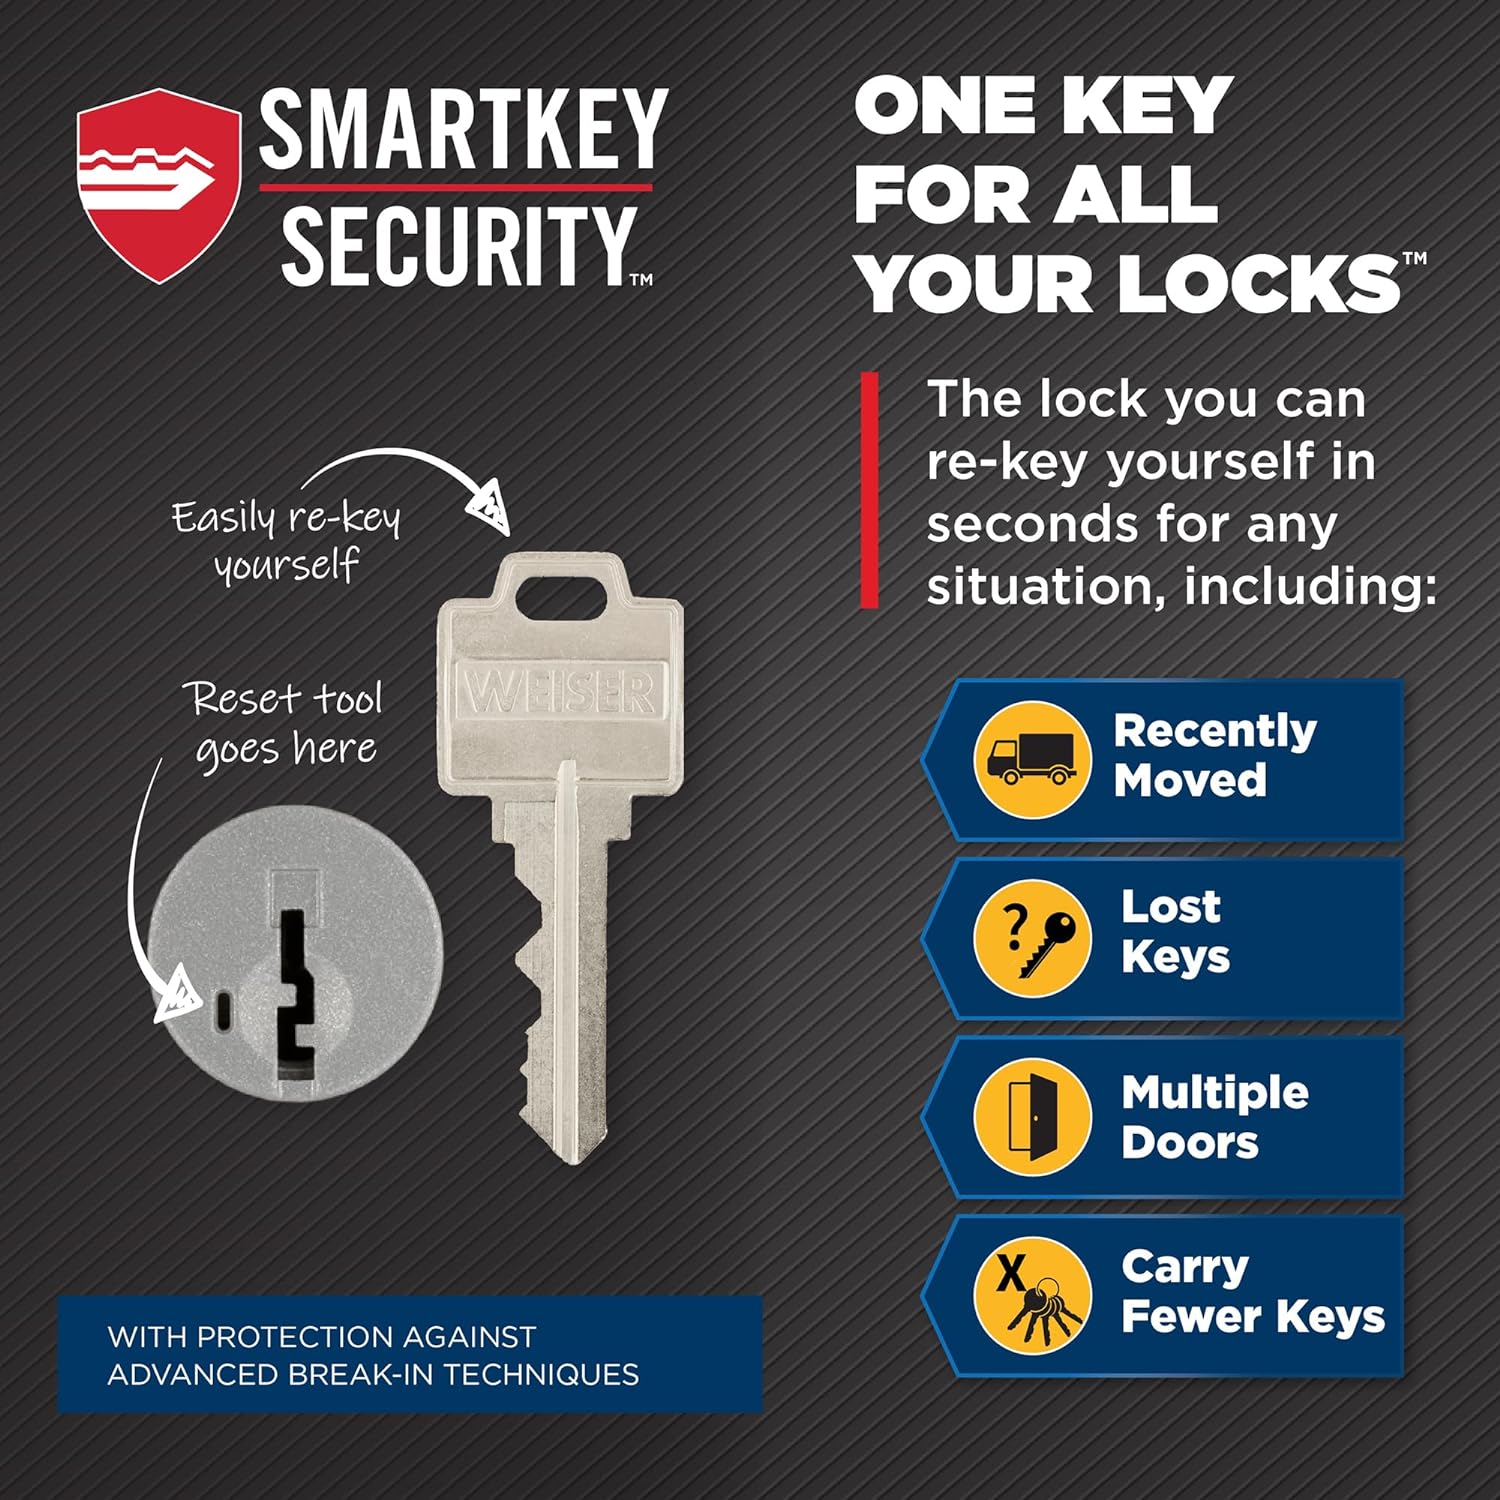
2.4 SmartKey Re-key Technology
The SmartKey feature allows you to re-key your lock to work with an existing key from another Weiser SmartKey lock. This process can be completed in seconds using the provided SmartKey tool.
- Insert your functioning key into the cylinder and turn it 90 degrees clockwise.
- Insert the SmartKey tool fully and firmly into the SmartKey hole.
- Remove the SmartKey tool.
- Remove your functioning key.
- Insert your new key fully and firmly into the cylinder.
- Rotate the new key 180 degrees counter-clockwise.
- Remove the new key. The lock is now re-keyed.
3. Operating Instructions
3.1 Programming Access Codes
The Powerbolt 2 supports up to 6 user access codes, 1 master code, and 1 temporary code. Refer to your specific manual for detailed programming steps, as these can vary slightly.
Important: The master code is used for programming and managing other codes, not typically for daily entry. User codes are your primary entry codes.
3.2 Keyless Entry
To unlock the door using the keypad:
- Enter your personalized user access code.
- The deadbolt will retract, allowing you to open the door.
3.3 One-Touch Motorized Locking
To lock the door from the outside:
- Press the lock button on the keypad. The deadbolt will extend automatically.
To lock the door from the inside:
- Rotate the turn button on the interior assembly.
3.4 Automatic Door Locking (Auto-Lock)
The Powerbolt 2 features a togglable automatic door locking function. When enabled, the deadbolt will automatically extend 30 seconds after being unlocked. This feature can be configured or disabled through the programming steps outlined in your manual.
3.5 Backlit Keypad
The keypad is backlit for improved visibility in low-light conditions. The backlight activates when any button is pressed and remains lit for 30 seconds after inactivity.
4. Maintenance
4.1 Battery Replacement
When the batteries are low, the lock will provide an indication (e.g., a series of beeps or a flashing light). To replace the batteries:
- Remove the interior cover.
- Carefully remove the old AA batteries.
- Insert 4 new AA alkaline batteries, ensuring correct polarity.
- Replace the interior cover.
It is recommended to use high-quality alkaline batteries for optimal performance and battery life.
4.2 General Care
Clean the keypad and exterior surfaces with a soft, damp cloth. Avoid using abrasive cleaners or solvents, as these can damage the finish and electronic components.
5. Troubleshooting
- Lock not responding: Check battery levels. Replace batteries if necessary. Ensure the interior cable is securely connected.
- Keypad not lighting up: This may indicate low batteries or a connection issue. Replace batteries first.
- Lock not engaging/disengaging: Ensure the deadbolt is properly aligned with the strike plate on the door frame. Check for any obstructions.
- Programming issues: Double-check the programming steps in your manual. Ensure you are distinguishing between the master code (for programming) and user codes (for entry). If issues persist, perform a factory reset (refer to your manual for instructions) and reprogram all codes.
- Low Battery Indication: If the lock emits a series of beeps or a flashing light, replace the 4 AA batteries promptly.
6. Product Specifications
| Feature | Detail |
|---|---|
| Manufacturer | Weiser |
| Model Number | 9GED14600-104 |
| Product Dimensions | 6.99 x 12.07 x 4.92 cm |
| Item Weight | 1.09 kg |
| Colour | Satin Chrome |
| Style | Powerbolt 2 |
| Finish | Satin Chrome |
| Material | Metal |
| Power Source | Battery Powered (4 AA batteries required) |
| Installation Method | Built-In |
| Special Features | Auto-Lock, Back-Lit Keypad, Low Battery Indication, Motorized Locking, SmartKey |
| Lock Type | Keypad |
| Recommended Uses | Exterior Entry Door, Garage Door, Office Door, Shed Door |
| Door Thickness | 1 3/8" - 1 3/4" |
| Bore Hole | 2 1/8" |
7. Warranty Information
The Weiser Powerbolt 2 Keyless Entry Deadbolt Lock comes with a Limited Lifetime Warranty. For specific details regarding coverage, terms, and conditions, please refer to the warranty documentation included with your product or visit the official Weiser website.
8. Support and Contact
For further assistance, technical support, or to inquire about replacement parts, please contact Weiser customer service. Contact information can typically be found on the official Weiser website or in the product packaging.
Online Resources: Visit the official Weiser website for FAQs, additional guides, and product registration.


