
Introduction
Thank you for choosing the PROGRACE Kids Waterproof Camera. This durable and versatile digital camera is designed to capture your child's adventures, whether on land or underwater. Featuring 1080P video recording, 5MP photo capability, and a robust waterproof case, it's perfect for young explorers. This manual provides essential information for setting up, operating, and maintaining your camera.

Image: The PROGRACE Kids Waterproof Camera in pink, showcasing its compact design and waterproof casing.
What's in the Box
Your PROGRACE Kids Waterproof Camera package includes the following items:
- 1 X Kids Camera
- 1 X Waterproof Case
- 1 X 32GB Micro SD Card
- 1 X Micro USB Cable
- 2 X Fastening Straps
- 1 X Bicycle Mount
- 1 X Helmet mount
- 2 X Lanyards
- 1 X User Manual

Image: A visual representation of all items included in the camera package, neatly arranged.
Setup
1. Charging the Camera
Before first use, fully charge the camera. Connect the micro USB cable to the camera's charging port and a USB power source. The charging indicator light will show the charging status.
2. Inserting the Micro SD Card
Locate the micro SD card slot on the side of the camera. Gently insert the provided 32GB Micro SD card until it clicks into place. Ensure the card is inserted correctly to avoid damage.
Video: A demonstration on how to correctly insert and remove the micro SD card from the camera.
3. Using the Waterproof Case
For underwater use, place the camera inside the waterproof case. Ensure the silicone plug covering the charging port and SD card slot is tightly closed before sealing the case. The case protects the camera up to 100ft (30m) depth.
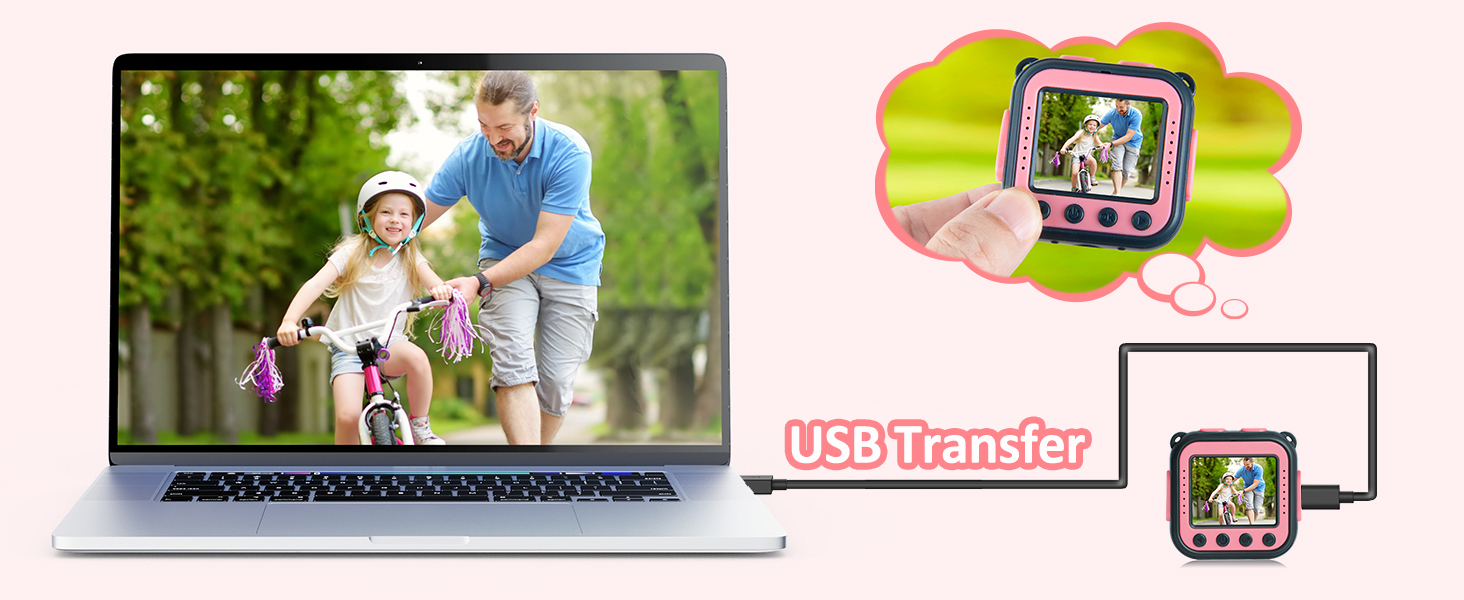
Image: The camera securely enclosed in its transparent waterproof case, ready for underwater use.
4. Attaching Accessories
The camera comes with various mounts for different activities:
- Helmet Mount: Attach the helmet mount to a clean, flat surface on a helmet using the adhesive pad. Secure the camera to the mount.
- Bicycle Mount: Secure the bicycle mount to the handlebars of a bike. Attach the camera to the mount.
Video: A step-by-step guide on how to properly attach the camera to a helmet mount.
Operating the Camera
1. Powering On/Off
Press and hold the power button (usually located on the top or side) for a few seconds to turn the camera on or off. The screen will display a welcome message upon startup.
2. Menu Navigation
Use the directional buttons (up, down, left, right) to navigate through the camera's menu options. Press the 'OK' or shutter button to select an option.
3. Taking Photos and Videos
- Photo Mode: Select the camera icon from the main menu. Press the shutter button to take a picture.
- Video Mode: Select the video camera icon. Press the shutter button once to start recording and again to stop.
4. Creative Features
The camera offers various creative options:
- Frames & Filters: Cycle through 40 fun frames and 7 color filters to add a creative touch to your photos.
- Digital Zoom: Use the zoom function (up/down buttons in photo mode) to get closer to your subject (up to 4X digital zoom).
- Burst Shooting & Time-Lapse: Explore these advanced features for capturing action sequences or time-lapse videos.
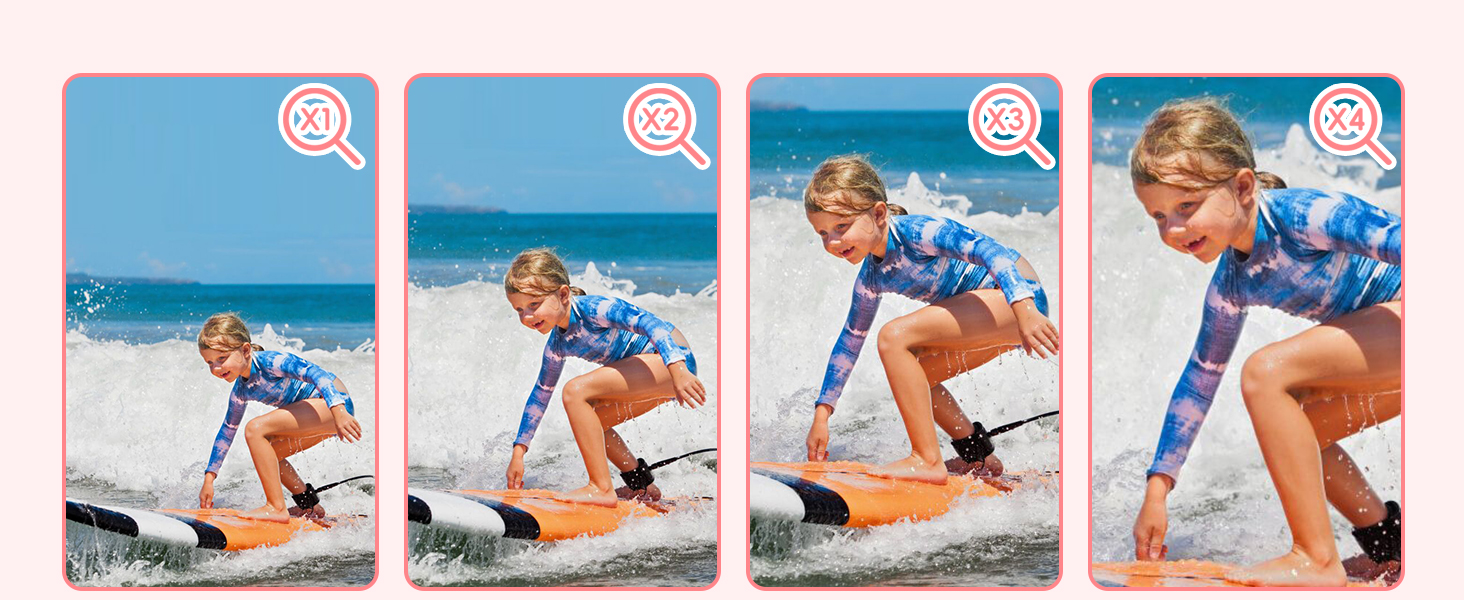
Image: Examples of the fun frames and color filters available on the camera, enhancing creative expression.
5. Selfie Mode
Hold down the 'M' button to switch to selfie mode, utilizing the front-facing camera for easy self-portraits and videos.
6. Transferring Files
To transfer photos and videos to a computer, remove the micro SD card and insert it into a card reader connected to your computer. Alternatively, connect the camera directly to your computer using the micro USB cable.
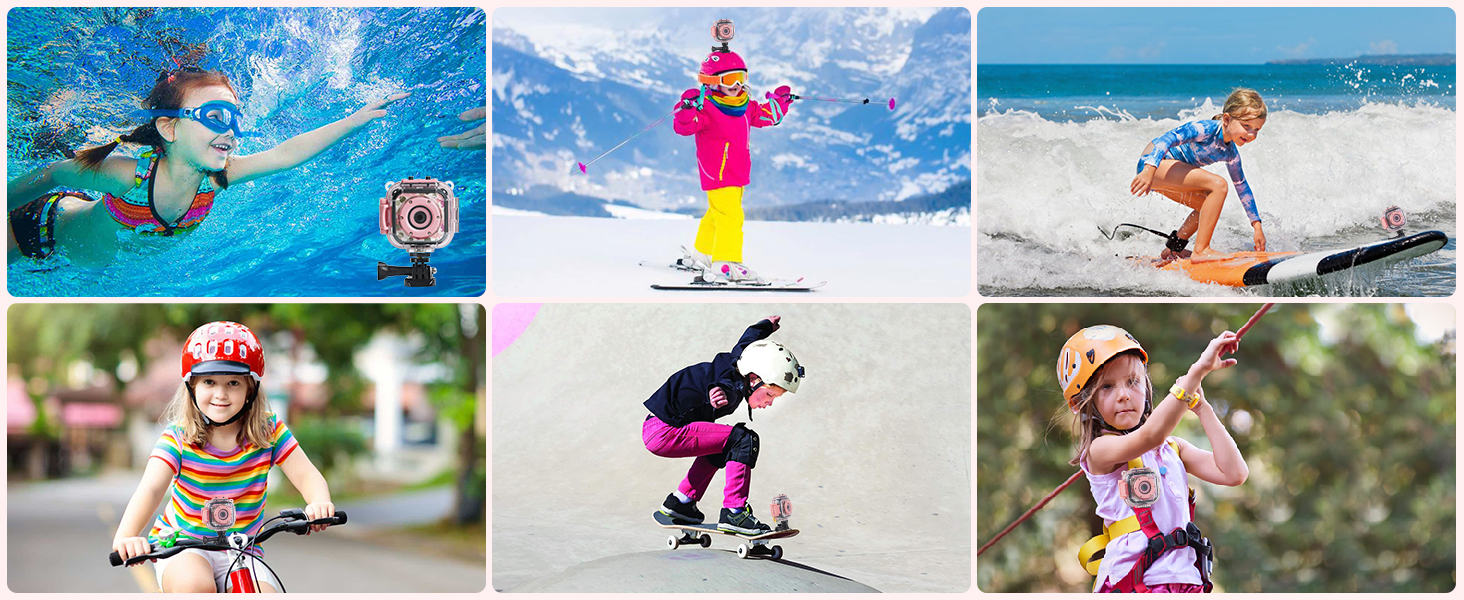
Image: The camera connected via USB cable to a laptop, illustrating the file transfer process.
Maintenance
- Cleaning: Use a soft, dry cloth to clean the camera body. For the lens, use a specialized lens cleaning cloth.
- Waterproof Case Care: After each use in water, rinse the waterproof case with fresh water and allow it to air dry completely before storing. Inspect the rubber seal for any debris or damage regularly.
- Storage: Store the camera and accessories in a cool, dry place away from direct sunlight.
Troubleshooting
- Camera not turning on: Ensure the battery is charged. Check the small master battery On/Off switch located near the USB port and ensure it is in the 'On' position.
- Water leakage in case: Always ensure the silicone plug is tightly closed and the waterproof case is properly sealed before submerging. Inspect the seal for any damage.
- Poor picture/video quality: Ensure the lens is clean. Check lighting conditions. For best results, use in well-lit environments.
- SD card not recognized: Ensure the SD card is inserted correctly and is formatted to FAT32. Try reinserting the card or using a different compatible card.
Specifications
| Product Dimensions | 2.3 x 2.3 x 1 inches |
| Item Weight | 1.6 ounces |
| Item Model Number | Children's camera |
| Batteries | 1 Lithium Metal batteries required (included) |
| Photo Sensor Technology | CMOS |
| Video Capture Resolution | 1080p |
| Flash Memory Type | Micro SD |
| Screen Size | 1.77 Inches |
| Connectivity Technology | USB |
Warranty & Support
For warranty information or technical support, please refer to the contact details provided in the original product packaging or visit the official PROGRACE website. Keep your purchase receipt for warranty claims.