1. Introduction
This manual provides essential information for the safe and efficient operation of your SUNNYSKY MPPT-60AI Solar Charge Controller. Please read it thoroughly before installation and use. This controller is designed to optimize power harvesting from solar panels to charge various battery types, including Sealed, Gel, Flooded, and Lithium batteries, across 12V, 24V, 36V, and 48V systems.

Figure 1.1: Front view of the SUNNYSKY MPPT-60AI Solar Charge Controller.
Video 1.1: Overview of the SUNNYSKY MPPT Solar Charge Controller.
2. Important Safety Information
Observe the following safety precautions during installation and operation:
- PV reverse polarity protection
- PV short circuit protection
- PV over current alarm protection
- Battery overcharge protection
- Battery over discharge protection
- Battery reverse polarity protection
- Load short circuit protection
- Load overload protection
- Controller overheating protection
Always ensure proper wiring and adhere to local electrical codes to prevent damage or injury.
3. Product Features
- System Voltage Auto-Identification: Automatically detects 12V/24V/48V system voltages.
- High PV Input Voltage: Supports a maximum PV input voltage of 170V.
- Wide MPPT Working Range: Optimal MPPT voltage ranges: DC18V-DC120V (12V system), DC30V-DC120V (24V system), DC65V-DC150V (48V system).
- Battery Compatibility: Compatible with Lead-acid (Sealed, AGM, Gel, Flooded) and Lithium batteries. Parameters can be set for specific lithium battery characteristics.
- Efficient Tracking: Maximum Power Point Tracking (MPPT) rate ≥99%, maximum conversion rate >98%.
- Power & Current Limiting: Auto control system limits charging power and current to prevent exceeding rated values.
- Display & Monitoring: Features an LCD display to show daily power generation and current curves.
4. Package Contents
Upon opening the package, verify that all items are present and undamaged:
- SUNNYSKY MPPT-60AI Solar Charge Controller
- User Manual
- Mounting Brackets and Screws
- Temperature Sensor Cable
- Communication Cable (if included with specific model)

Figure 4.1: SUNNYSKY MPPT-60AI Solar Charge Controller and accessories.
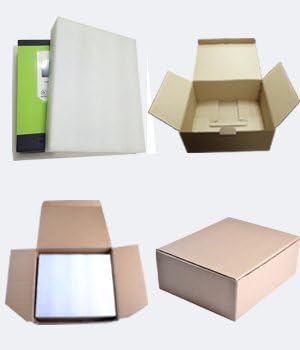
Figure 4.2: Product packaging.
5. Setup and Installation
5.1. Mounting the Controller
Choose a suitable, well-ventilated location away from direct sunlight and high temperatures. Ensure adequate clearance around the unit for proper airflow. Use the provided mounting brackets and screws to securely attach the controller to a vertical surface.
5.2. Wiring Connections
Follow the wiring sequence carefully to avoid damage:
- Connect the battery cables to the controller first. Ensure correct polarity (positive to positive, negative to negative).
- Connect the solar panel cables to the controller. Ensure correct polarity.
- Connect any DC load devices to the load terminals.
Always connect the battery before the solar panels. Reverse polarity can damage the controller.

Figure 5.1: Connection terminals for solar, battery, and load.
Video 5.1: Sunnysky Solar MPPT Charge Controller charging status page.
6. Operating Instructions
6.1. LCD Display and Navigation
The LCD display provides real-time information about your solar system. Use the MENU, UP, DOWN, and ENTER buttons to navigate through the display screens and adjust settings.

Figure 6.1: LCD display and button functions.
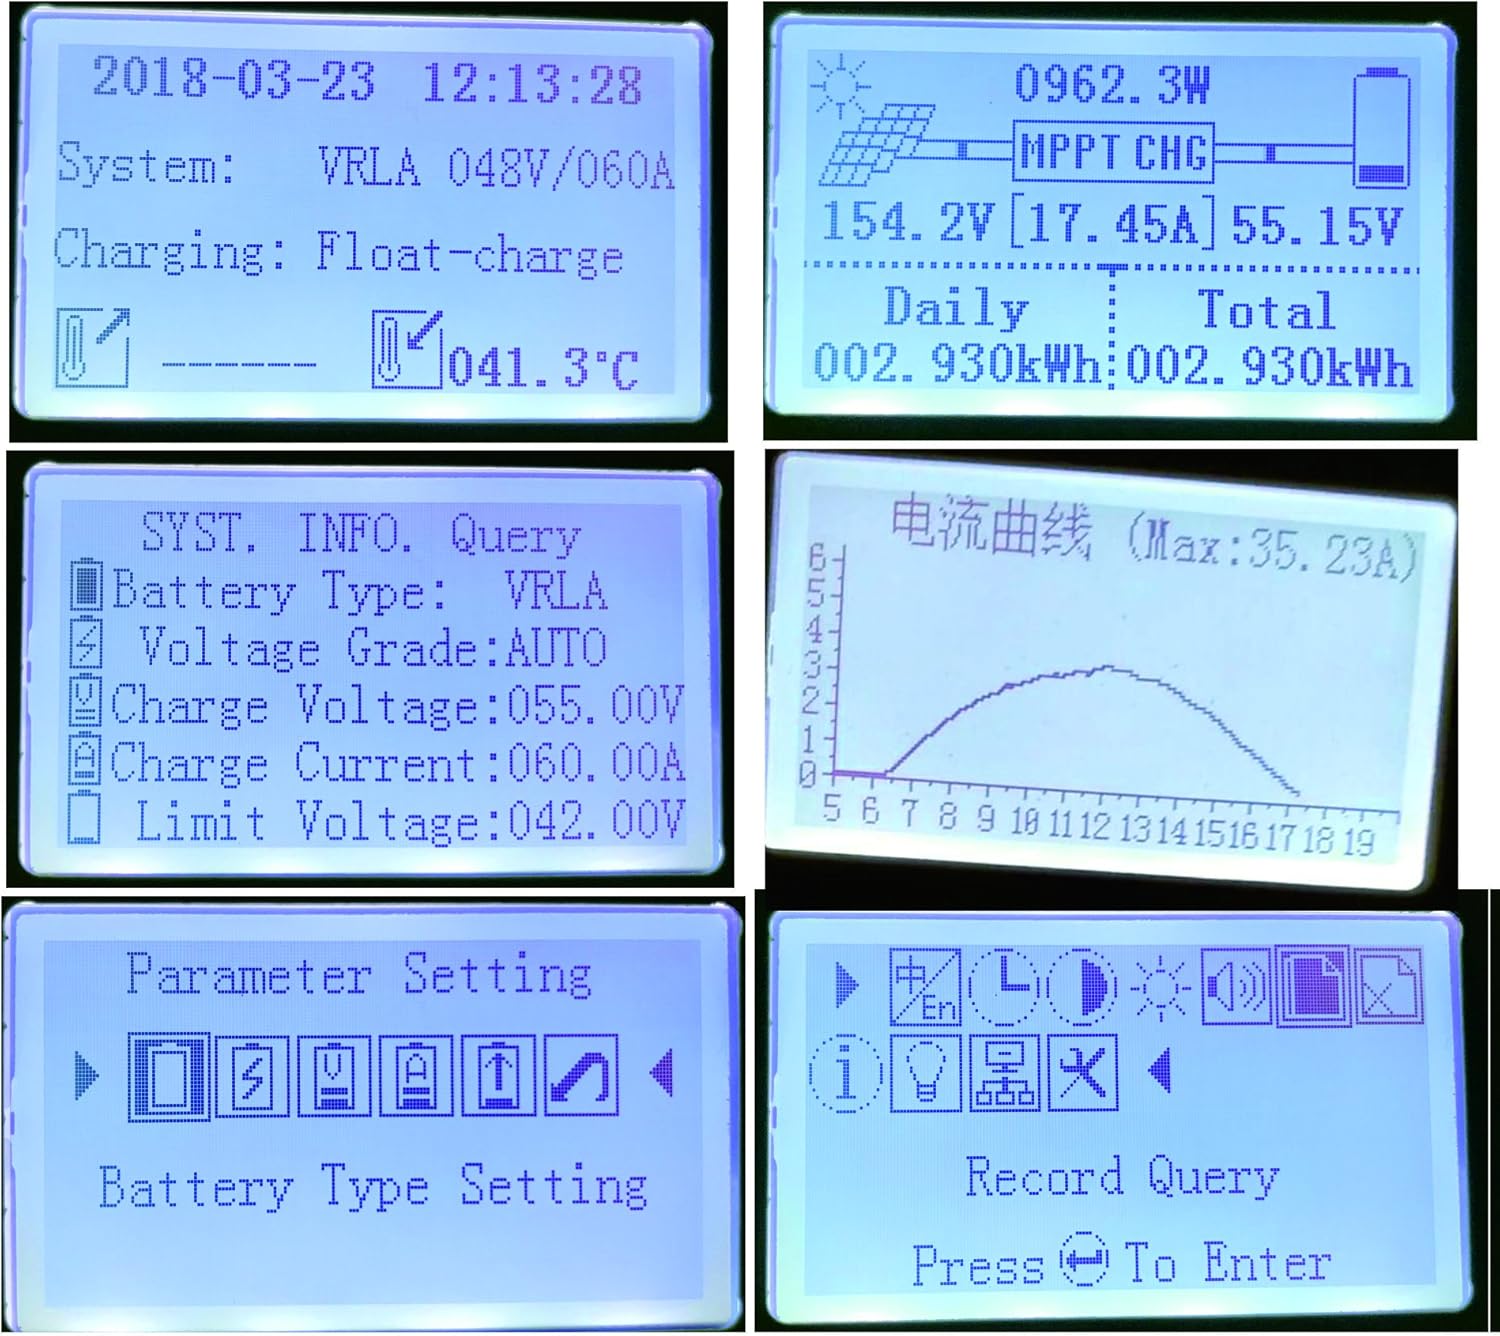
Figure 6.2: Examples of LCD display content.
Video 6.1: Sunnysky Solar MPPT Solar Controller Display content.
6.2. Battery Type Settings
The controller supports various battery types. It is crucial to select the correct battery type in the settings to ensure optimal charging and prolong battery life. For Lithium batteries, specific parameters can be adjusted.
6.3. Load Control
The controller features DC load output. You can manage the load settings through the display interface.
Video 6.2: MPPT solar controller current and power curve.
7. Maintenance
- Regularly inspect all wiring connections for tightness and corrosion.
- Keep the controller clean and free from dust and debris.
- Ensure proper ventilation around the unit to prevent overheating, especially during high power operation.
- Monitor the LCD display for any error codes or unusual readings.
8. Troubleshooting
If you encounter issues, refer to the following common problems and solutions:
- LCD does not light up: Check battery connections and ensure the battery voltage is within the operating range.
- No charging: Verify solar panel connections, ensure sufficient sunlight, and check for any PV over-current or reverse polarity warnings.
- Load not working: Check load connections, ensure the load is not overloaded, and verify load settings on the controller.
- Overheating: Ensure adequate ventilation and clear any obstructions around the cooling fins.
Video 8.1: Comparison of SUNNYSKY controller and other controllers.
9. Specifications
| Feature | Value |
|---|---|
| Model Number | MPPT-60AI |
| Brand | SUNNYSKY |
| Current Rating | 60A |
| System Voltage | 12V/24V/36V/48V Auto |
| Max PV Input Voltage | 170V |
| MPPT Best Working Voltage Range (12V) | DC18V-DC120V |
| MPPT Best Working Voltage Range (24V) | DC30V-DC120V |
| MPPT Best Working Voltage Range (48V) | DC65V-DC150V |
| Max PV Input Power (12V) | 840W |
| Max PV Input Power (24V) | 1700W |
| Max PV Input Power (36V) | 2500W |
| Max PV Input Power (48V) | 3400W |
| Battery Types Supported | Sealed, AGM, Gel, Flooded, Lithium |
| Display Type | LCD |
| Operating Temperature | 25 Degrees Celsius (optimal) |
| Product Dimensions | 9.84 x 2.95 x 7.09 inches |
| Item Weight | 5.72 pounds (2.6 Kilograms) |
| Material | Plastic And Metal |
10. Warranty and Support
For warranty information and customer support, please refer to the official SUNNYSKY store or contact their customer service directly. Keep your purchase receipt for warranty claims.
Visit the official SUNNYSKY Store: SUNNYSKY Solar Store


