1. Introduction and Overview
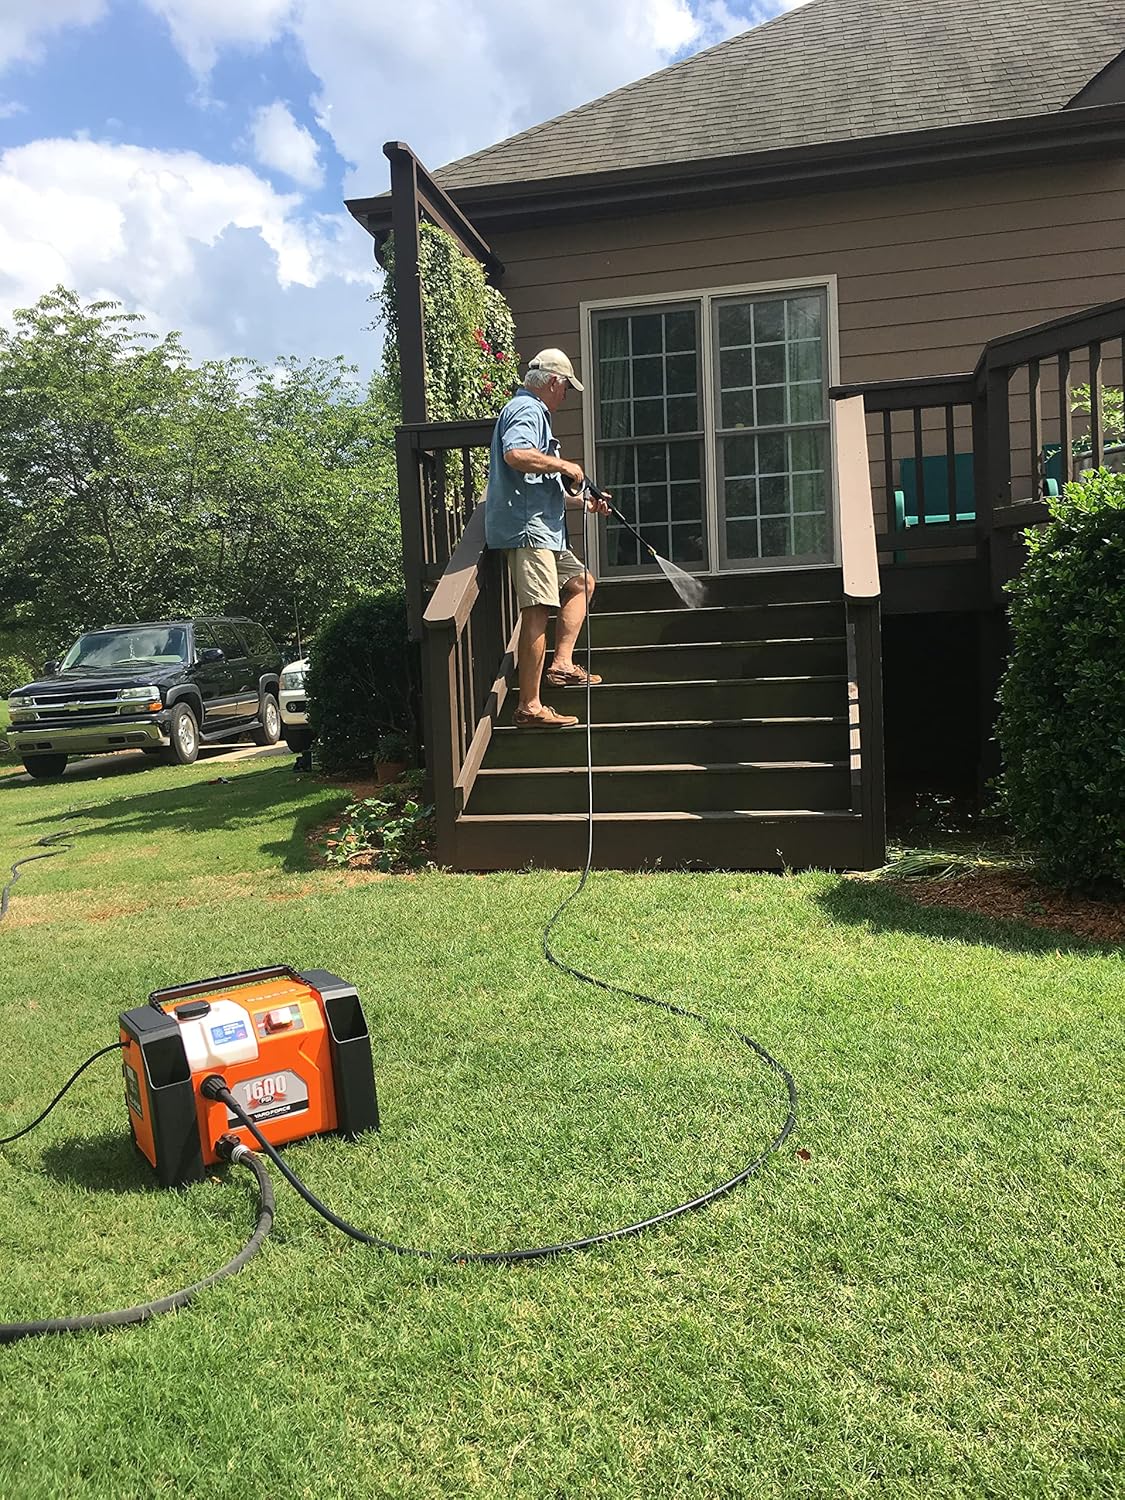
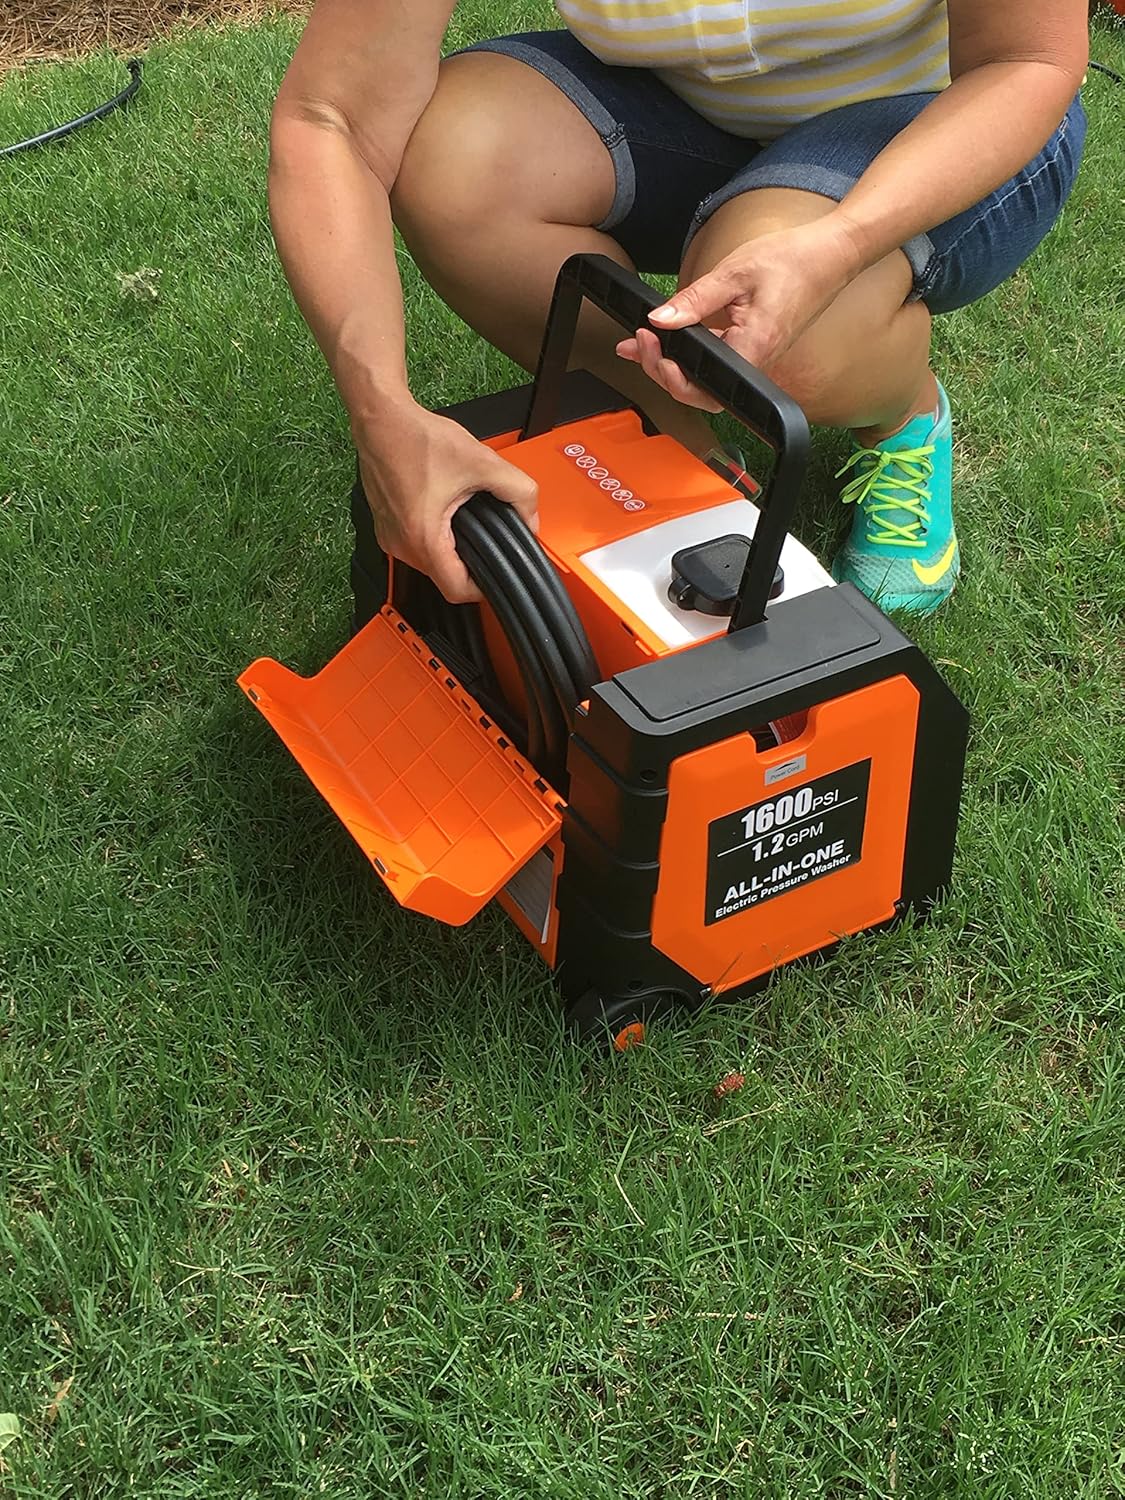
The Yard Force YF1600A1 is a compact electric pressure washer designed for various cleaning tasks around the home and yard. It delivers 1600 PSI at 1.2 GPM, providing efficient cleaning power. Its all-in-one design features built-in storage for nozzles, hose, power cord, and spray gun, ensuring all components are organized and readily accessible. The unit also includes a folding handle for easy storage and roll-along wheels for convenient mobility during use.
Key features include:
- Reliable Performance: 1600 PSI @ 1.2 GPM from an axial cam pump, powered by a quiet 13 Amp electric motor.
- Compact Design with Built-in Storage: Integrated compartments for nozzles, hose, power cord, and spray gun, along with a folding handle for easy storage and transport.
- Roll-Along Wheels: Unique rear wheels allow for easy movement as you clean.
- 32 Ounce Built-in Soap Tank: On-board tank for easy application of soap and detergent, with a drain plug for rinsing.
- Complete Cleaning System: Includes 2 Quick-Connect Nozzles (25° and Soap) plus a BONUS Turbo Nozzle, trigger handle, and wand with metal quick-connect fitting.

2. Safety Information
Always read and understand all safety warnings and instructions provided in the full user manual before operating this pressure washer. Failure to follow these instructions may result in electric shock, fire, and/or serious injury. Keep children and pets away from the operating area. Wear appropriate personal protective equipment, including eye protection, during operation. Ensure the power cord and hose are free from damage before each use.
3. Product Components
The Yard Force YF1600A1 comes with several key components for effective cleaning:
- Pressure Washer Unit (main body with motor, pump, and soap tank)
- High-Pressure Hose (19 ft reinforced PVC hose)
- Trigger Handle and Spray Wand with metal quick-connect fitting
- 2 Quick-Connect Nozzles: 25° (green) and Soap (black)
- BONUS Turbo Nozzle
- Power Cord (with GFCI plug)
- Garden Hose Adapter (for water inlet)

4. Setup
- Unpack and Inspect: Remove all components from the packaging and inspect for any damage.
- Assemble Handle: If the handle is folded for storage, unfold and secure it in the upright position.
- Connect High-Pressure Hose: Connect one end of the high-pressure hose to the pressure washer's high-pressure outlet and the other end to the trigger handle. Ensure connections are secure.
- Connect Water Supply: Attach a standard garden hose (not included) to the water inlet on the pressure washer. Ensure the water supply is clean and free of debris. Turn on the water supply fully.
- Purge Air from System: Before connecting to power, squeeze the trigger on the spray gun to allow water to flow through the system and purge any air. Continue until a steady stream of water emerges.
- Connect Power: Plug the power cord into a grounded 120V AC outlet. Ensure the GFCI (Ground Fault Circuit Interrupter) plug is reset if necessary.

5. Operating Instructions
5.1 General Operation
- Ensure the unit is properly set up and connected to water and power.
- Select the appropriate quick-connect nozzle for your cleaning task. Insert the nozzle firmly into the quick-connect collar on the spray wand until it clicks into place.
- Turn the pressure washer ON using the power switch.
- Point the spray wand at the surface to be cleaned, keeping a safe distance initially, and then squeeze the trigger to begin spraying. Adjust distance as needed for desired cleaning intensity.
- To stop spraying, release the trigger. The motor will shut off automatically.
- When finished, turn the power switch OFF, turn off the water supply, and squeeze the trigger to release any remaining pressure in the system.
5.2 Using the Soap Tank
- Open the cap of the built-in 32-ounce soap tank.
- Pour pressure washer safe detergent into the tank. Do not overfill.
- Close the soap tank cap securely.
- Attach the black Soap (low-pressure) nozzle to the spray wand. This nozzle activates the detergent injection system.
- Turn on the pressure washer and apply detergent to the desired surface.
- After applying detergent, switch to a high-pressure nozzle (e.g., 25° or Turbo) to rinse the surface.
- To clean the soap tank, use the drain plug at the bottom to empty any remaining detergent and rinse with clean water.

6. Maintenance
Regular maintenance ensures the longevity and optimal performance of your pressure washer. Always disconnect the power supply and water supply before performing any maintenance.
- Nozzle Cleaning: Periodically clean the nozzles to prevent blockages. Use the included nozzle cleaning tool if available, or a small pin to clear any debris.
- Water Inlet Filter: Check and clean the water inlet filter regularly to prevent debris from entering the pump.
- Hose and Cord Storage: After each use, carefully coil the high-pressure hose and power cord and store them in their designated built-in compartments. This helps prevent kinks and damage.
- Winterization: If storing the unit in freezing temperatures, ensure all water is drained from the pump and hoses to prevent damage. Consider using a pump protector solution.
- General Cleaning: Wipe down the exterior of the unit with a damp cloth to remove dirt and grime.
7. Troubleshooting
This section provides solutions to common issues. For more complex problems, refer to the full user manual or contact customer support.
| Problem | Possible Cause | Solution |
|---|---|---|
| Unit does not start | No power, GFCI tripped, power switch off | Check power connection, reset GFCI, ensure power switch is ON. |
| Low pressure | Insufficient water supply, clogged nozzle, air in pump | Ensure water supply is fully open, clean nozzle, purge air from system. |
| Pulsating pressure | Air in pump, restricted water flow, worn seals | Purge air, check water inlet filter, inspect hoses for kinks. |
| Water leaks | Loose connections, damaged O-rings, cracked housing | Tighten all connections, replace damaged O-rings, contact support for severe leaks. |
8. Specifications
| Specification | Value |
|---|---|
| Brand | Yard Force |
| Model Number | YF1600A1 |
| Power Source | Corded Electric |
| Maximum Pressure | 1600 PSI |
| Maximum Flow Rate | 1.2 GPM |
| Hose Length | 19 Feet |
| Soap Tank Volume | 32 Ounce (0.94 Liters) |
| Item Weight | 16.94 pounds (7.7 Kilograms) |
| Product Dimensions (L x W x H) | 16"L x 12"W x 12"H |
| Manufacturer | Merotec Inc. |
| UPC | 846325003124 |

9. Warranty and Support
The Yard Force YF1600A1 Electric Pressure Washer is backed by a 24-month warranty on the pump and motor. For warranty claims, technical assistance, or general inquiries, please contact Yard Force customer service. Their world-class customer service call center is based in Georgia.
For a comprehensive guide and detailed instructions, you can download the official User Manual (PDF) from the following link: Download User Manual (PDF)


