
ORICO DS200C3
ORICO 2 Bay 3.5 Inch Hard Drive Enclosure User Manual
Model: DS200C3 | Brand: ORICO
1. Introduction
Thank you for choosing the ORICO 2 Bay 3.5 Inch Hard Drive Enclosure. This manual provides detailed instructions for the proper installation, operation, and maintenance of your device. Please read this manual carefully before use to ensure optimal performance and data safety.

Image: The ORICO 2 Bay 3.5 Inch Hard Drive Enclosure, illustrating its two bays for hard drive installation.
2. Package Contents
Please verify that all items are present in your package:
- 1x ORICO 2 Bay 3.5 Inch Hard Drive Enclosure (DS200C3)
- 1x USB A to C data cable
- 1x 12V/4A power adapter
- 1x User manual (this document)

Image: The ORICO enclosure along with its included USB A to C data cable and 12V/4A power adapter.
3. Specifications
| Feature | Description |
|---|---|
| Model | ORICO-DS200C3-BK |
| Material | Plastic |
| Memory Storage Capacity | Up to 36 TB (2x18TB) |
| Compatible Devices | Game consoles, Laptop, PC, Router, TV |
| Hard Disk Form Factor | 3.5 Inches (supports 2.5 inch with adapter, not included) |
| Data Transfer Rate | Up to 5 Gbps (USB 3.1 Type-C, UASP supported) |
| Hardware Interface | SATA 6.0 Gb/s, USB 3.0 Type B (USB-C port on device) |
| Power Adapter | 12V/4A |
| Product Dimensions | 5.51 x 1.97 x 7.28 inches |
| Item Weight | 2.48 pounds |
| Operating System Compatibility | Windows XP / Vista / 7/8, Mac OS X 10.2 and higher, Linux |
4. Setup Guide
4.1 Hard Drive Installation (Tool-Free)
The ORICO DS200C3 features a magnetic-suction cover for easy, tool-free hard drive installation.
- Gently remove the top magnetic cover from the enclosure.
- Align your 3.5-inch SATA hard drive(s) with the bay connector(s) and slide them firmly into place until seated. For 2.5-inch drives, an adapter (not included) is recommended.
- Replace the magnetic top cover, ensuring it snaps securely into position.

Image: Step-by-step illustration of the tool-free hard drive installation process.
4.2 Connecting to Your Computer
- Connect the 12V/4A power adapter to the DC port on the back of the enclosure and plug it into a power outlet.
- Connect one end of the provided USB A to C data cable to the USB-C port on the enclosure.
- Connect the other end of the USB A to C data cable to an available USB port on your computer (USB 3.0 or higher recommended for optimal speed).
- Press the power button on the front of the enclosure. The indicator lights will illuminate.
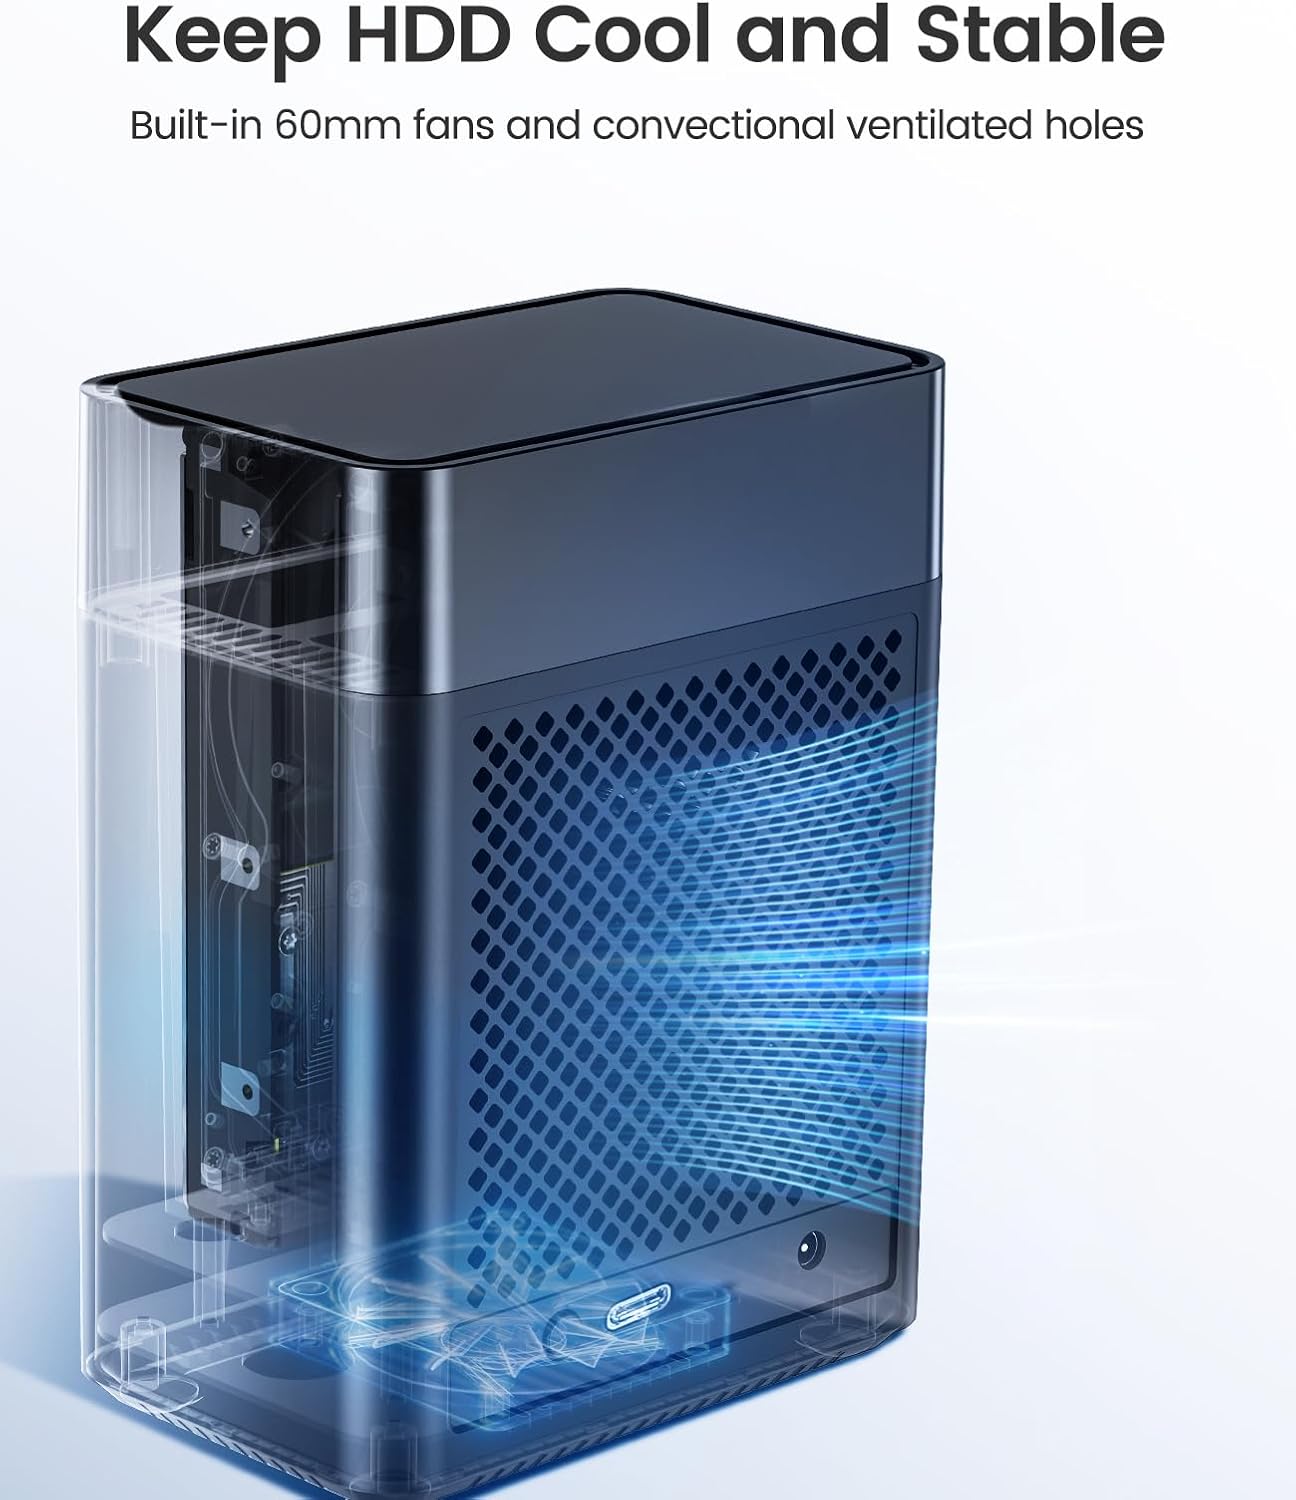
Image: Detailed view of the enclosure's rear panel, highlighting the power button, USB-C data port, and DC power input.

Image: The ORICO enclosure connected to a computer and its power adapter, ready for use.
5. Operating Instructions
5.1 Data Transfer
Once connected, your computer should automatically recognize the hard drive(s) within the enclosure. No additional drivers are needed for Windows, Mac OS, or Linux systems. You can then access and transfer files as you would with any other external storage device.

Image: Illustrates the high-speed data transfer capability of the enclosure, capable of transferring 1GB in seconds.
5.2 Storage Expansion
The enclosure supports up to 36TB of total storage capacity (2x18TB drives), making it ideal for backing up large collections of family videos, photos, and movies.

Image: Visual representation of the 36TB storage capacity, highlighting its utility for various media types.
5.3 Auto-Sleep Mode
The enclosure features an auto-sleep mode that activates after 10 minutes of inactivity to conserve power and extend the lifespan of your hard drives.
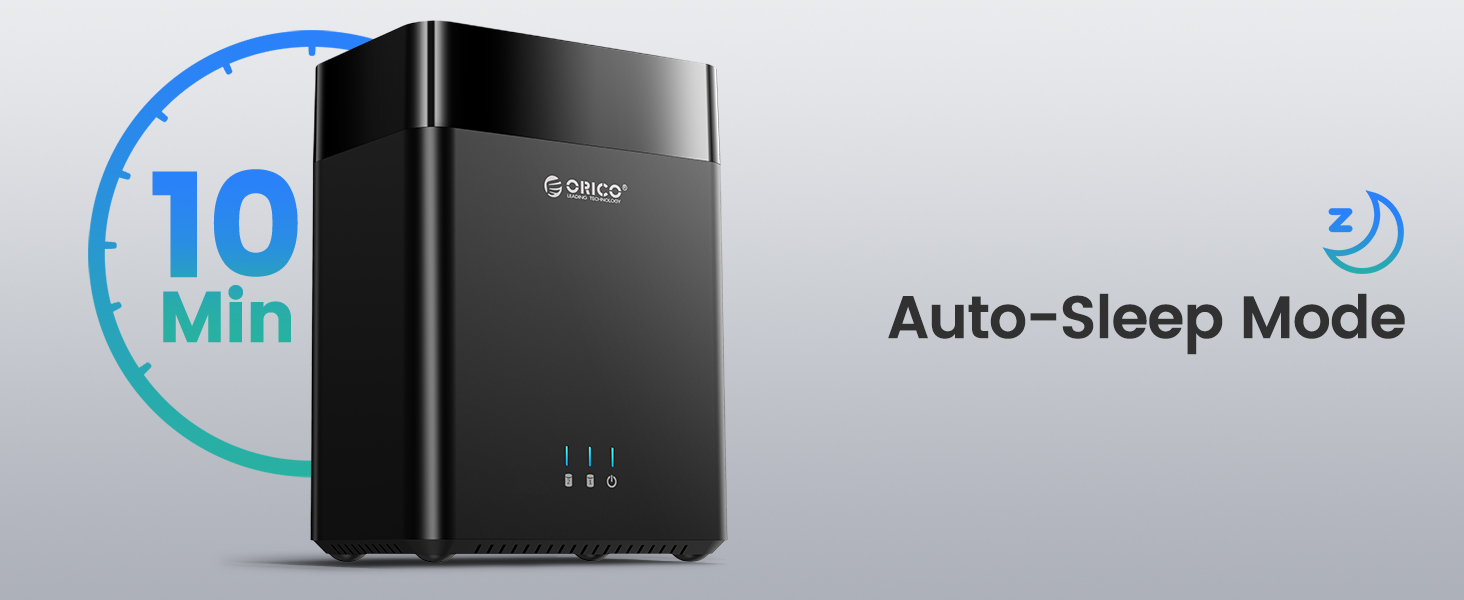
Image: Depiction of the enclosure's auto-sleep function, which engages after 10 minutes of idle time.
6. Maintenance
6.1 Cooling and Heat Dissipation
The ORICO DS200C3 is equipped with a 60mm double-ball bearing fan and a rear panel designed with honeycomb holes to facilitate air circulation and heat dissipation, ensuring stable operation of your hard drives.

Image: An X-ray view of the enclosure, showing the internal 60mm fan and ventilation design for effective heat management.
6.2 General Care
- Keep the enclosure in a clean, dry environment away from direct sunlight and extreme temperatures.
- Avoid dropping or subjecting the device to strong impacts.
- Use a soft, dry cloth for cleaning the exterior. Do not use liquid cleaners.
- Ensure the enclosure is placed on a stable surface. The rubber pads on the bottom help keep the chassis firm and ventilated.
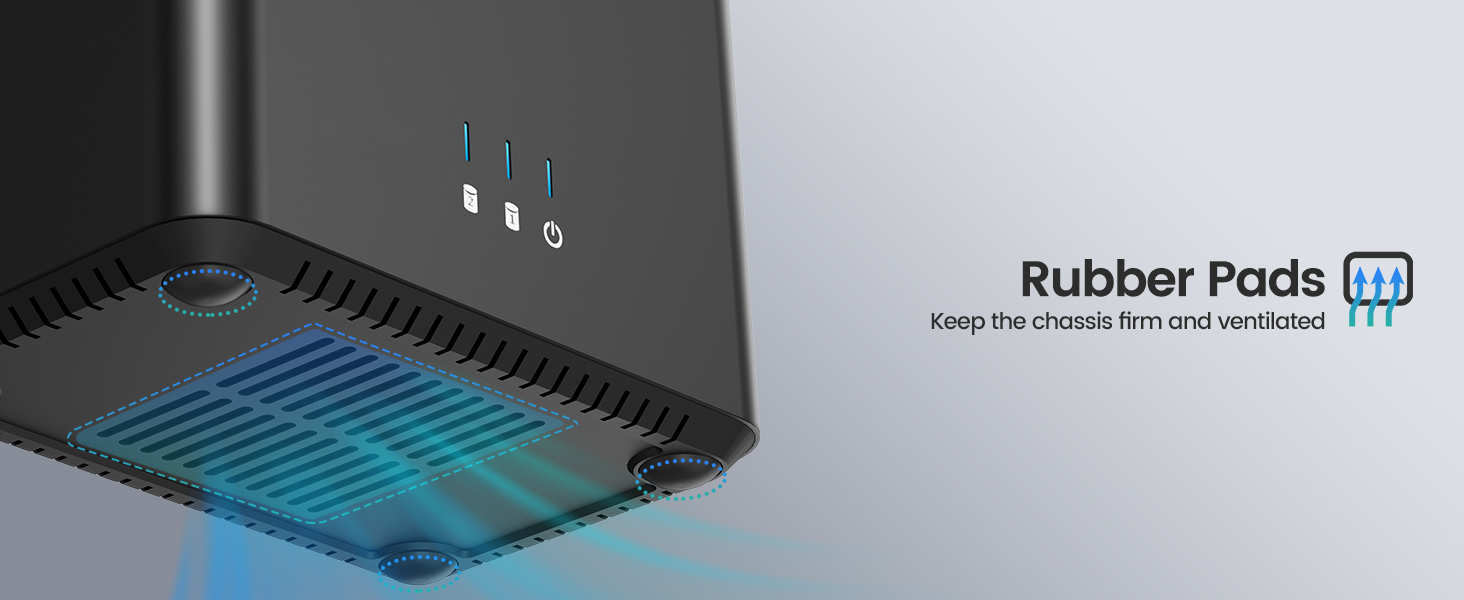
Image: Detail of the enclosure's base, illustrating the rubber pads for stability and ventilation.
7. Troubleshooting
7.1 Indicator Lights
The front panel features indicator lights to monitor the working status of your hard drives:
- Blue light: Standby/Sleep mode
- Blue light flashing: Data reading or writing
- Red light flashing: Hard drive abnormalities/failures
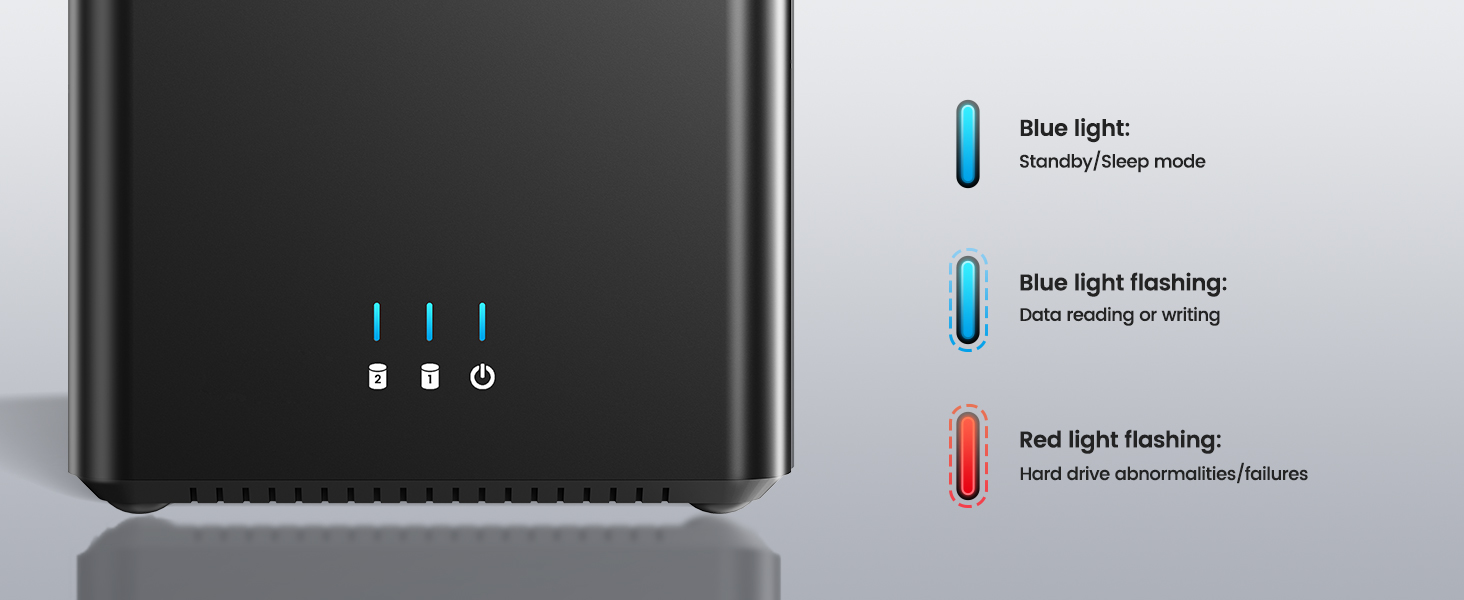
Image: A guide to understanding the status indicated by the enclosure's LED lights.
7.2 Common Issues and Solutions
- Device not recognized:
- Ensure the power adapter is securely connected and the enclosure is powered on.
- Check the USB data cable connection to both the enclosure and your computer. Try a different USB port or cable.
- Verify that the hard drive(s) are properly seated in the bays.
- For new hard drives, they may need to be initialized and formatted in your operating system's Disk Management (Windows) or Disk Utility (Mac OS).
- Slow transfer speeds:
- Ensure you are connected to a USB 3.0 (or higher) port on your computer.
- Verify that your operating system and drivers support UASP (USB Attached SCSI Protocol).
- Check the health of your hard drive(s).
- Hard drive not appearing in Linux:
- In some Linux systems, multi-HDD enclosures may only read one hard drive at a time. Consult your Linux distribution's documentation for specific configurations.
8. Safety Information
The ORICO DS200C3 is designed with multiple protection features to ensure the security of your data and the device:
- Anti-over voltage protection
- Over-current protection
- Overheat protection
- Short-circuit protection
- Leakage protection

Image: Visual representation of the comprehensive safety and stability features integrated into the enclosure.
9. Warranty and Support
ORICO products come with a standard manufacturer's warranty. For specific warranty terms and conditions, please refer to the warranty card included with your product or visit the official ORICO website. If you encounter any issues or require technical assistance, please contact ORICO customer support through their official channels.
You can also find additional resources and FAQs on the ORICO Store on Amazon.
Related documentsDS200C3


Ask a question about this manual
Ask about setup, troubleshooting, compatibility, parts, safety, or missing instructions. Manuals+ will review the question and use this page’s manual context to help answer it.