
Introduction
The Vanguard VEO 2 264AB is an aluminum travel tripod designed for photographers seeking a compact, stable, and versatile support system. It features a VEO 2 BH-50 multi-action ball head, 4-section aluminum legs, and an innovative central column system for quick setup and adjustment. This manual provides detailed instructions for the proper assembly, operation, and maintenance of your tripod.

Image: The Vanguard VEO 2 264AB tripod with a camera mounted, ready for use.
Setup
- Unpacking: Carefully remove all components from the packaging. Ensure the tripod, ball head, quick release plate, and carrying bag are present.
- Attaching the Ball Head: The VEO 2 BH-50 ball head is typically pre-attached. If not, screw the ball head onto the tripod's central column mounting screw until secure.
- Attaching the Camera:
- Locate the Arca-type compatible QS-60S quick release plate.
- Attach the quick release plate to the bottom of your camera using the ¼” D-ring screw. Ensure it is tightened securely.
- Open the clamp on the BH-50 ball head. Slide the camera with the attached quick release plate into the clamp.
- Tighten the clamp knob on the ball head to secure the camera. Verify the camera is firmly attached before releasing your grip.
- Deploying the Tripod:
- Swing the central column into its upright position.
- Extend the tripod legs by releasing the advanced twist locks. Extend each leg section fully, then twist to lock them in place.
- Adjust the leg angles using the independent leg positioning system (20°, 45°, or 80°).

Image: Detailed view of the VEO 2 BH-50 multi-action ball head, showing the independent control knobs for lock, panning, and friction.
Video: Official Vanguard video demonstrating the setup and key features of the VEO 2 tripod series, including quick deployment and leg adjustments.
Operating Instructions
Leg Adjustment
- Twist Locks: To extend a leg section, twist the lock counter-clockwise to loosen, pull the leg section to the desired length, then twist clockwise to tighten. The advanced twist lock system allows for rapid leg extension and secure locking.
- Leg Angles: Each leg can be independently positioned at 20°, 45°, or 80° to adapt to uneven terrain or achieve creative low-angle shots. Press the angle adjustment button at the top of each leg to change its position.

Image: Close-up of the tripod leg showing the advanced twist lock mechanism for quick and secure leg extension.
Ball Head Operation
- Lock Knob: This main knob controls the movement of the ball. Loosen to adjust the camera angle, then tighten to secure it in position.
- Panning Knob: This knob allows for 360° horizontal rotation of the camera without affecting the tilt. Loosen to pan, tighten to lock.
- Friction Control: A smaller knob adjusts the tension of the ball movement, allowing for smoother adjustments with heavier cameras or lenses.
Central Column
- Extension: The central column can be extended for additional height. Loosen the central column lock, raise the column, and then tighten the lock.
- Low Angle Adapter: For extremely low-angle photography, the central column can be inverted or replaced with the included low angle adapter. Consult the diagram for specific instructions on inversion.
- Suspension Loop: A dedicated suspension loop on the canopy allows you to attach counterbalance weights or a bag for increased stability, especially in windy conditions or with heavy equipment.
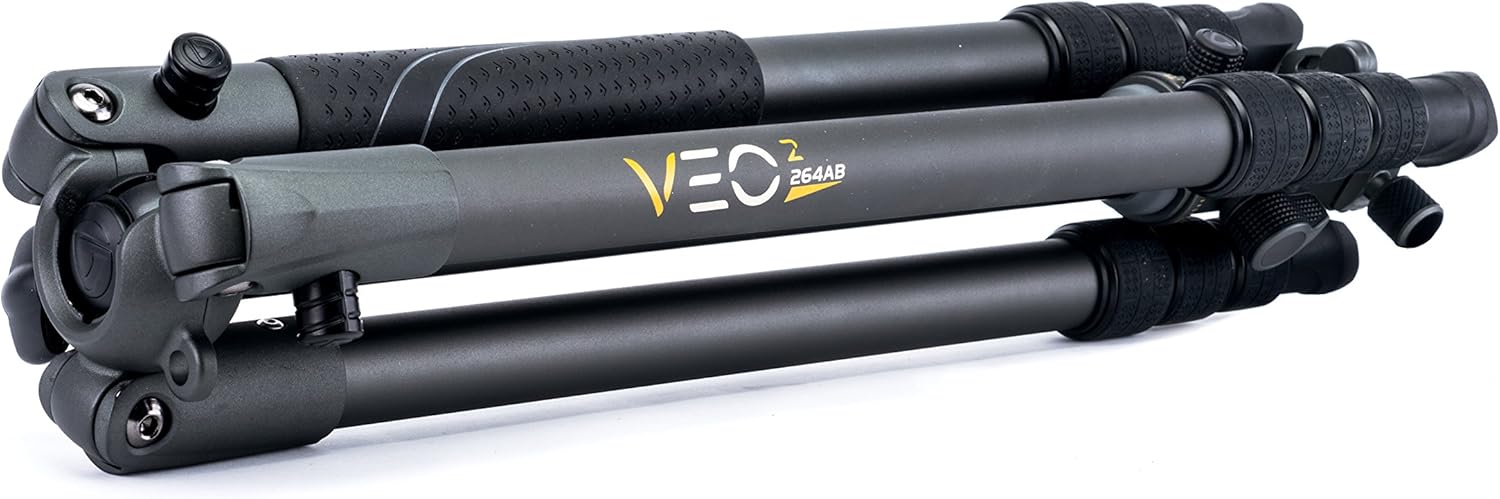
Image: The Vanguard VEO 2 264AB tripod fully extended, demonstrating its maximum height capability.
Maintenance
- Cleaning: After use, especially in dusty or sandy environments, wipe down the tripod legs and joints with a soft, damp cloth. Avoid using harsh chemicals.
- Lubrication: Periodically check the leg locks and ball head for smooth operation. If necessary, apply a small amount of silicone-based lubricant to moving parts, avoiding excessive application.
- Storage: Store the tripod in its included carrying bag in a dry, cool place to prevent corrosion and damage.
- Inspection: Regularly inspect all screws, bolts, and moving parts for tightness and wear. Tighten any loose components.
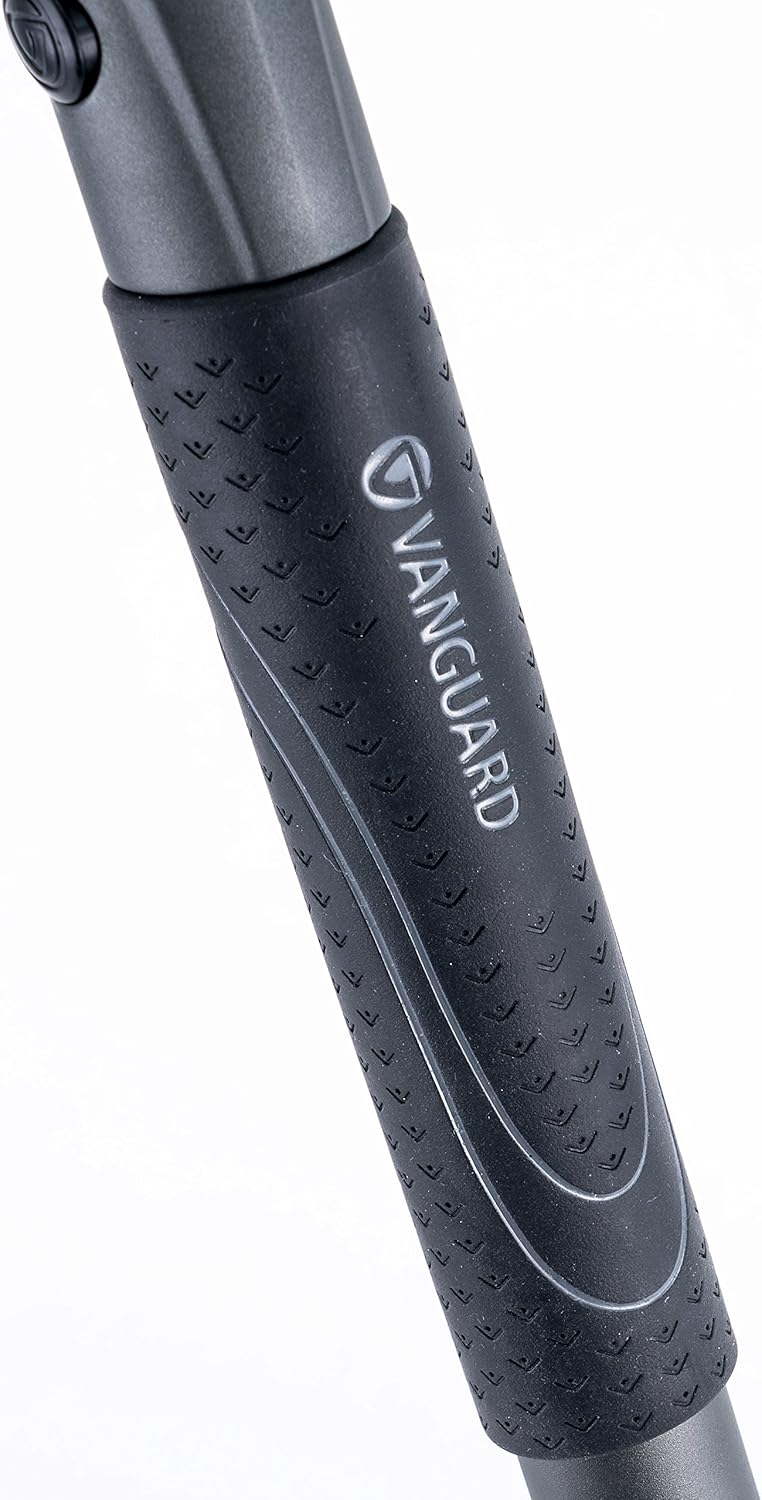
Image: Close-up of the soft rubber handle on one of the tripod legs, providing a secure grip.
Troubleshooting
- Tripod Instability:
- Ensure all leg sections are fully extended and twist locks are securely tightened.
- Verify that the leg angles are set appropriately for the terrain.
- Consider using the suspension loop with a counterbalance weight for added stability.
- Stiff Leg Locks:
- Clean any dirt or debris from the twist lock mechanisms.
- Apply a small amount of silicone lubricant if necessary.
- Ball Head Not Holding Position:
- Ensure the main lock knob is fully tightened.
- Adjust the friction control knob to increase tension for heavier loads.
- Verify the quick release plate is securely attached to both the camera and the ball head.
Specifications
| Feature | Detail |
|---|---|
| Brand | VANGUARD |
| Model Name | VEO 2 264AB |
| Material | Aluminum |
| Item Weight | 3.44 Pounds (1.56 kg) |
| Weight Limit | 17.6 Pounds (8 kg) |
| Tripod Head Type | Ball Heads (VEO 2 BH-50) |
| Number of Leg Sections | 4 |
| Folded Height | 17.5 inches (44.5 cm) |
| Extended Height | 61 inches (155 cm) |
| Leg Angles | 20°, 45°, 80° |
| Quick Release Plate | Arca-type compatible QS-60S |
Accessories
- Carrying Bag: An included carrying bag with a shoulder strap facilitates easy transport and protection of your tripod.
- Spiked Feet (Sold Separately): For enhanced grip and stability on soft or uneven outdoor surfaces, VEO 2 SF spiked feet are available for purchase separately.
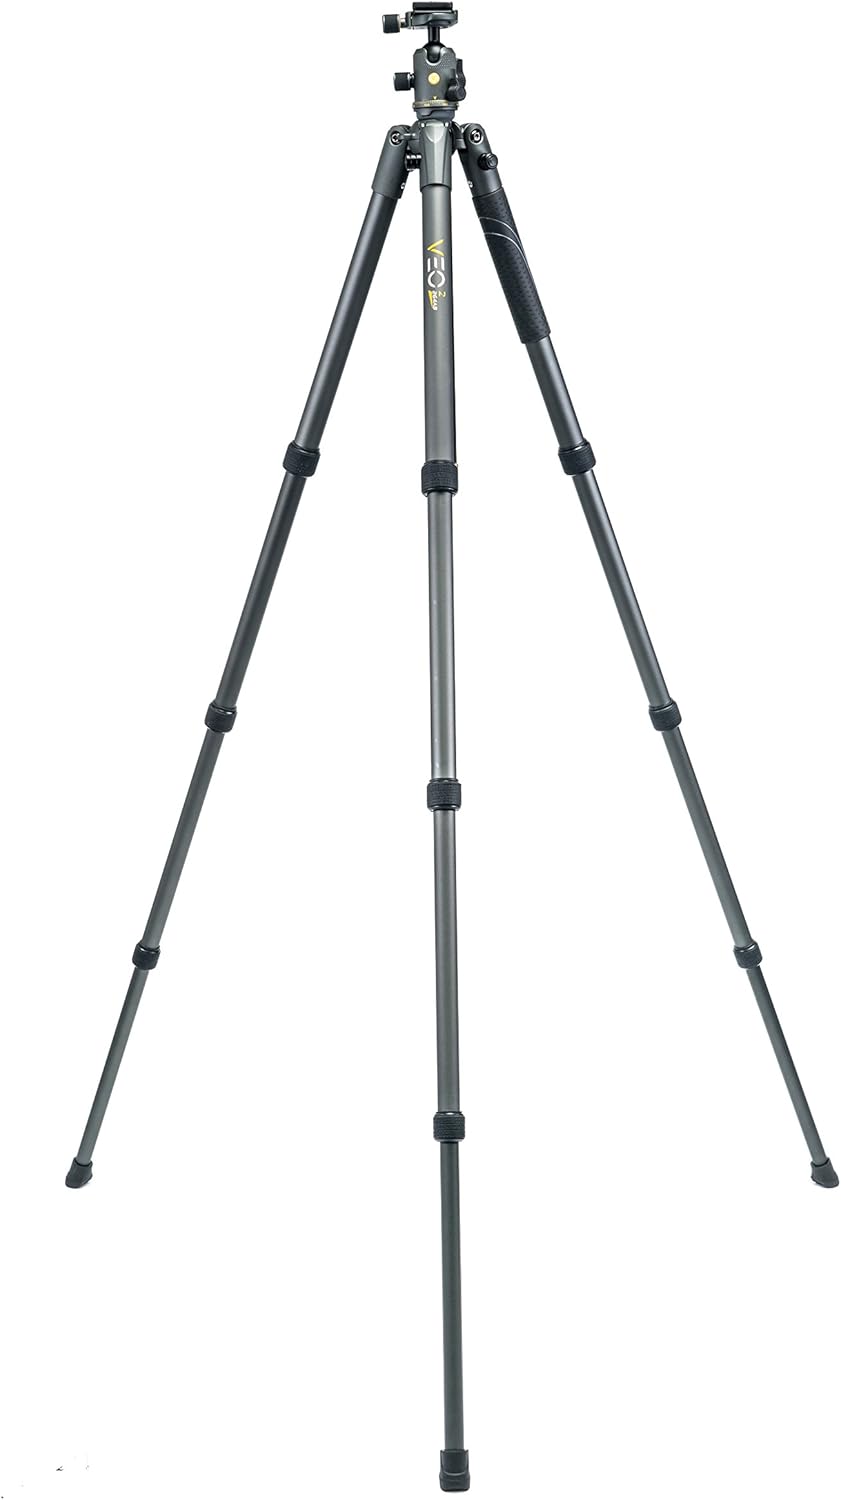
Image: The Vanguard VEO 2 264AB tripod neatly packed into its dedicated carrying bag.
Warranty and Support
Vanguard products are designed for durability and performance. For specific warranty information, please refer to the warranty card included with your product or visit the official Vanguard website. For technical support, product registration, or service inquiries, please contact Vanguard customer service through their official channels.

