
1. Introduction
This manual provides detailed instructions for the safe and effective use of your VOKING VK430 E-TTL Speedlite Flash. Please read this manual thoroughly before using the product to ensure proper operation and to prevent damage.
2. Safety Precautions
- Do not disassemble or attempt to repair the flash unit yourself. Refer all servicing to qualified personnel.
- Keep the flash unit dry. Do not expose it to rain, moisture, or high humidity.
- Avoid direct eye exposure to the flash. The intense light can cause temporary vision impairment.
- Use only specified batteries (4 x AA size). Incorrect battery types or improper installation can cause leakage, overheating, or explosion.
- Do not operate the flash in the presence of flammable gases or liquids.
- If the flash unit emits smoke, unusual odors, or excessive heat, discontinue use immediately and remove batteries.
3. Product Overview
The VOKING VK430 is an E-TTL compatible speedlite flash designed for Canon DSLR cameras. It features an LCD display for easy control and supports various flash modes including E-TTL, Manual, Multi, S1, and S2 optical slave modes.

Figure 3.1: Front view of the VOKING VK430 Speedlite Flash, showing the LCD display and control buttons.
3.1 Main Features
- Guide Number (GN) 42 (at ISO 100, 105mm)
- E-TTL Auto Flash Mode
- Manual Flash Mode (M)
- Multi Flash Mode (Stroboscopic)
- S1/S2 Optical Slave Modes
- Bounce Flash Capability (Head rotation: 270° horizontal, 90° vertical)
- Flash Exposure Compensation (FEC)
- First-Curtain Sync and Second-Curtain Sync
- Automatic and Manual Zoom (24-105mm, 14mm with wide panel)
- LCD Display for settings and status
- Overheat Protection
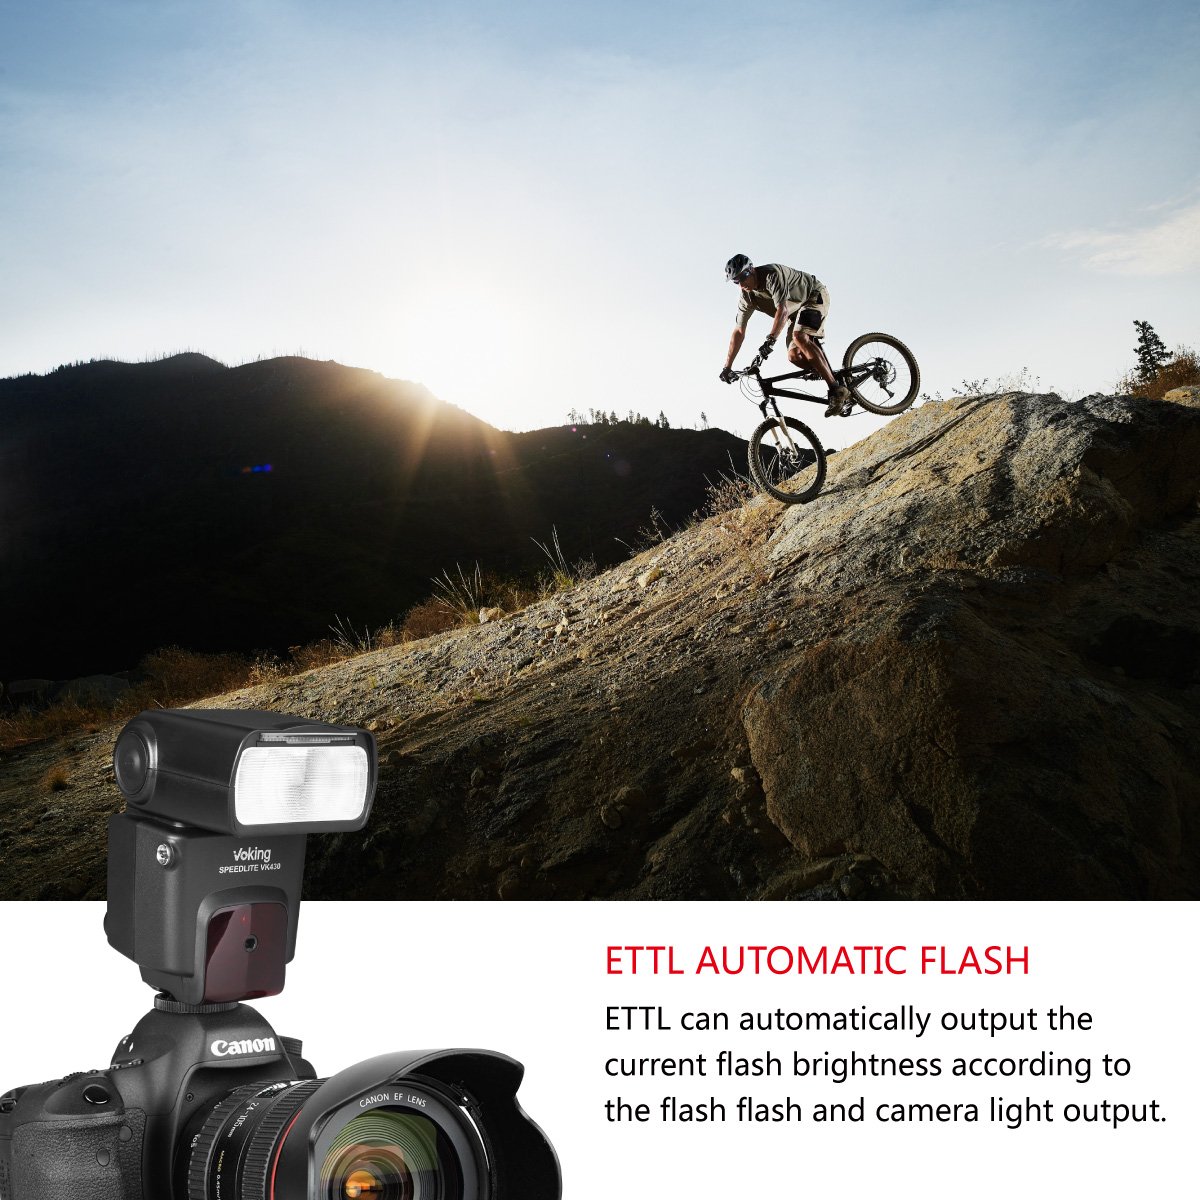
Figure 3.2: Key features of the VOKING VK430 Speedlite Flash.
4. Setup
4.1 Battery Installation
- Open the battery compartment cover located on the side of the flash unit.
- Insert four (4) AA size batteries according to the polarity indicators (+/-) inside the compartment.
- Close the battery compartment cover securely.

Figure 4.1: Battery compartment and other detailed components of the flash.
4.2 Mounting to Camera
- Ensure the flash unit is powered off.
- Slide the flash's hot shoe into the camera's hot shoe mount until it clicks into place.
- Tighten the locking knob on the flash unit to secure it to the camera.

Figure 4.2: VOKING VK430 mounted on a Canon DSLR camera.
4.3 Powering On/Off
Press and hold the ON/OFF button to power the flash unit on or off. The LCD display will illuminate when the unit is powered on.
5. Operating Modes
Press the MODE button to cycle through the available flash modes: E-TTL, M (Manual), MULTI (Stroboscopic), S1, and S2.
5.1 E-TTL Auto Flash Mode
In E-TTL mode, the flash automatically determines the optimal flash output based on the camera's metering system. This mode is ideal for general photography and provides balanced illumination.
- Set the flash to E-TTL mode.
- Ensure your camera is set to a compatible automatic flash mode.
- The flash will fire a pre-flash to measure the scene and adjust output accordingly.
5.2 Manual Flash Mode (M)
Manual mode allows you to set the flash output power manually from 1/1 (full power) to 1/128 power in 1/3 stop increments. This provides precise control over lighting.
- Set the flash to M mode.
- Use the UP and DOWN buttons to adjust the flash output power.
5.3 Multi Flash Mode (Stroboscopic)
Multi mode allows the flash to fire multiple times during a single exposure, creating a stroboscopic effect for capturing motion sequences.
- Set the flash to MULTI mode.
- Adjust the flash frequency (Hz), number of flashes, and flash output using the control buttons.
5.4 S1/S2 Optical Slave Modes
These modes allow the VK430 to be triggered wirelessly by another flash unit. The VK430 acts as a slave flash.
- S1 Mode: The flash will fire in response to the first flash from a master flash. Suitable for manual master flashes.
- S2 Mode: The flash will ignore the pre-flash from a master flash and fire in response to the main flash. Suitable for E-TTL master flashes.

Figure 5.1: Multiple flash units can be used in slave mode for creative lighting.
6. Advanced Features
6.1 Bounce Flash
The flash head can be rotated horizontally and vertically to bounce light off ceilings or walls, creating softer and more natural illumination.
- The flash head can rotate 270 degrees horizontally (left-right).
- The flash head can tilt 90 degrees vertically (up-down).
- Gently adjust the flash head to the desired angle.

Figure 6.1: Flash head rotation for bounce photography.
6.2 Flash Exposure Compensation (FEC)
FEC allows you to adjust the flash output relative to the camera's automatic exposure, making the flash brighter or dimmer. This is typically controlled via the camera's menu or a dedicated button on the flash (if available, usually accessed via the SET button and arrow keys).
6.3 Zoom Function
The flash head's zoom position can be set automatically to match the lens focal length or manually adjusted. This optimizes flash coverage for different focal lengths.
- In automatic zoom, the flash adjusts its coverage between 24mm and 105mm.
- A built-in wide panel extends coverage to 14mm.
- Use the ZOOM button to cycle through manual zoom settings or enable auto zoom.
6.4 Sync Modes
- First-Curtain Sync: The flash fires immediately after the shutter opens. This is the standard sync mode.
- Second-Curtain Sync: The flash fires just before the shutter closes. This creates a trail of light behind moving subjects, useful for capturing motion.
7. Maintenance
- Cleaning: Use a soft, dry cloth to clean the flash unit. For stubborn dirt, a slightly damp cloth can be used, followed by a dry cloth. Do not use solvents or abrasive cleaners.
- Battery Care: Remove batteries if the flash unit will not be used for an extended period to prevent leakage. Store batteries in a cool, dry place.
- Storage: Store the flash unit in a dry, dust-free environment, away from direct sunlight and extreme temperatures.
8. Troubleshooting
| Problem | Possible Cause | Solution |
|---|---|---|
| Flash does not fire. |
|
|
| Flash output is too weak/strong. |
|
|
| Flash overheats. |
|
|
| LCD display is blank or flickering. |
|
|
9. Specifications
| Feature | Detail |
|---|---|
| Product Model | VK430 |
| Flash Type | Professional Speedlite |
| Circuit Design | Insulated Gate Bipolar Transistor (IGBT) |
| Guide Number (GN) | 42 (ISO 100, 105mm) |
| Flash Modes | E-TTL, M, MULTI, S1, S2 |
| Flash Coverage | 24-105mm (14mm with wide panel) |
| Flash Duration | 1/200s - 1/20000s |
| Color Temperature | 5600K |
| Power Supply | 4 AA size batteries |
| Recycle Time | Approx. 3 seconds |
| Additional Features | FEC, AEB, Zoom Manual, Zoom Automatic |
| Item Weight | 275g (without batteries) / 440g (product dimensions weight) |
| Dimensions (LxWxH) | 165 x 74 x 60mm / 19 x 8 x 9 cm (from product dimensions) |
| Compatible Mountings | Canon |

Figure 9.1: Detailed specifications of the VOKING VK430 Speedlite Flash.
10. Warranty and Support
10.1 Warranty Information
The VOKING VK430 Speedlite Flash comes with a 1-year warranty from the date of purchase. This warranty covers manufacturing defects and malfunctions under normal use. It does not cover damage caused by misuse, accidents, unauthorized modifications, or natural disasters.
Please retain your proof of purchase for warranty claims.
10.2 Customer Support
For technical assistance, troubleshooting beyond this manual, or warranty inquiries, please contact VOKING customer support through their official website or the retailer where the product was purchased.