
1. Introduction
This manual provides detailed instructions for the safe and efficient operation, maintenance, and troubleshooting of your Powermatic III+ Automatic Cigarette Injector Machine. Please read this manual thoroughly before using the device to ensure proper function and longevity.
2. Safety Information
Observe the following safety precautions to prevent injury or damage to the machine:
- Ensure the machine is connected to a 110V power supply as specified.
- Do not operate the machine with wet hands or in damp conditions.
- Keep fingers and foreign objects away from moving parts, especially the tobacco hopper and injection mechanism.
- Unplug the machine from the power outlet before cleaning or performing any maintenance.
- Use only dry, properly cut tobacco. Moist or excessively long-cut tobacco can cause jams and damage the machine.
- This device is intended for adult use only. Keep out of reach of children.
3. Package Contents
The Powermatic III+ package typically includes:
- Powermatic III+ Automatic Cigarette Injector Machine
- Power Cord
- Cleaning Tools (brush, poker stick)
- User Manual (this document)
4. Setup
4.1 Unpacking
Carefully remove the Powermatic III+ machine and all accessories from its packaging. Inspect the machine for any signs of damage. Retain the packaging for future storage or transport.
4.2 Placement
Place the machine on a stable, flat, and dry surface. Ensure there is adequate space around the machine for operation and ventilation.
4.3 Power Connection
Connect the power cord to the machine's power input port, located at the rear. Plug the other end into a standard 110V AC electrical outlet. The machine is now ready for operation.
5. Operating Instructions
5.1 Tobacco Preparation
Proper tobacco preparation is crucial for optimal machine performance and consistent cigarette quality. Use tobacco that is dry and has a consistent cut. Tobacco that is too moist or has excessively long strands can lead to jams and uneven filling. It is often beneficial to air-dry tobacco for a few hours before use to achieve the ideal moisture level.
5.2 Loading the Tobacco Hopper
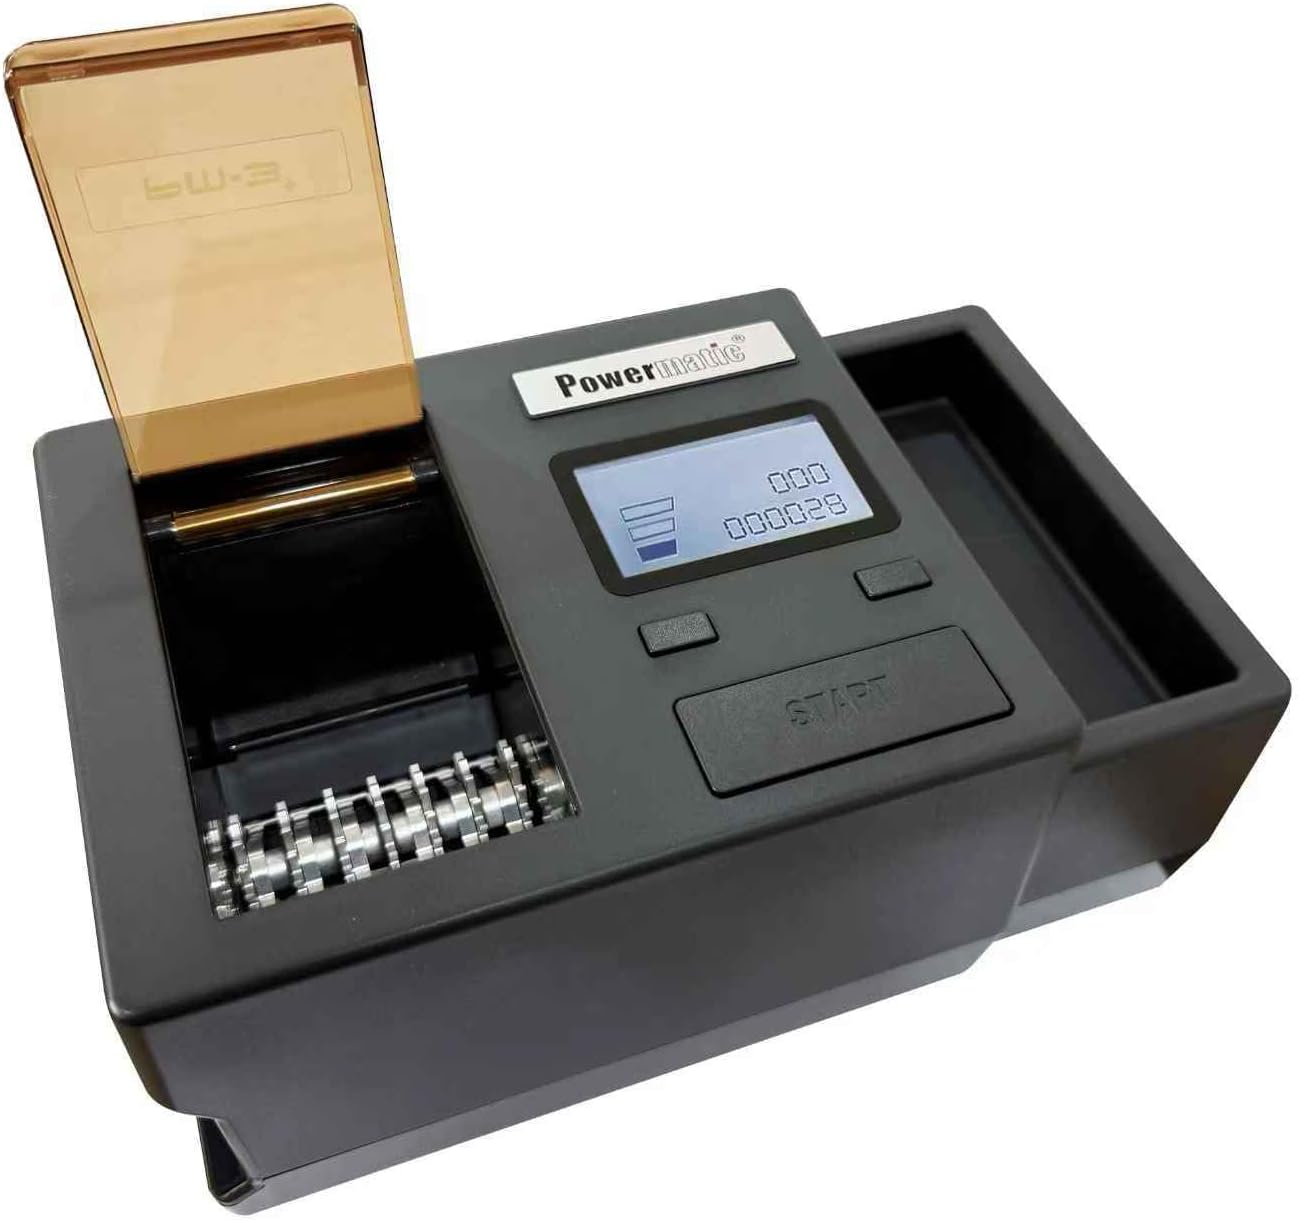
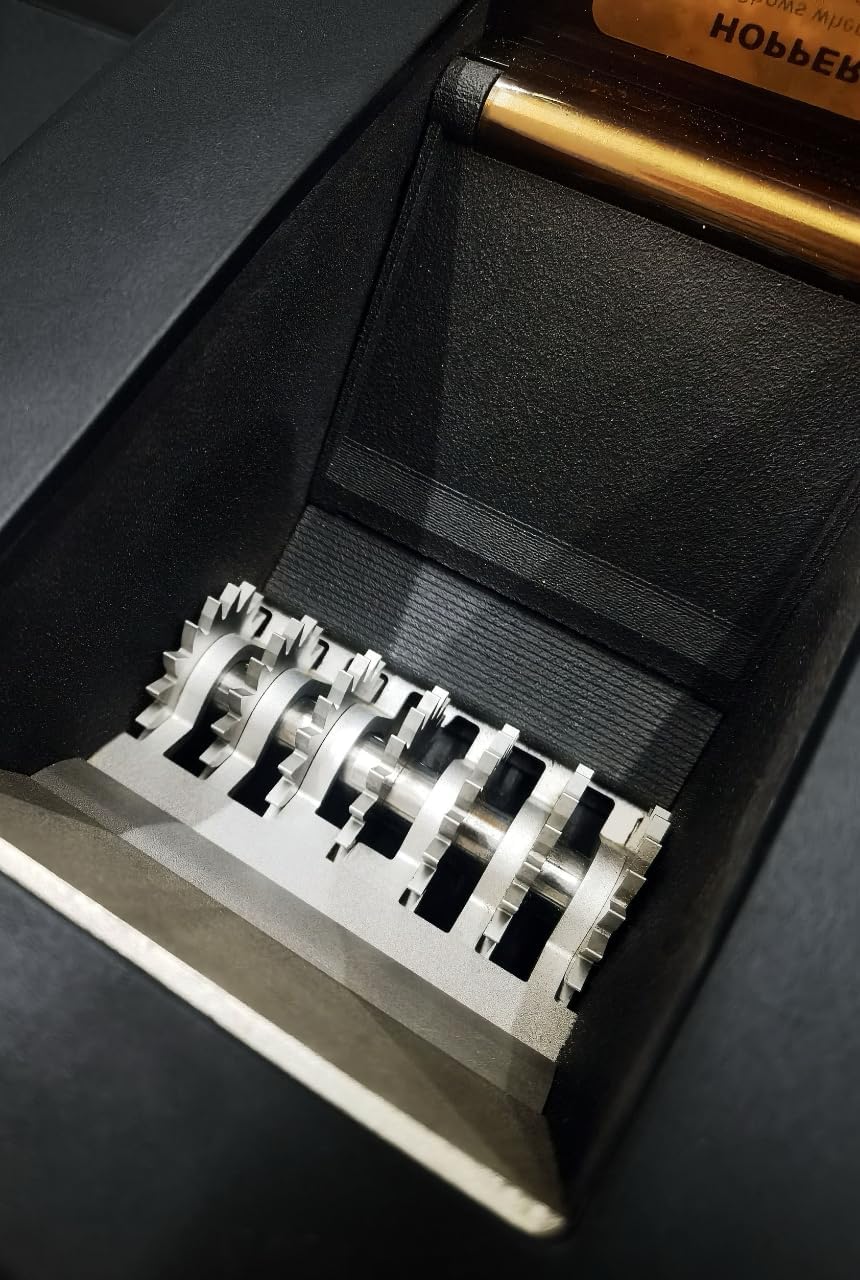
Open the lid of the tobacco hopper. Fill the hopper with your prepared tobacco. The large hopper is designed to hold enough tobacco for up to 30 cigarettes. Ensure the tobacco is evenly distributed but not overly packed in the hopper. Close the lid after loading.

5.3 Inserting a Cigarette Tube
Slide an empty cigarette tube onto the nozzle located on the side of the machine. Ensure the tube is fully seated against the machine for proper injection. The machine supports both King and 100mm size tubes.
5.4 Selecting Cigarette Density
The Powermatic III+ features a digital display that allows you to select your desired tobacco compression (density). Use the density selection button (typically located near the display) to cycle through available settings. Experiment with different settings to find your preferred cigarette firmness.

5.5 Starting the Injection Process
Once the hopper is loaded and a tube is in place, press the "START" button. The machine will automatically load, compress, and inject tobacco into the tube. The process typically takes a few seconds per cigarette.
5.6 Digital Counters
The digital display includes two counters: a resettable counter for tracking current session production and a lifetime counter for the total number of cigarettes made by the machine. The resettable counter can be reset using its dedicated button.
5.7 Automatic Jam Protection
The Powermatic III+ is equipped with automatic jam protection. If the machine detects a tobacco jam, it will stop operation to prevent damage. Refer to the Troubleshooting section for resolving jams.
6. Maintenance
6.1 Cleaning the Machine
Regular cleaning is essential for maintaining optimal performance. Always unplug the machine before cleaning.
- Use the provided brush to remove loose tobacco from the hopper and around the injection mechanism.
- The poker stick can be used to clear any tobacco residue from hard-to-reach areas.
- Wipe the exterior of the machine with a dry or slightly damp cloth. Do not use abrasive cleaners or immerse the machine in water.
6.2 General Care
Store the machine in a clean, dry place when not in use. Avoid dropping or subjecting the machine to harsh impacts.
7. Troubleshooting
This section addresses common issues you might encounter with your Powermatic III+.
| Problem | Possible Cause | Solution |
|---|---|---|
| "Hopper" warning light illuminates frequently. | Tobacco is too moist, too long-cut, or not feeding properly. | Ensure tobacco is dry and has a consistent cut. Use the poker stick to gently mix and push tobacco down in the hopper. Open and close the hopper lid to reset the sensor. |
| Cigarettes are too loose or tobacco falls out. | Incorrect density setting, tobacco too dry, or tube not fully seated. | Adjust the density setting to a higher compression. Ensure tobacco is not excessively dry. Make sure the cigarette tube is pushed completely onto the nozzle. Some users find lightly pushing on the filter end of the tube towards the machine during injection helps. |
| Tobacco does not reach the filter end of the tube. | Tube not fully seated, or tobacco consistency. | Ensure the tube is fully on the nozzle. Experiment with tobacco moisture and density settings. Hand-packing the filter end after injection may be necessary for some users. |
| Machine becomes louder over time. | Normal wear, or internal components may require lubrication (not user-serviceable). | This can be a sign of normal operation over extended use. If the noise becomes excessive or is accompanied by other issues, contact customer support. |
| Machine stops unexpectedly. | Jam protection activated, or power interruption. | Check for tobacco jams and clear them. Ensure the power cord is securely connected. If the issue persists, unplug and re-plug the machine. |
8. Specifications
| Feature | Detail |
|---|---|
| Brand | Powermatic |
| Model Name | Powermatic 3 |
| Item Model Number | MATU-0044 |
| Power Source | Corded Electric |
| Voltage | 110 Volts |
| Noise Level | 69 dB |
| Item Weight | 7 Pounds |
| Product Dimensions | 10.2"L x 6"W x 5.6"H |
| Special Feature | Digital Display, Automatic Tobacco Loading and Compression, Jam Protection |
| Recommended Uses | Cigarette Production |
| UPC | 085011500336 |
| Part Number | PM-3 |

9. Warranty and Support
9.1 Warranty Information
The Powermatic III+ machine comes with a manufacturer's warranty for one year or 20,000 cigarettes, whichever comes first. This warranty covers defects in materials and workmanship under normal use. Please retain your proof of purchase for warranty claims.
9.2 Customer Support
For technical assistance, warranty claims, or inquiries regarding your Powermatic III+ machine, please contact Powermatic customer support through their official website or the contact information provided with your purchase. Do not attempt to repair the machine yourself, as this may void the warranty.