
Introduction
Thank you for purchasing the Simple Designs Chrome Mini Basic Table Lamp. This manual provides important information regarding the safe installation, operation, and maintenance of your new lamp. Please read these instructions thoroughly before use and retain them for future reference.
Important Safety Instructions
- Always unplug the lamp from the electrical outlet before cleaning, changing the light bulb, or performing any maintenance.
- Do not use with a damaged cord or plug. If the cord or plug is damaged, do not attempt to repair it yourself. Contact qualified service personnel.
- Do not place the lamp near heat sources or in direct sunlight.
- This lamp is intended for indoor use only. Do not expose to water or moisture.
- Use only the specified bulb type and wattage. Refer to the "Specifications" section for details.
- Keep out of reach of children and pets.
- Ensure the lamp is placed on a stable, flat surface to prevent tipping.
Package Contents
Verify that all components are present before assembly:
- Lamp Base with Pole (Chrome finish)
- Fabric Lamp Shade (White)
- Retaining Ring (pre-installed on socket)
- Power Cord with Rotary Switch
- Note: Light bulb is not included.
Setup Instructions
1. Unpack Components
Carefully remove all parts from the packaging. Place them on a clean, flat surface.

Image: Unpacked lamp components, showing two lamps.
2. Attach Lamp Shade
Locate the lamp socket at the top of the lamp pole. Unscrew the retaining ring from the socket. Place the fabric lamp shade over the socket, ensuring it rests securely on the base of the socket. Screw the retaining ring back onto the socket to secure the shade in place.

Image: Lamp socket with retaining ring threads visible.
3. Install Light Bulb
Insert a suitable light bulb (not included) into the lamp socket. Refer to the "Specifications" section for the correct bulb type and maximum wattage. Do not overtighten.
4. Position the Lamp
Place the assembled lamp on a stable, flat surface. Ensure the power cord can reach an electrical outlet without being strained or obstructed.

Image: Fully assembled lamp.
Operating Instructions
1. Connect to Power
Plug the lamp's power cord into a standard 120V AC electrical outlet.
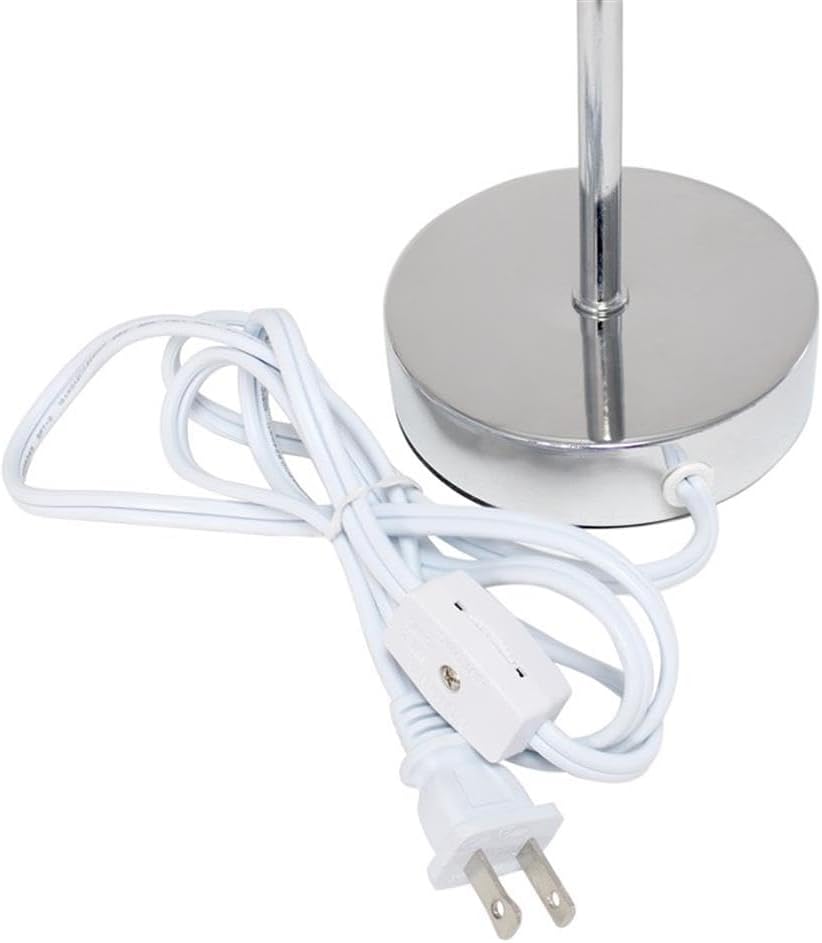
Image: Power cord with rotary switch.
2. Turn On/Off
Locate the rotary switch on the power cord. Rotate the switch clockwise to turn the lamp ON. Rotate it counter-clockwise to turn the lamp OFF.

Image: Close-up of the rotary switch.
Maintenance
Cleaning
Always unplug the lamp before cleaning. Use a soft, dry cloth to wipe the lamp base and shade. Do not use abrasive cleaners, solvents, or polishes as they may damage the finish.
Bulb Replacement
Ensure the lamp is unplugged and the bulb has cooled completely before attempting to replace it. Unscrew the old bulb and screw in a new bulb of the correct type and wattage (refer to "Specifications").
Troubleshooting
| Problem | Possible Cause | Solution |
|---|---|---|
| Lamp does not turn on. |
|
|
Specifications
| Feature | Detail |
|---|---|
| Model Number | LT2007-WHT-2PK |
| Brand | Simple Designs |
| Dimensions (Overall) | 11.81"D x 5.91"W x 9.25"H |
| Item Weight | 2.21 Pounds (per lamp) |
| Base Material | Metal (Chrome finish) |
| Shade Material | Plastic (Fabric overlay) |
| Shade Color | White |
| Switch Type | Rotary (on cord) |
| Light Source Type | Incandescent (compatible with LED/CFL) |
| Max Wattage | 40 watts |
| Power Source | Corded Electric |
| UPC | 810241024266 |

Image: Detailed dimensions of the lamp.
Warranty and Support
Specific warranty information for this product is not provided in the available documentation. For warranty details or technical support, please contact the manufacturer, All the Rages, or the retailer where the product was purchased.
Manufacturer: All the Rages
Brand: Simple Designs


