1. Introduction
The NiteRider Lumina 1100 OLED Boost is a high-performance LED bicycle headlight designed for mountain biking, road cycling, and commuting. It features an OLED display that provides real-time information on battery life and selected light mode. With 9 lighting levels and a powerful 1100-lumen Boost Mode, this light enhances visibility and safety in various riding conditions.
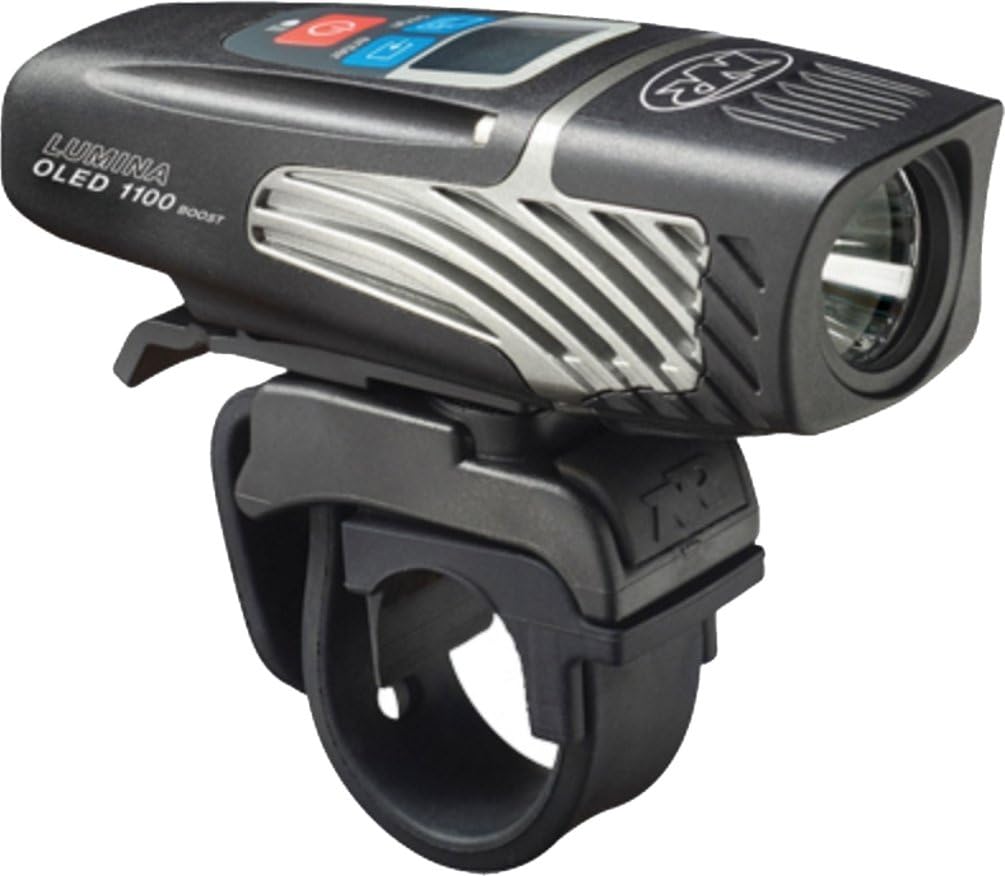
Figure 1: NiteRider Lumina 1100 OLED Boost Bicycle Headlight
2. What's in the Box
- LED Light Head with OLED Display
- Internal Li-Ion Battery (integrated)
- Handlebar Mount
- USB Charging Cable
3. Setup and Installation
3.1 Attaching the Handlebar Mount
The NiteRider Lumina 1100 OLED Boost comes with an easy-to-use quick-release handlebar mount. This allows for quick attachment and removal of the light from your bicycle handlebars.
- Position the handlebar mount on your desired location on the handlebar.
- Secure the mount firmly using the provided strap or screw mechanism, ensuring it is stable and does not rotate during use.
- Slide the Lumina 1100 OLED Boost light onto the mount until it clicks securely into place.

Figure 2: Handlebar mount attachment
3.2 Pairing with NiteLink Accessories (Optional)
The Lumina 1100 OLED Boost can be paired with optional NiteLink accessories, such as taillights, for synchronized operation.
- To put the headlight into pairing mode, press and hold both the plus (+) and minus (-) buttons on the headlight simultaneously.
- The 8-step fuel gauge on the OLED display will begin scrolling, indicating the headlight is in pairing mode. You have 120 seconds (2 minutes) to pair an accessory.
- For a NiteLink taillight, press and hold the taillight's button for approximately 4 seconds until its 8-step fuel gauge flashes.
- Once the taillight's fuel gauge flashes, it indicates that the lights are paired.
Video 1: Instructions for pairing NiteRider Lumina headlight with a NiteLink taillight.
4. Operating Instructions
4.1 Power On/Off and Mode Selection
The Lumina 1100 OLED Boost features 9 light modes, including various brightness levels and flash patterns. The OLED display shows the selected mode, battery percentage, and remaining run time.
- To turn the light ON, press and hold the power button until the light illuminates.
- Press the power button repeatedly to cycle through the different light modes (e.g., Low, Medium, High, Boost, Flash patterns).
- To turn the light OFF, press and hold the power button for approximately 2 seconds.
4.2 Boost Mode
Activate Boost Mode for maximum light output of 1100 lumens. This mode is ideal for navigating challenging terrain or when maximum visibility is required.
4.3 Daylight Visible Flash (DVF)
The DVF mode is designed to increase your visibility to motorists during daylight hours, similar to daytime running lights on vehicles.
4.4 Walk Mode
The Lumina 1100 OLED Boost can also be used as a handheld light in Walk Mode, providing up to 18 hours of illumination for activities like camping, hiking, or walking.
4.5 Lock Mode
Lock Mode prevents the light from accidentally turning on during storage or transport, conserving battery life.
- To activate Lock Mode: With the light OFF, press and hold the power button for approximately 7 seconds. The LED in the switch will turn red, indicating Lock Mode is active.
- To deactivate Lock Mode: Press and hold the power button for approximately 7 seconds. The LED in the switch will turn blue, indicating the light is unlocked and ready for use.
Video 2: How to unlock the NiteRider Lumina light from Lock Mode.
5. Charging
The Lumina 1100 OLED Boost is equipped with a reliable Li-Ion USB rechargeable battery. The OLED display will show the charging status and battery percentage.
- Locate the USB charging port, typically found under a protective flap on the light.
- Connect the provided USB charging cable to the light and to any powered USB port (e.g., computer, wall adapter).
- The OLED display will indicate charging progress. A full charge typically takes a few hours.

Figure 3: Close-up of the NiteRider Lumina 1100 OLED Boost, showing the charging port.
6. Maintenance
To ensure the longevity and optimal performance of your NiteRider Lumina 1100 OLED Boost, follow these maintenance guidelines:
- Cleaning: Wipe the light with a soft, damp cloth. Avoid using harsh chemicals or abrasive materials.
- Water Resistance: The light is IP64 rated for water and dust resistance. Ensure the USB port cover is securely closed to maintain water resistance.
- Storage: Store the light in a cool, dry place when not in use. If storing for extended periods, charge the battery periodically to maintain its health.
7. Troubleshooting
- Light not turning on: Check if the light is in Lock Mode (red LED). If so, unlock it as per section 4.5. Ensure the battery is charged.
- Short battery life: Ensure the light is fully charged. High brightness modes consume battery faster. Consider using lower brightness settings or DVF mode for longer run times.
- Light flickering: Ensure the light is securely mounted and the battery connections are clean. If the issue persists, contact customer support.
8. Specifications
| Feature | Detail |
|---|---|
| Model Name | Lumina OLED 1100 Boost |
| Brightness | 1100 Lumens (Maximum) |
| Number of Settings | 9 |
| Power Source | Battery Powered (Internal Li-Ion) |
| Charging | USB Rechargeable |
| Water Resistance Level | IP64 Rated Water Resistant |
| Mounting Type | Handlebar Mount |
| Item Weight | 6.06 ounces |
| Material | DuPont Fiberglass Reinforced Nylon Housing |
9. Warranty and Support
NiteRider offers a comprehensive warranty for its products:
- Limited Lifetime Warranty: Covers defects in mechanical components (housings, covers, mounts, and fasteners) and LEDs.
- 2-Year Warranty: Applies to Printed Circuit Boards, switches, and AC adapters.
- 1-Year Warranty: Covers rechargeable battery cells.
For customer service and support, please contact NiteRider's Customer Service Department based in San Diego, CA. Refer to the official NiteRider website for contact details.


