Introduction
This manual provides essential information for the safe assembly, operation, and maintenance of your Strongway Tow-Behind Plug Aerator. Please read and understand all instructions before using the equipment. Proper use and maintenance will ensure optimal performance and extend the life of your aerator.
Safety Information
Always prioritize safety when operating any equipment. Failure to follow safety instructions can result in serious injury or property damage.
- Read and understand the entire manual before assembly or operation.
- Wear appropriate personal protective equipment, including safety glasses and sturdy footwear.
- Ensure all fasteners are securely tightened before each use.
- Keep children and bystanders away from the operating area.
- Do not operate the aerator on slopes that are too steep for safe towing.
- Always disengage the aerator and turn off the towing vehicle before performing any adjustments or maintenance.
- Do not exceed the recommended weight capacity for the weight tray.
Setup
Careful assembly is crucial for the proper function of your aerator. Follow these general guidelines for setup.
Assembly Overview
The Strongway Tow-Behind Plug Aerator requires assembly of its main components, including the frame, coring plugs, wheels, and hitch mechanism. Ensure all parts are present and undamaged before beginning assembly. Refer to the included parts diagram for identification.

Image: The Strongway Tow-Behind Plug Aerator, fully assembled and ready for use, showcasing its robust construction.
Hitching the Aerator
The aerator features a pin-style hitch for quick and easy connection to ATVs or riding lawn mowers. Ensure the hitch pin is securely inserted and a cotter pin is used to prevent accidental detachment during operation.

Image: A person demonstrating the quick hitch pin-style connection to a towing vehicle.
Adding Weight for Penetration
For optimal soil penetration, the aerator includes a built-in weight tray that supports up to 140 lbs. Add cement blocks or other suitable weights to the tray to increase the depth of the coring plugs' penetration into compacted soil.

Image: A user adding weight to the aerator's tray to enhance soil penetration, highlighting its durable construction.
Operating Instructions
Follow these steps for effective lawn aeration.
- Prepare the Lawn: For best results, aerate when the soil is moist but not waterlogged. This allows the coring plugs to penetrate easily and extract soil cores cleanly. Avoid aerating extremely dry or wet soil.
- Attach to Towing Vehicle: Securely attach the aerator to your ATV or riding lawn mower using the pin-style hitch.
- Add Weight: Place appropriate weight (up to 140 lbs) onto the weight tray to achieve the desired penetration depth.
- Engage Aerator: Lower the coring plugs into the operating position.
- Begin Aerating: Drive the towing vehicle at a slow, consistent speed across the lawn. Overlap passes slightly to ensure complete coverage. The 32 coring plugs will penetrate the soil to a depth of 2.5 inches, removing small soil cores.
- Monitor Performance: Periodically check the depth of penetration and the condition of the coring plugs. Adjust speed or add/remove weight as needed.
- Smooth Operation: The 10-inch pneumatic tires are designed to roll smoothly over varied terrain, ensuring consistent aeration without damaging the lawn surface during transport or operation.
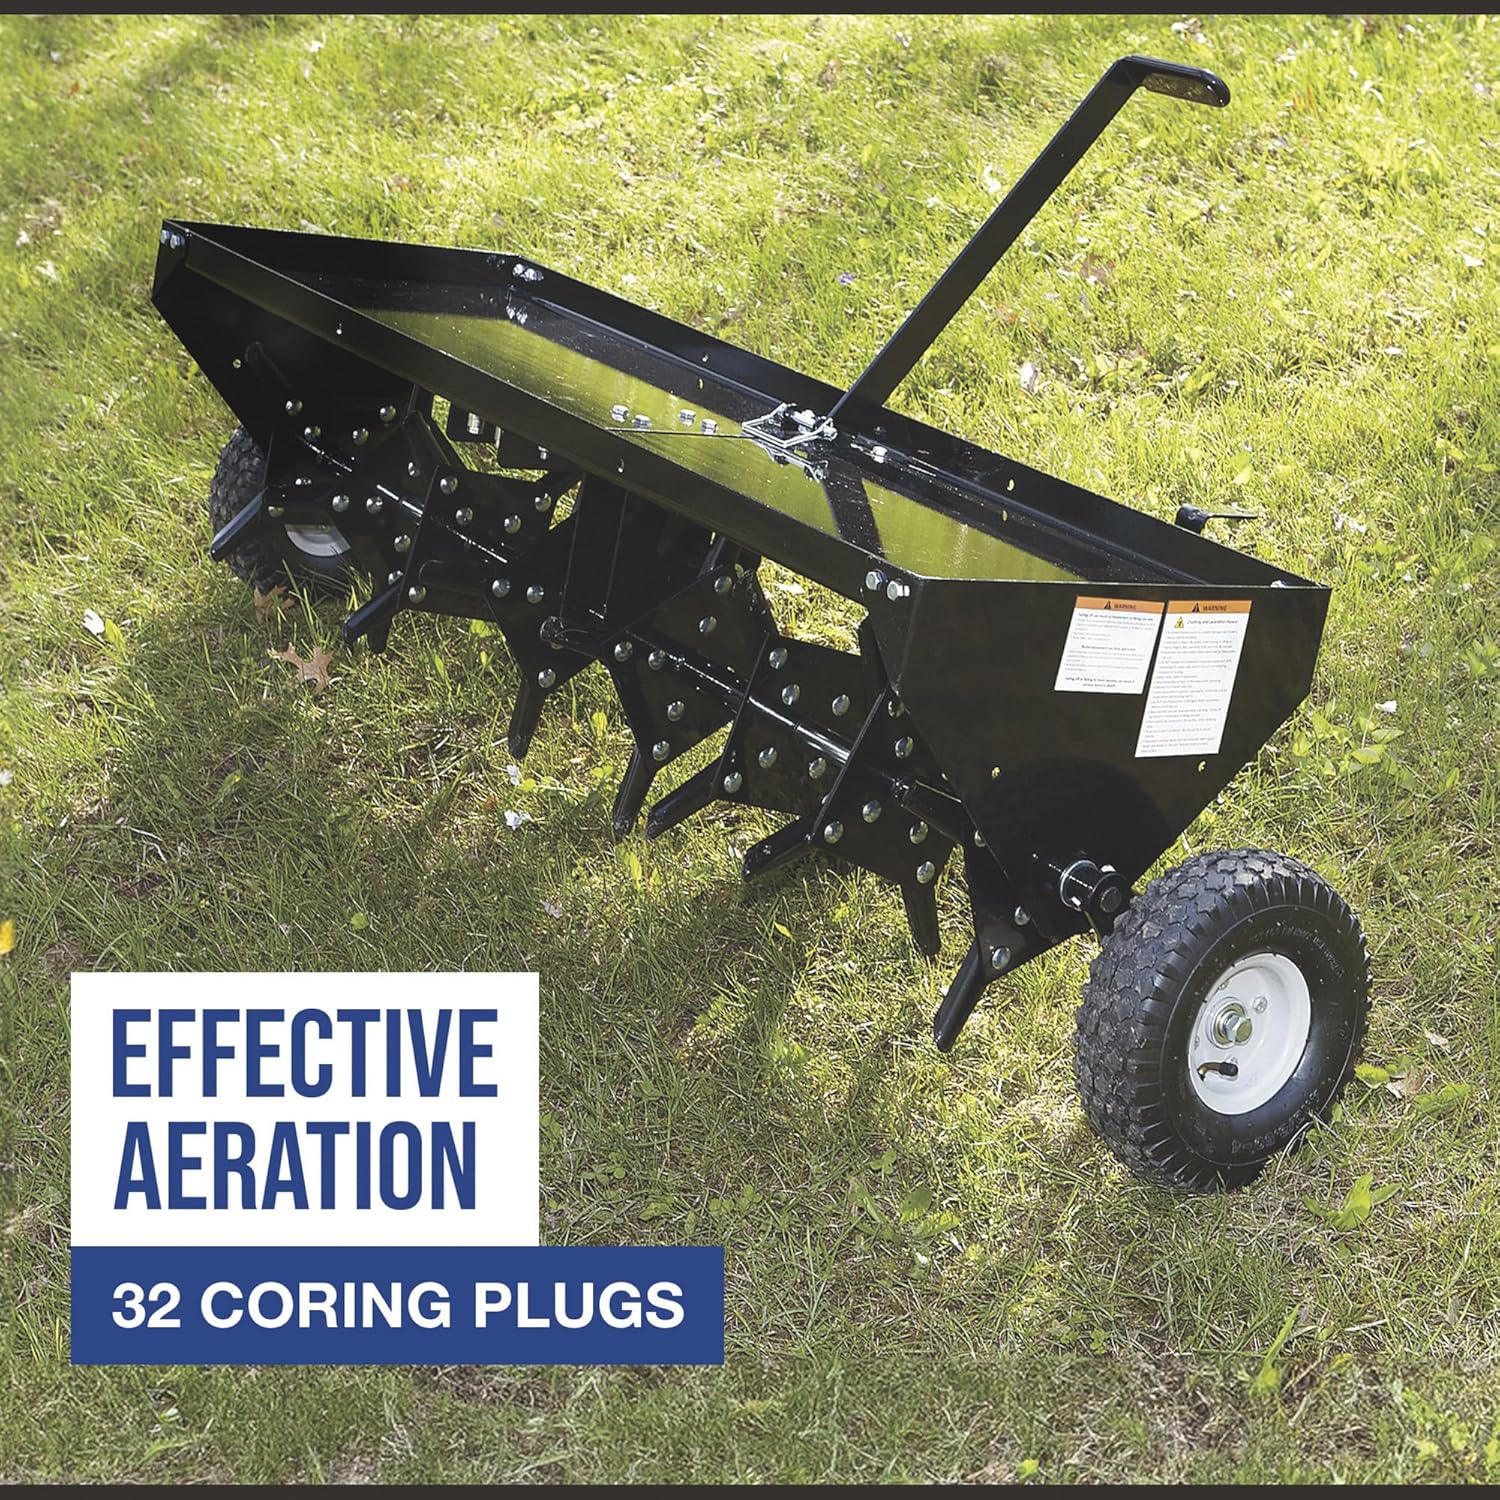
Image: The aerator actively pulling 32 soil cores from the lawn, demonstrating effective aeration.
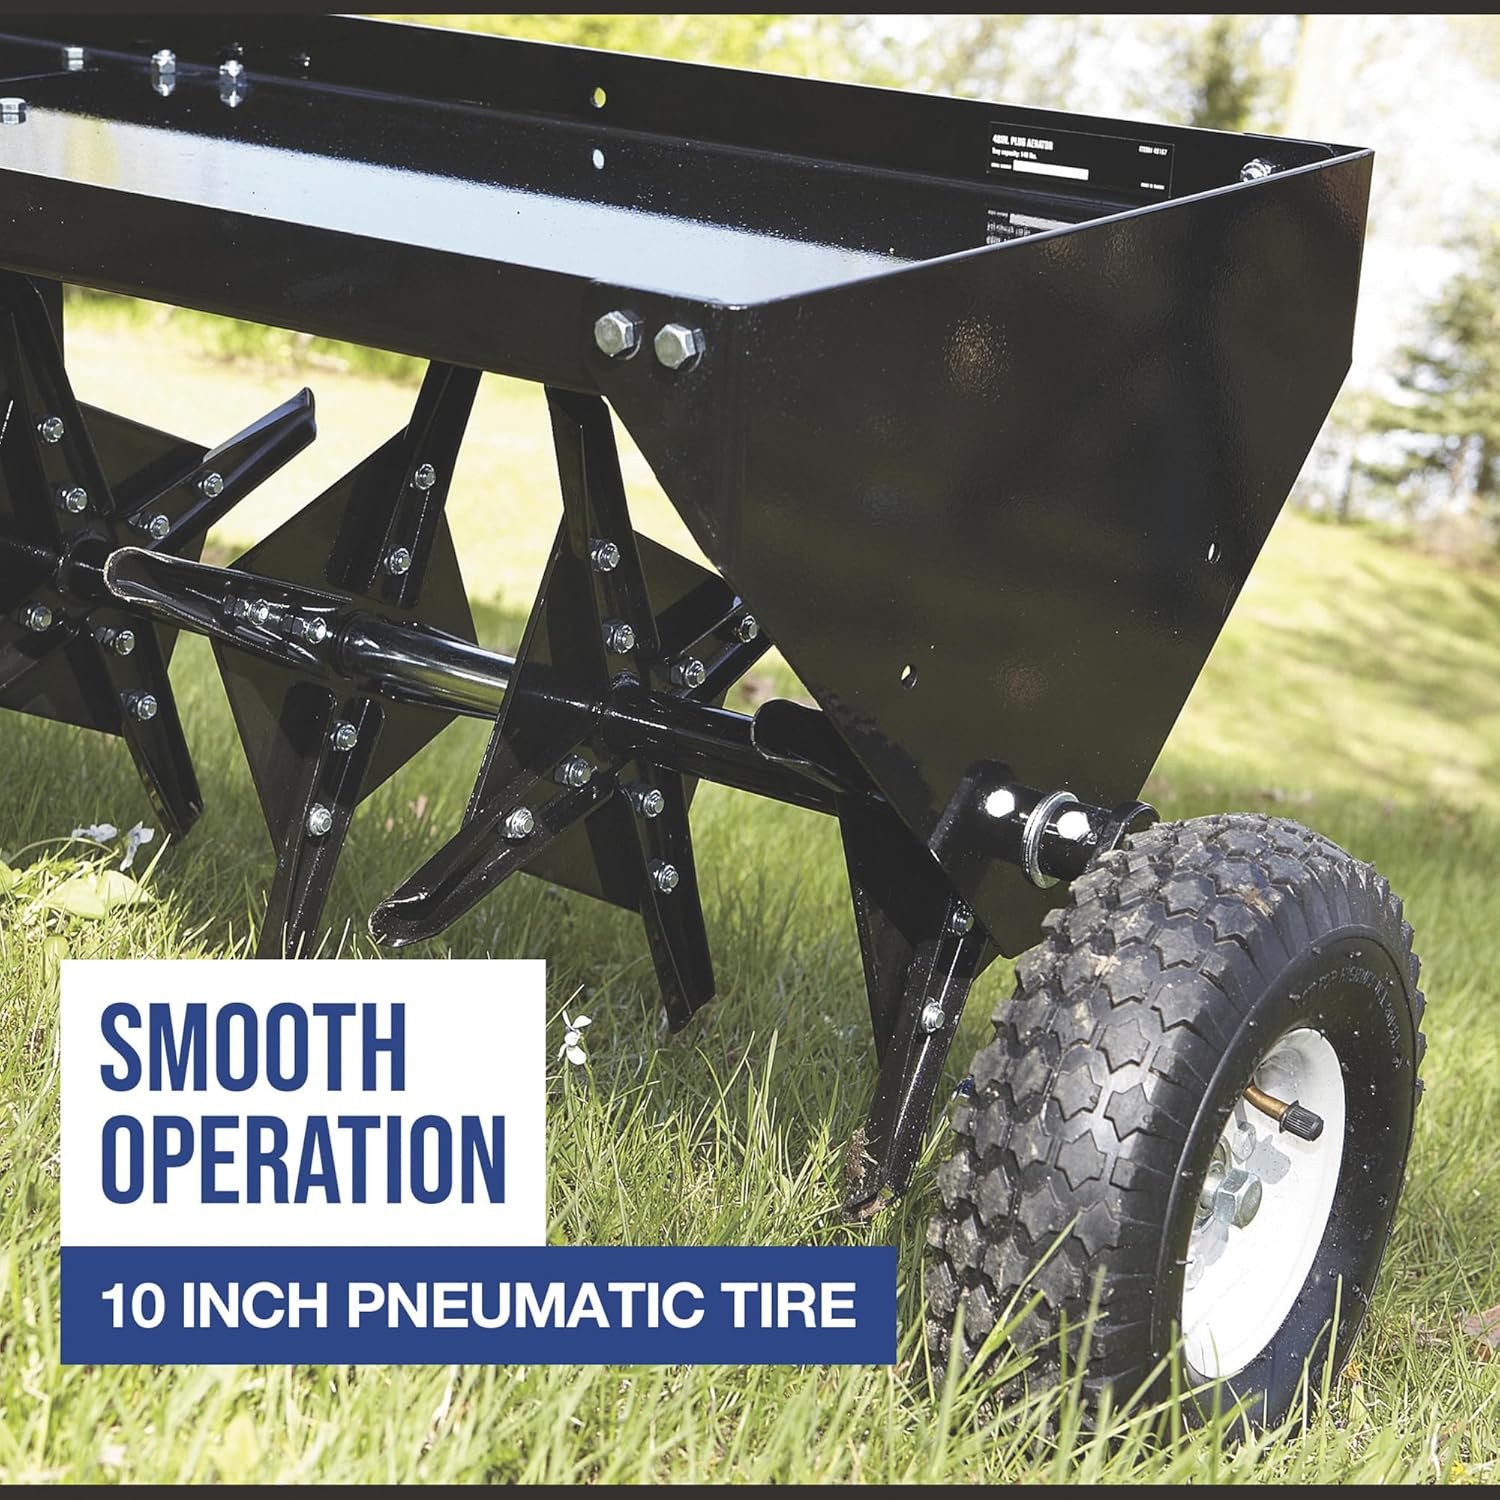
Image: Detail of the 10-inch pneumatic tire, designed for smooth operation across various terrains.
Maintenance
Regular maintenance ensures the longevity and efficiency of your aerator.
- Cleaning: After each use, clean any soil or debris from the coring plugs and frame. This prevents rust and maintains optimal performance.
- Inspection: Periodically inspect all bolts, nuts, and pins for tightness. Tighten any loose fasteners. Check the coring plugs for wear or damage and replace if necessary. Inspect the pneumatic tires for proper inflation and damage.
- Lubrication: Apply a light coat of lubricant to moving parts and pivot points as needed to ensure smooth operation.
- Storage: Store the aerator in a dry, covered area to protect it from the elements. The durable powder-coat finish helps prevent corrosion, but proper storage is still recommended.
Troubleshooting
This section addresses common issues you might encounter.
| Problem | Possible Cause | Solution |
|---|---|---|
| Coring plugs not penetrating soil effectively | Soil is too dry; insufficient weight on tray. | Water lawn before aerating; add more weight to the tray (up to 140 lbs). |
| Aerator not pulling straight or uneven aeration | Hitch connection is loose; uneven weight distribution. | Ensure hitch pin is secure; distribute weight evenly on the tray. |
| Difficulty with assembly | Misaligned parts; unclear instructions. | Carefully review the assembly diagram. Some parts may require slight adjustment or 'encouragement' to fit. Contact customer support if parts are significantly bent or missing. |
| Bent axle or other structural components | Excessive load; impact with obstacles; manufacturing defect. | Avoid exceeding weight capacity; operate carefully to avoid obstacles. If due to defect, contact customer support. |
| Missing parts upon delivery | Packaging damage during transit. | Inspect package immediately upon receipt. Contact customer support with a list of missing items. |
Specifications
| Feature | Detail |
|---|---|
| Model Number | AE-48TSW |
| Aeration Width | 48 inches |
| Coring Plugs | 32 separate spikes |
| Penetration Depth | Up to 2.5 inches |
| Weight Tray Capacity | Up to 140 lbs. |
| Tires | 10-inch pneumatic |
| Hitch Type | Pin-style |
| Finish | Durable powder-coat |
| Item Weight | Approximately 107 pounds |
| Package Dimensions | 50 x 20 x 9 inches |
Warranty and Support
Strongway products are manufactured to high-quality standards. For warranty information or technical assistance, please refer to the warranty card included with your purchase or visit the official Strongway website. Keep your purchase receipt for warranty claims.
For customer support, please contact the retailer where the product was purchased or visit the Strongway brand store online for contact details.


