1. Introduction
This manual provides essential instructions for the safe and effective installation, operation, and maintenance of your Acerbis Front Auxiliary Fuel Tank (1.3 Gallon), Model 20440-30002. Please read this manual thoroughly before attempting to install or use the product to ensure proper function and safety.
The Acerbis Front Auxiliary Fuel Tank is designed to provide additional fuel capacity for motorcycles, extending your riding range. It is constructed from durable polyethylene (PE) plastic, suitable for gasoline storage.
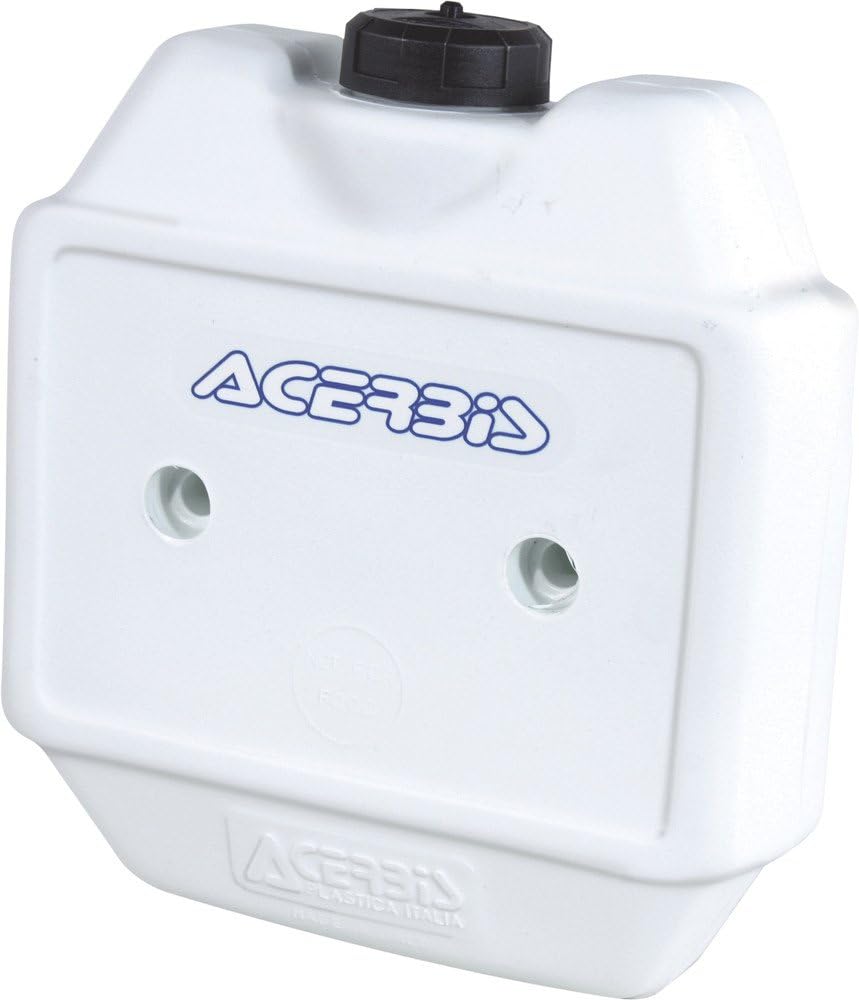
Figure 1: Acerbis Front Auxiliary Fuel Tank (1.3 Gallon)
2. Safety Information
WARNING: Failure to follow these safety instructions may result in serious injury, death, or property damage.
- Fuel Handling: Gasoline is highly flammable and explosive. Always handle fuel in a well-ventilated area, away from open flames, sparks, or other ignition sources. Do not smoke while handling fuel.
- Ventilation: Ensure adequate ventilation during installation and when filling the tank. Fuel vapors are heavier than air and can accumulate in low areas.
- Installation: Professional installation is recommended. Ensure the tank is securely mounted to prevent movement during operation. Improper installation can lead to fuel leaks or detachment, posing a significant hazard.
- Leak Checks: After installation and before each use, thoroughly inspect all connections and the tank for any signs of fuel leaks. Address any leaks immediately.
- Overfilling: Do not overfill the tank. Allow for expansion of fuel, especially in varying temperatures.
- Compatibility: This tank is designed for gasoline only. Do not use with other fuel types or chemicals.
- Proposition 65 Warning: This product may contain chemicals known to the State of California to cause cancer and birth defects or other reproductive harm. Wash hands after handling.
3. Package Contents
Verify that all components are present and undamaged upon opening the package. If any items are missing or damaged, contact your retailer or Acerbis customer support.
- Acerbis Front Auxiliary Fuel Tank (1.3 Gallon), Model 20440-30002
- Associated mounting hardware (e.g., bolts, sleeves, brackets - specific items may vary by kit)
- Fuel cap
4. Setup and Installation
The Acerbis Front Auxiliary Fuel Tank is designed for universal fitment on motorcycles. Installation procedures may vary depending on your specific motorcycle model and desired mounting location. It is highly recommended that installation be performed by a qualified mechanic.
4.1 Pre-Installation Checklist
- Ensure the motorcycle is on a stable, level surface with the engine off and cool.
- Gather all necessary tools (e.g., wrenches, screwdrivers, measuring tape).
- Confirm all package contents are present.
- Read all safety warnings before proceeding.
4.2 Mounting Guidelines
- Select Mounting Location: Identify a secure and stable location on your motorcycle that does not interfere with steering, suspension, or rider movement. Consider weight distribution.
- Secure Attachment Points: Use the provided mounting hardware to securely attach the tank. Ensure bolts are tightened to the manufacturer's specifications (if available) or to a firm, secure torque. Avoid overtightening, which can damage the tank or mounting points.
- Fuel Line Connection: Connect the auxiliary tank to your motorcycle's fuel system. This typically involves routing a fuel line from the auxiliary tank to the main fuel tank or directly to the carburetor/fuel injection system, often with a fuel valve for control. Use appropriate fuel-grade hoses and clamps.
- Ventilation: Ensure the tank's vent system is clear and functional to prevent vacuum lock or pressure buildup.
- Leak Test: After installation, fill the tank with a small amount of fuel and carefully inspect all connections and the tank body for any leaks. Do not operate the motorcycle until all leaks are resolved.
Note: Specific mounting instructions may vary. Consult a professional mechanic or your motorcycle's service manual for detailed guidance on integrating an auxiliary fuel system.
5. Operating Instructions
5.1 Filling the Tank
- Ensure the motorcycle is off and in a well-ventilated area.
- Unscrew the fuel cap slowly to release any pressure.
- Fill the tank with fresh, clean gasoline. Do not overfill; leave a small air gap for fuel expansion.
- Securely replace the fuel cap, ensuring it is hand-tight.
- Wipe up any spilled fuel immediately and dispose of rags properly.
5.2 Using the Auxiliary Tank
The method of drawing fuel from the auxiliary tank depends on your specific setup. Common methods include:
- Gravity Feed: If mounted higher than the main tank, fuel may gravity feed into the main tank when a valve is opened.
- Pump System: Some setups may use a small fuel pump to transfer fuel.
- Direct Feed: In some cases, the auxiliary tank may feed directly into the engine's fuel system, bypassing or supplementing the main tank.
Always refer to your specific installation configuration for proper operation. Monitor fuel levels in both tanks to avoid running out of fuel unexpectedly.
6. Maintenance
6.1 Regular Inspection
- Periodically inspect the tank for cracks, damage, or signs of wear.
- Check all fuel lines, connections, and mounting hardware for security and leaks. Replace any worn or damaged components immediately.
- Ensure the fuel cap seals properly and the vent is clear.
6.2 Cleaning
- Clean the exterior of the tank with mild soap and water. Avoid harsh chemicals that could damage the plastic.
- If the interior needs cleaning (e.g., due to contamination), consult a professional or use approved fuel tank cleaning methods.
6.3 Storage
When storing the motorcycle or tank for extended periods, it is advisable to drain the fuel from the auxiliary tank to prevent fuel degradation and potential issues. Store in a cool, dry, well-ventilated area away from ignition sources.
7. Troubleshooting
| Problem | Possible Cause | Solution |
|---|---|---|
| Fuel Leakage | Loose connections, damaged fuel line, cracked tank, faulty fuel cap seal. | Inspect all connections and fuel lines. Tighten loose clamps. Replace damaged lines or seals. If the tank is cracked, it must be replaced. |
| No Fuel Flow | Closed fuel valve, clogged fuel line/filter, blocked vent, air lock. | Ensure fuel valve is open. Check fuel lines for kinks or blockages. Clean or replace fuel filter. Verify tank vent is clear. |
| Tank Not Draining Completely | Improper mounting angle, internal blockage. | Review mounting angle to ensure proper drainage. Check for internal obstructions if accessible. |
If you encounter issues not listed here or cannot resolve a problem, contact Acerbis customer support or a qualified mechanic.
8. Specifications
- Brand: Acerbis
- Model: 20440-30002
- Capacity: 1.3 Gallons (approximately 4.9 liters)
- Material: Plastic, Polyethylene (PE)
- Fuel Type: Gasoline
- Item Weight: Approximately 2.7 pounds (1.22 kg)
- Fit Type: Universal (Motorcycle)
- UPC: 886687022319
- Manufacturer Part Number: 0002685.030
9. Warranty and Support
Acerbis products are manufactured to high standards. For information regarding product warranty, please refer to the warranty documentation included with your purchase or visit the official Acerbis website. For technical support, parts, or service inquiries, please contact Acerbis customer service through their official channels.
Acerbis Official Website: www.acerbis.com


