
JideTech 21UA
JideTech 2-Port USB 2.0 VGA KVM Switch 21UA User Manual
Model: 21UA | Brand: JideTech
Introduction
This manual provides comprehensive instructions for the installation, operation, and maintenance of your JideTech 2-Port USB 2.0 VGA KVM Switch, model 21UA. This device allows you to control two computers using a single set of USB keyboard, USB mouse, and VGA monitor, along with shared audio and microphone.
Product Features
- 2-Port KVM Functionality: Control two computers with one USB keyboard, USB mouse, and VGA monitor.
- Audio & Microphone Support: Share a speaker and microphone between connected computers.
- High Resolution Output: Supports resolutions up to 2048 x 1536, with DDC and automatic identification for quality output.
- Integrated USB Hub: Features USB 2.0 ports for sharing external hard drives, printers, scanners, and other USB peripheral devices.
- Plug and Play: No external power adapter required for operation.
- Broad Compatibility: Supports Windows 98SE/ME/2000/XP/2003 Server/Vista, Linux, and Mac OS.
- Push Button Switching: Easily switch between connected computers using a physical button on the device.
Package Contents

Image: Package contents of the JideTech 2-Port USB 2.0 VGA KVM Switch 21UA.
Please verify that all items are present in your package:
- JideTech 2-Port USB 2.0 VGA KVM Switch (Model 21UA) x 1
- 1.2m USB VGA KVM Cable x 2
- User Manual x 1
Product Overview
Familiarize yourself with the ports and indicators on your KVM switch.

Image: Front and rear view of the KVM switch with labeled ports.
Front Panel:
- LED Indicators (Green/Orange): Indicate which PC is currently selected.
- Switch Button: Press to cycle between connected PCs.
- USB Port (Keyboard): Connect your USB keyboard here.
- USB Port (Mouse): Connect your USB mouse here.
- VGA Output: Connect your monitor to this port.
- HUB Interface: Additional USB 2.0 port for sharing peripheral devices.
Rear Panel:
- VGA Input 1 & 2: Connect the VGA cables from your computers.
- Audio Port (Speaker): Connect your speakers or headphones.
- Audio Port (Microphone): Connect your microphone.
Setup Instructions
Follow these steps to connect your KVM switch to your computers and peripherals.

Image: Detailed connection diagram for the KVM switch.
- Power Off Computers: Ensure both computers you intend to connect are powered off.
- Connect Monitor: Connect your VGA monitor to the "OUT" VGA port on the KVM switch.
- Connect Keyboard & Mouse: Connect your USB keyboard to the designated USB keyboard port and your USB mouse to the designated USB mouse port on the KVM switch.
- Connect Audio Peripherals (Optional): If using, connect your speakers/headphones to the Audio Out port and your microphone to the Audio In port on the KVM switch.
- Connect KVM Cables to Computers:
- Take one of the provided 1.2m USB VGA KVM cables.
- Connect the VGA end of the KVM cable to VGA Input 1 on the KVM switch.
- Connect the other end of this KVM cable (which includes VGA, USB, and audio plugs) to the corresponding VGA port, a USB port, and the audio ports on your first computer (PC1). Ensure the USB pigtail is connected to the computer for keyboard, mouse, and audio signal transmission.
- Repeat this step for your second computer (PC2), connecting it to VGA Input 2 on the KVM switch.
- Connect USB Peripherals (Optional): If you have additional USB devices like a printer or external hard drive, connect them to the "HUB" USB 2.0 port on the KVM switch.
- Power On: Power on your computers. The KVM switch will draw power from the USB connections and does not require an external power adapter.
Note: The KVM cables are designed to transmit VGA video, USB keyboard/mouse signals, and audio through a single integrated cable to each computer. Ensure the USB pigtail from the KVM cable is connected to the computer.
Operation
Switching Between Computers
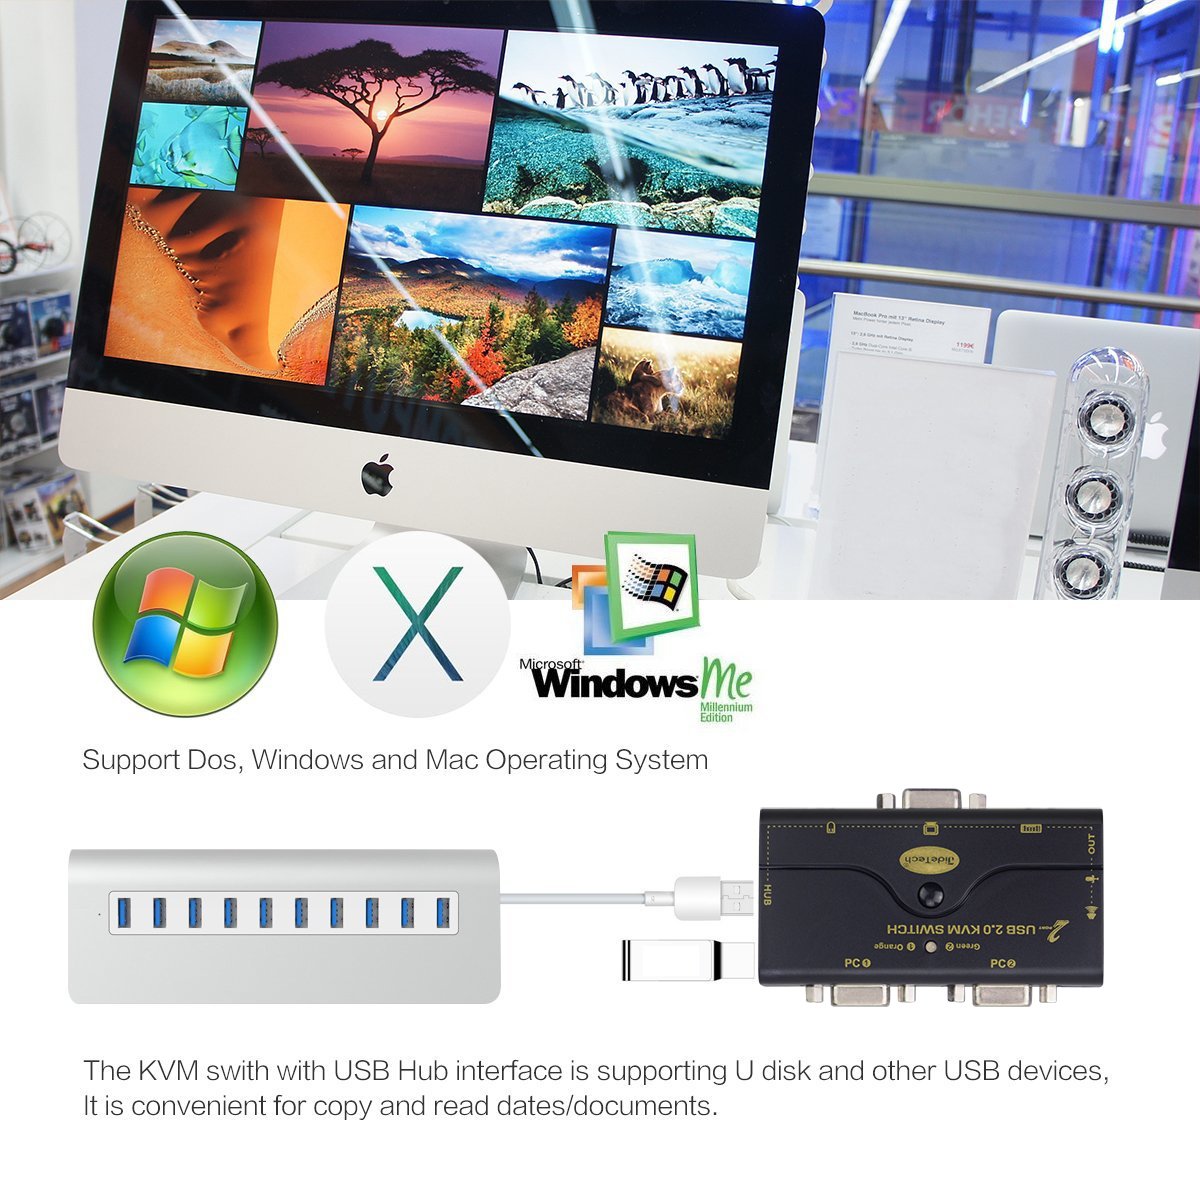
Image: Demonstrating the push-button switching functionality.
To switch between the connected computers, simply press the "Switch Button" located on the front panel of the KVM switch. Each press will cycle to the next active computer. The corresponding LED indicator (Green or Orange) will illuminate to show which computer is currently selected.
USB Peripheral Sharing

Image: KVM switch connected to a USB hub, highlighting OS compatibility.
The KVM switch includes a USB 2.0 HUB interface. This allows you to connect additional USB devices, such as a printer, scanner, or USB flash drive, and share them between the connected computers. When you switch to a different computer, the connected USB peripherals will also switch to that computer.
Maintenance
- Keep the KVM switch in a dry, dust-free environment.
- Clean the device with a soft, dry cloth. Avoid using liquid cleaners or solvents.
- Ensure proper ventilation around the device to prevent overheating.
- Avoid placing heavy objects on top of the KVM switch.
Troubleshooting
If you encounter issues with your KVM switch, please refer to the following common solutions:
- No Display on Monitor:
- Check all VGA cable connections between the KVM switch, monitor, and computers. Ensure they are securely fastened.
- Verify that the selected computer is powered on and functioning correctly.
- Try connecting the monitor directly to a computer to confirm the monitor and computer's VGA output are working.
- Ensure the KVM switch is receiving power via the USB connections from the computers.
- Keyboard or Mouse Not Responding:
- Ensure the USB keyboard and mouse are connected to the correct dedicated USB ports on the KVM switch.
- Check the USB connections from the KVM cables to the computers. The USB pigtail must be connected.
- Try connecting the keyboard and mouse directly to the computer to confirm they are functional.
- Restart the computers.
- Audio Issues (No Sound or Microphone Not Working):
- Verify that the audio cables are correctly connected to the KVM switch and the computers' audio ports.
- Check the audio settings on the selected computer to ensure the correct output/input device is chosen.
- Ensure speakers/headphones and microphone are functional by testing them directly with a computer.
- Switching Not Working:
- Ensure all KVM cables are fully inserted into both the KVM switch and the computers.
- Confirm that the computers are powered on.
- Press the switch button firmly.
- Poor Video Quality or Resolution Issues:
- Ensure your monitor and graphics cards support the desired resolution.
- Check for any loose VGA connections.
- The KVM switch supports DDC and automatic identification; ensure your operating system is detecting the correct display settings.
Specifications
| Feature | Detail |
|---|---|
| Model Number | JD-21UA |
| Brand | JideTech |
| Ports | 2 (VGA, USB 2.0, Audio) |
| Maximum Resolution | 2048 x 1536 |
| Connector Type | USB 2.0, VGA |
| Operating Voltage | 5 Volts |
| Current Rating | 0.98 Amps |
| Operation Mode | Automatic (via button press) |
| Product Dimensions (L x W x H) | 1.96 x 3.15 x 3.15 inches |
| Item Weight | 9.6 ounces |
| Date First Available | April 21, 2017 |
Compatibility
The JideTech 2-Port USB 2.0 VGA KVM Switch is compatible with a wide range of operating systems, including:
- Windows 98SE/ME/2000/XP/2003 Server/Vista
- Linux
- Mac OS
- DOS
Warranty and Support
JideTech products are designed for reliability and performance. For warranty information or technical support, please refer to the warranty card included in your package or visit the official JideTech store on Amazon: JideTech Amazon Store.
For any issues not covered in this manual, please contact JideTech customer service for assistance.
Related documents21UA


Ask a question about this manual
Ask about setup, troubleshooting, compatibility, parts, safety, or missing instructions. Manuals+ will review the question and use this page’s manual context to help answer it.