1. Introduction
This instruction manual provides detailed guidance for assembling the Hasegawa BMW 2002 Tii 1/24 scale plastic model kit (Model 621123). This kit allows for the creation of a highly detailed replica of the classic German automobile from the 1970s. Please read all instructions carefully before beginning assembly.

Figure 1: Assembled Hasegawa BMW 2002 Tii model kit.
2. Kit Contents
The Hasegawa BMW 2002 Tii model kit contains 148 plastic pieces, organized on several sprues, along with rubber tires and a decal sheet. Inspect all parts upon opening the box to ensure no components are missing or damaged.

Figure 2: Overview of plastic sprues and parts.
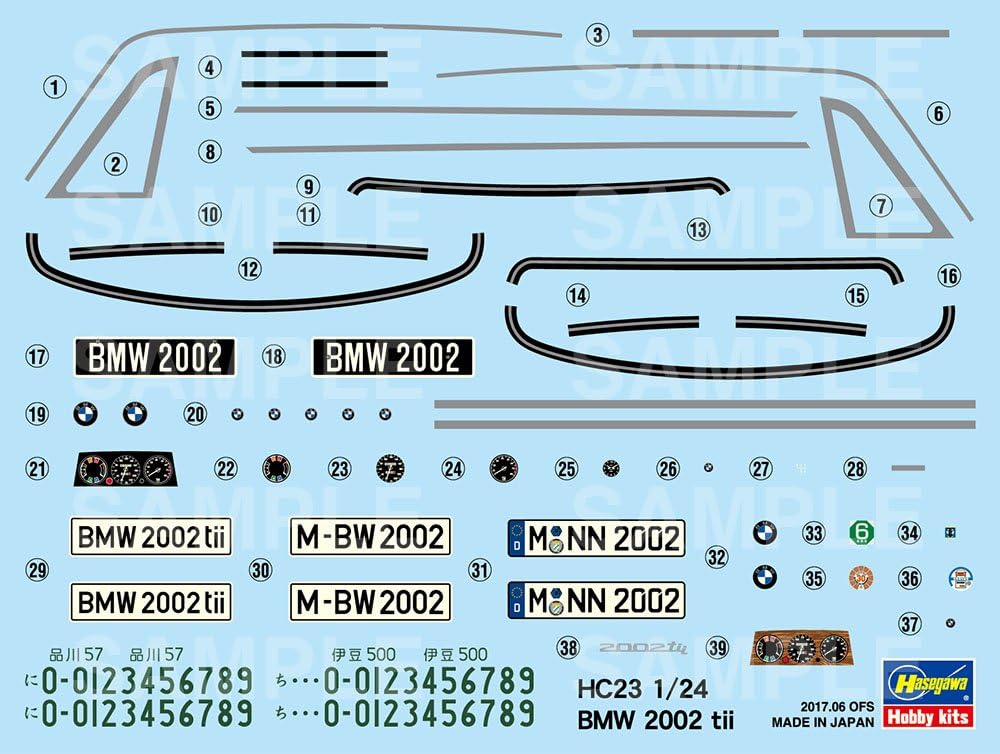
Figure 3: Decal sheet for detailing.
3. Tools and Materials Required
The following tools and materials are recommended for assembly (not included in the kit):
- Plastic Nippers: For cleanly removing parts from sprues.
- Hobby Knife: For trimming excess plastic and fine detailing.
- Plastic Cement/Glue: Specifically designed for plastic models.
- Sandpaper/Sanding Sticks: Various grits for smoothing parts.
- Paints: Acrylic paints are recommended (e.g., Vallejo Colour). Refer to the color guide for specific shades.
- Paint Brushes: Various sizes for detailed painting.
- Tweezers: For handling small parts and decals.
- Cotton Swabs/Soft Cloth: For cleaning and decal application.
- Cutting Mat: To protect your work surface.
4. Assembly Steps
Follow the numerical order of the steps provided in the kit's diagrammatic instructions. Always test-fit parts before applying glue. Allow sufficient drying time for glue and paint between steps.
4.1. Chassis and Suspension
Begin by assembling the main chassis components. Attach the suspension parts, ensuring proper alignment. Some parts may require careful trimming for a precise fit.

Figure 4: Detail of front wheel arch assembly.
4.2. Interior Assembly
Assemble the interior components such as the dashboard, seats, and steering wheel. Paint these parts according to the color guide before gluing them into the main body shell.
Note: The kit focuses on exterior details, and some underside components like the drive shaft and gas tank are molded into the underbody. Painting these areas requires careful masking and steady handwork.
4.3. Body and Exterior Details
Attach the main body shell to the chassis. Proceed with exterior details such as bumpers, grille, headlights, and taillights. Pay close attention to the small clear parts for headlights and taillights; these require delicate handling.

Figure 5: Front grille and headlight assembly.

Figure 6: Rear section and taillight assembly.
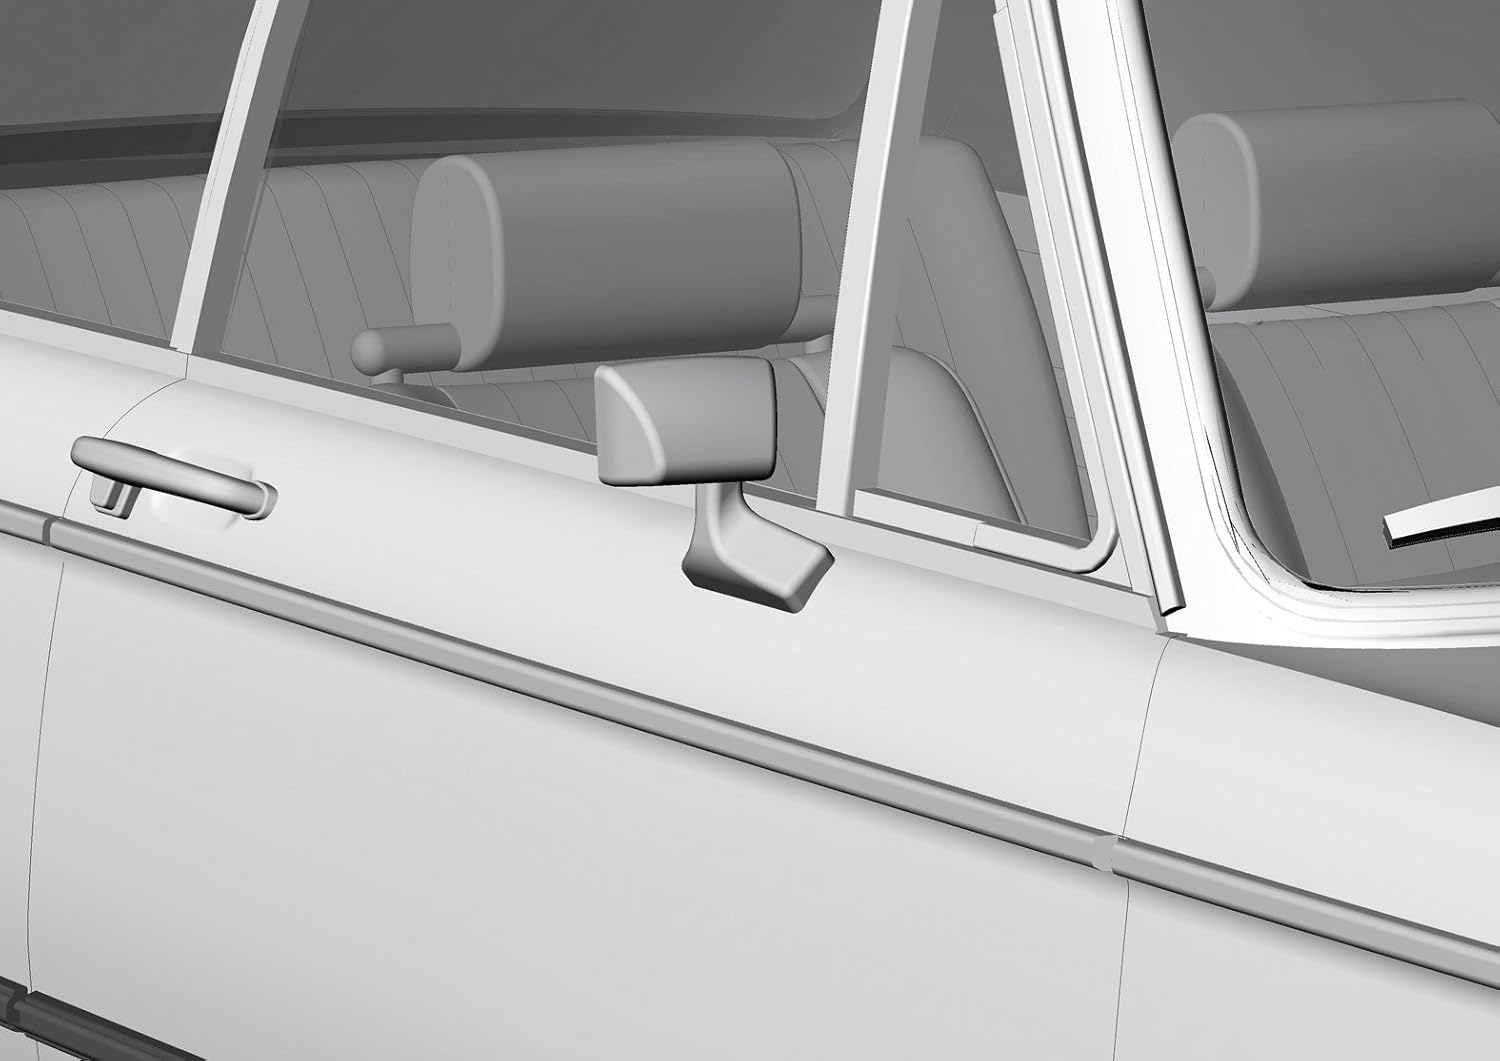
Figure 7: Side mirror attachment.
4.4. Wheels and Tires
Mount the rubber tires onto the plastic wheel hubs. Attach the completed wheel assemblies to the axles on the chassis.
4.5. Decal Application
Once painting is complete and dry, apply the decals. Cut each decal carefully from the sheet. Dip the decal in lukewarm water for a few seconds until it slides freely from the backing paper. Position the decal on the model and gently slide the backing paper away. Use a cotton swab to carefully remove excess water and air bubbles. Allow decals to dry completely.
5. Painting Guide
Painting is crucial for achieving a realistic finish. Refer to the kit's color guide for specific paint codes and locations. It is recommended to paint parts while they are still on the sprues, or after removal but before final assembly, especially for interior and small exterior details.
- Primer: Apply a thin coat of primer for better paint adhesion.
- Base Coats: Apply thin, even coats of your chosen base colors. Multiple thin coats are better than one thick coat.
- Detail Painting: Use fine brushes for small details like dashboard instruments, trim, and emblems.
- Clear Coat: A clear gloss or matte coat can protect the paint and decals and unify the finish.
Hasegawa recommends using Vallejo Colour paints for this model kit.
6. Maintenance
Once assembled, your model requires minimal maintenance. Keep it displayed in a dust-free environment, away from direct sunlight to prevent fading of paint and decals. For cleaning, use a soft, dry brush or a slightly damp cloth. Avoid harsh chemicals or abrasive materials.
7. Troubleshooting
- Parts Not Fitting:
Ensure all sprue gates are cleanly removed. Lightly sand mating surfaces if necessary. Do not force parts together, as this can cause breakage.
- Missing Parts:
Carefully check all sprues and the box. If a part is genuinely missing, contact Hasegawa customer support.
- Decals Not Adhering:
Ensure the surface is clean and smooth. Use a decal setting solution to help decals conform to irregular surfaces and improve adhesion.
- Paint Issues:
If paint is clumping or not adhering, ensure the surface is clean and properly primed. Thin paints appropriately and apply in multiple light coats.
8. Specifications
| Feature | Detail |
|---|---|
| Brand | Hasegawa |
| Model Number | 621123 |
| Scale | 1/24 |
| Theme | Car (BMW 2002 Tii) |
| Material | Plastic |
| Number of Pieces | 148 |
| Assembled Length | 177.5 mm (6.99 inches) |
| Assembled Width | 68 mm (2.68 inches) |
| Recommended Age | 14 years and up |
9. Safety Information
This model kit contains small parts and requires the use of sharp tools and adhesives. Please observe the following safety precautions:
- Keep small parts away from young children to prevent choking hazards.
- Use hobby knives and other sharp tools with extreme care. Always cut away from your body.
- Work in a well-ventilated area when using plastic cement or paints, as fumes can be harmful.
- Wear appropriate eye protection when cutting or sanding.
- Dispose of waste materials responsibly.
10. Warranty and Support
As a plastic model kit, this product typically does not come with a traditional warranty for assembled parts. However, if you find any manufacturing defects or genuinely missing parts upon opening the kit, please contact Hasegawa customer support or the retailer where you purchased the kit for assistance. Keep your proof of purchase.
For further information or support, you may visit the official Hasegawa website: www.hasegawa-model.co.jp


