1. Product Overview
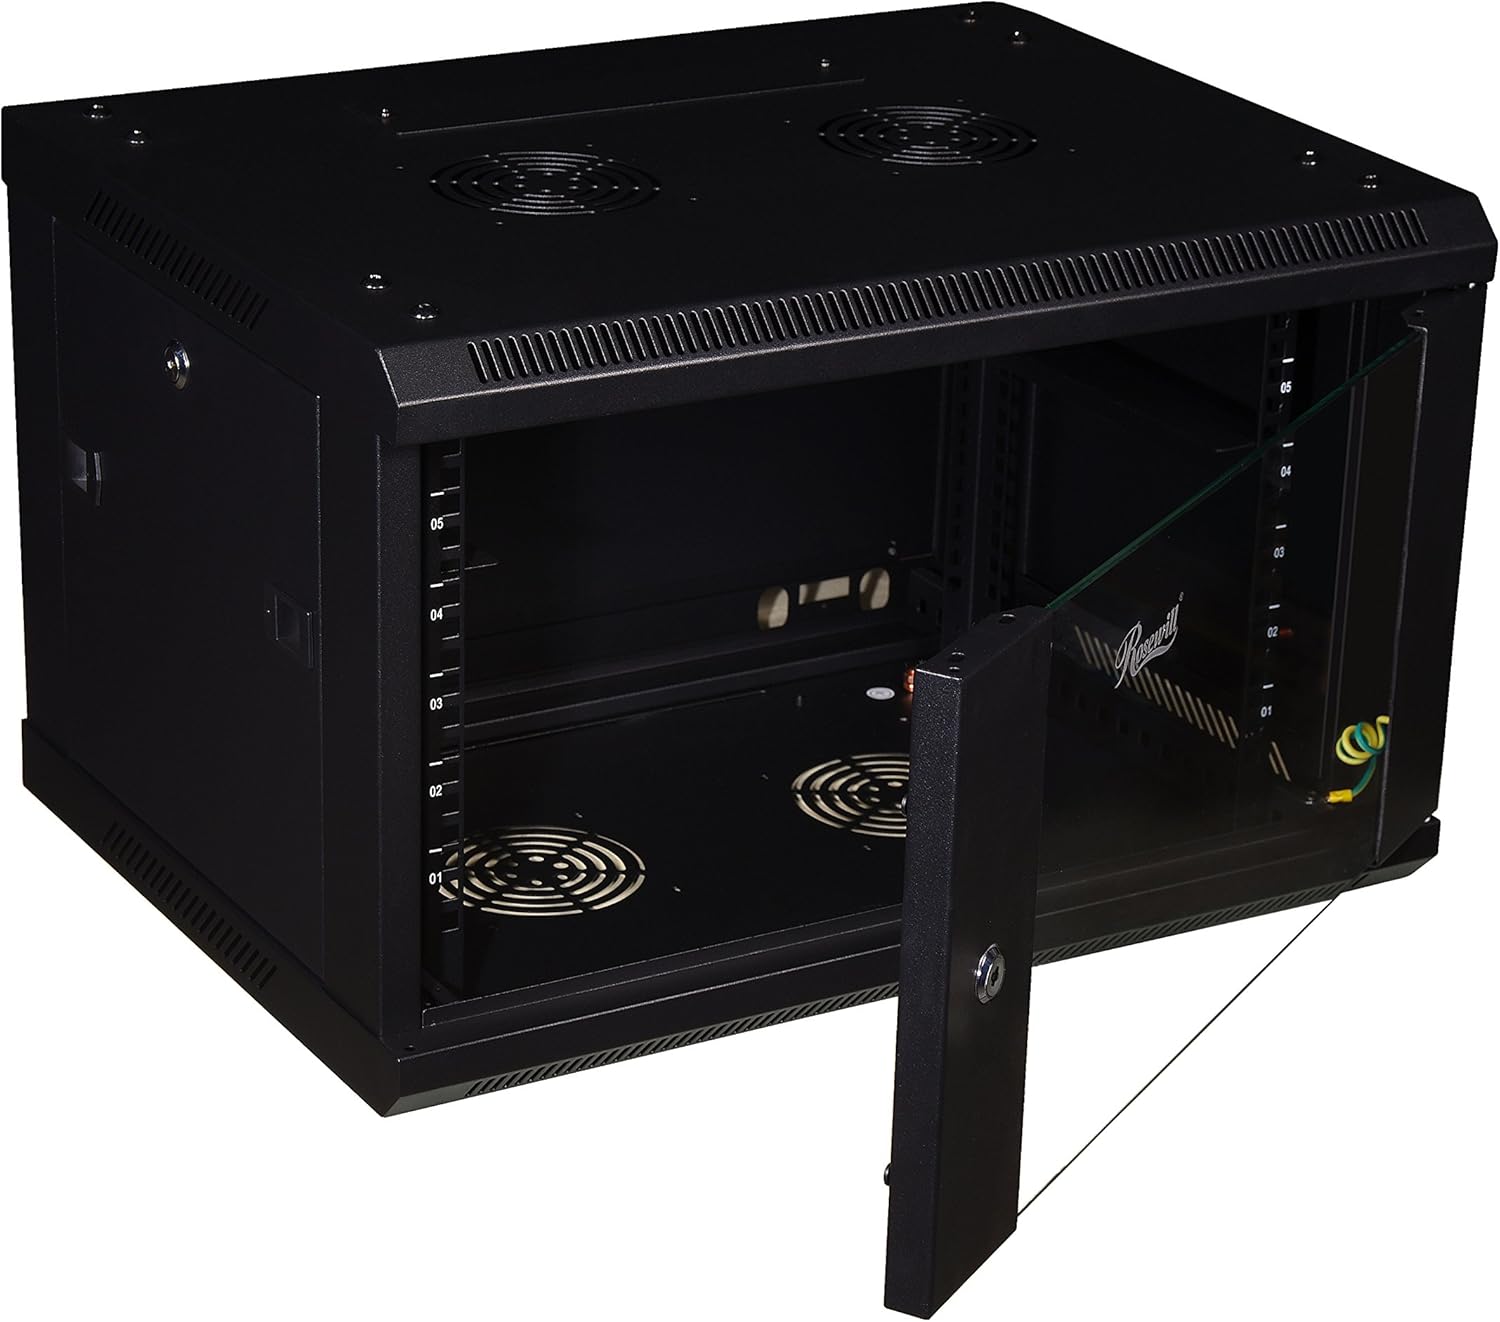
The Rosewill RSWM-6U001 is a professional-grade 6U wall mount cabinet enclosure designed for organizing and securing standard 19-inch rack-mount equipment. Constructed from high-quality Cold Rolled Steel, it offers maximum durability and supports a load capacity of up to 130 lbs. This enclosure is ideal for home labs, small offices, data centers, and network closets.
- Heavy-Duty Construction: Built with high-quality Cold Rolled Steel for maximum durability and load capacity (Up to 130lbs).
- Secure Access: Lockable tempered glass front door and removable side panels for easy maintenance.
- Flexible Design: Accommodates standard 19-inch rack-mount equipment.
- Versatile Application: Ideal for Home Labs, Small Offices, Data Centers, and Network Closets.

2. Setup and Installation
2.1 Unpacking and Inspection
Carefully unpack the enclosure and all components. Inspect for any signs of damage that may have occurred during transit. While the unit is designed for durability, minor alignment issues can sometimes occur. If any damage is noted, contact customer support.
2.2 Mounting the Enclosure
The RSWM-6U001 is designed for wall mounting. Due to its weight (approximately 34.6 lbs) and the potential weight of installed equipment (up to 130 lbs), it is crucial to secure the enclosure directly into wall studs or use appropriate heavy-duty wall anchors suitable for the wall material and total load.
- Identify the desired mounting location on a sturdy wall.
- Use a stud finder to locate wall studs for secure attachment.
- Mark the drilling points for the mounting brackets on the wall. Ensure the marks are level and correctly spaced.
- Drill pilot holes at the marked locations. If mounting into drywall without studs, use the provided wall anchors or equivalent heavy-duty anchors.
- Attach the mounting brackets to the wall using the provided screws or appropriate fasteners.
- Carefully lift the enclosure and align it with the mounted brackets. Secure the enclosure to the brackets.

2.3 Installing Equipment
The enclosure accommodates standard 19-inch rack-mount equipment. Use the provided cage nuts and screws to secure your devices within the rack.

3. Operation
3.1 Accessing the Enclosure
The front door features a lockable tempered glass panel, providing both security and visibility of your equipment. The side panels are removable for easy access during installation or maintenance.
- To open the front door, insert the key into the lock and turn.
- To remove a side panel, unlock it (if applicable) and slide it off the frame.


3.2 Cable Management
The enclosure features cable entry points on both the top and bottom panels, simplifying cable routing and organization. Ensure cables are neatly managed to prevent obstruction of airflow and to maintain a tidy setup.
3.3 Cooling
The top and bottom panels offer provisions for installing two 120mm cooling fans (fans not included). Installing fans can enhance airflow and help maintain optimal operating temperatures for your equipment, especially in environments with high heat output.

4. Maintenance
Regular maintenance ensures the longevity and optimal performance of your server rack enclosure.
- Cleaning: Periodically wipe down the exterior surfaces with a soft, damp cloth. For the glass door, use a glass cleaner. Avoid abrasive cleaners that could scratch the finish.
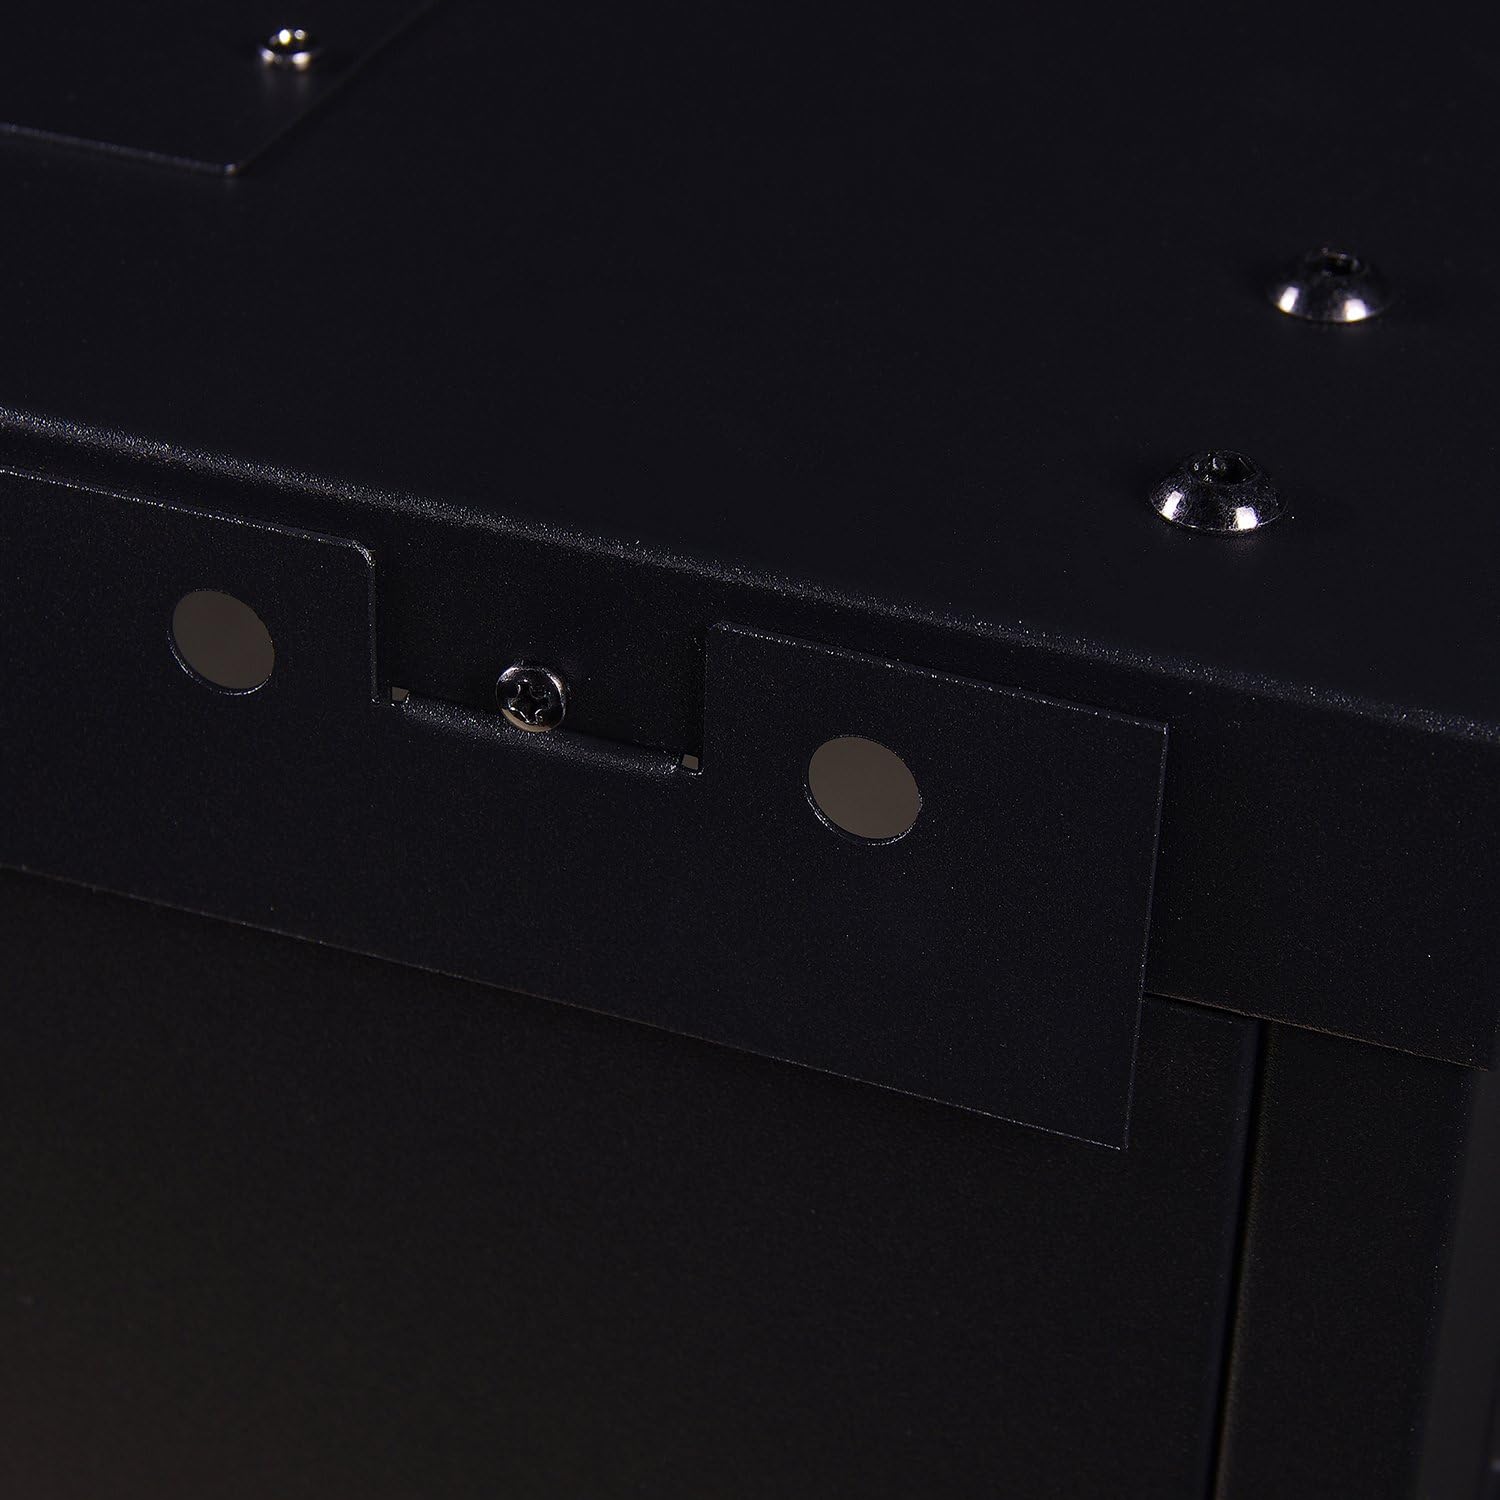
- Inspection: Regularly check all mounting hardware and screws to ensure they remain tight and secure. Inspect the door hinges and lock for smooth operation.
- Airflow: Ensure that the fan vents (if fans are installed) are free from dust and debris to maintain proper airflow.
5. Troubleshooting
This section addresses common issues you might encounter with your enclosure.
- Side Panel Jammed: If a side panel is difficult to open or remove, it may be slightly misaligned, possibly due to transit. Gently tap the affected corner with a soft hammer to realign the frame.
- Glass Door Issues: In rare cases, the tempered glass panel may become unglued from its hinge during transit. This can often be repaired using a strong epoxy adhesive. Ensure the glass is clean and dry before applying epoxy.
- Overheating Equipment: If equipment inside the enclosure is overheating, consider installing optional 120mm cooling fans in the designated top and bottom vents. For advanced temperature control, a temperature controller can be integrated to activate fans only when needed.
- Lack of Power Distribution: The enclosure does not include integrated power distribution. A power strip or power distribution unit (PDU) must be purchased separately and installed within the rack to power your equipment.
6. Specifications
| Feature | Detail |
|---|---|
| Brand | Rosewill |
| Model Number | RSWM-6U001 |
| Rack Units | 6U |
| Depth | 16.5 inches |
| Material | Alloy Steel (Cold Rolled Steel) |
| Color | Black |
| Item Weight | 34.6 pounds |
| Product Dimensions (L x W x H) | 25 x 19.5 x 16.5 inches |
| Load Capacity | Up to 130 lbs |
| Front Door | Lockable Tempered Glass |
| Side Panels | Removable |
| Cooling Fan Support | Two 120mm fans (optional, not included) |
7. Official Product Video
8. Warranty and Support
For warranty information, technical support, or to inquire about replacement parts, please refer to the official Rosewill website or contact their customer service department. Keep your purchase receipt for warranty claims.
Rosewill Customer Support: Please visit www.rosewill.com/support for the latest support information and contact details.


