
Introduction
This manual provides essential instructions for the safe operation, setup, and maintenance of your DoDoeleph Syma X20 Mini Micro RC Drone. Please read this manual thoroughly before operating the drone to ensure proper function and to prevent damage.
Package Contents
Verify that all items listed below are included in your package:
- 1 x Aircraft (Syma X20 Drone)
- 1 x Remote Control
- 1 x Instruction Manual
- 1 x USB Charging Cable
- 4 x Spare Propellers

Figure 1: Contents of the Syma X20 package, including the drone, remote, manual, spare blades, and USB cable.
Setup
1. Remote Control Battery Installation
The remote controller requires 4 x AAA batteries (not included). Open the battery compartment on the back of the remote control, insert the batteries according to the polarity markings, and close the compartment securely.
2. Drone Battery Charging
The drone is equipped with a 3.7V 180mAh Li-Poly battery. To charge the drone battery:
- Connect the USB charging cable to the drone's charging port.
- Connect the other end of the USB cable to a USB power source (e.g., computer USB port, USB wall adapter).
- The charging indicator light will illuminate during charging and turn off when fully charged.
- Charging time is approximately 50 minutes. Do not overcharge the battery.
3. Propeller Installation/Replacement
If propellers need to be installed or replaced, ensure they are correctly oriented. Each propeller is marked with 'A' or 'B'. Match the propeller type to the corresponding motor shaft as indicated in the drone's design. Incorrect installation will prevent proper flight.
Operating Instructions
1. Power On and Pairing
- Place the drone on a flat, level surface.
- Turn on the drone's power switch. The drone's LED lights will flash.
- Turn on the remote control.
- Push the left joystick (throttle) all the way up, then all the way down. The drone's LED lights will stop flashing and remain solid, indicating successful pairing.
2. One-Key Take-off and Landing
This feature simplifies starting and stopping flight, making it ideal for beginners.
- One-Key Take-off: After pairing, press the One-Key Take-off button (usually marked with an arrow pointing up) on the remote control. The drone will automatically ascend and hover at a stable altitude.
- One-Key Landing: During flight, press the One-Key Landing button (usually marked with an arrow pointing down). The drone will automatically descend and land gently.
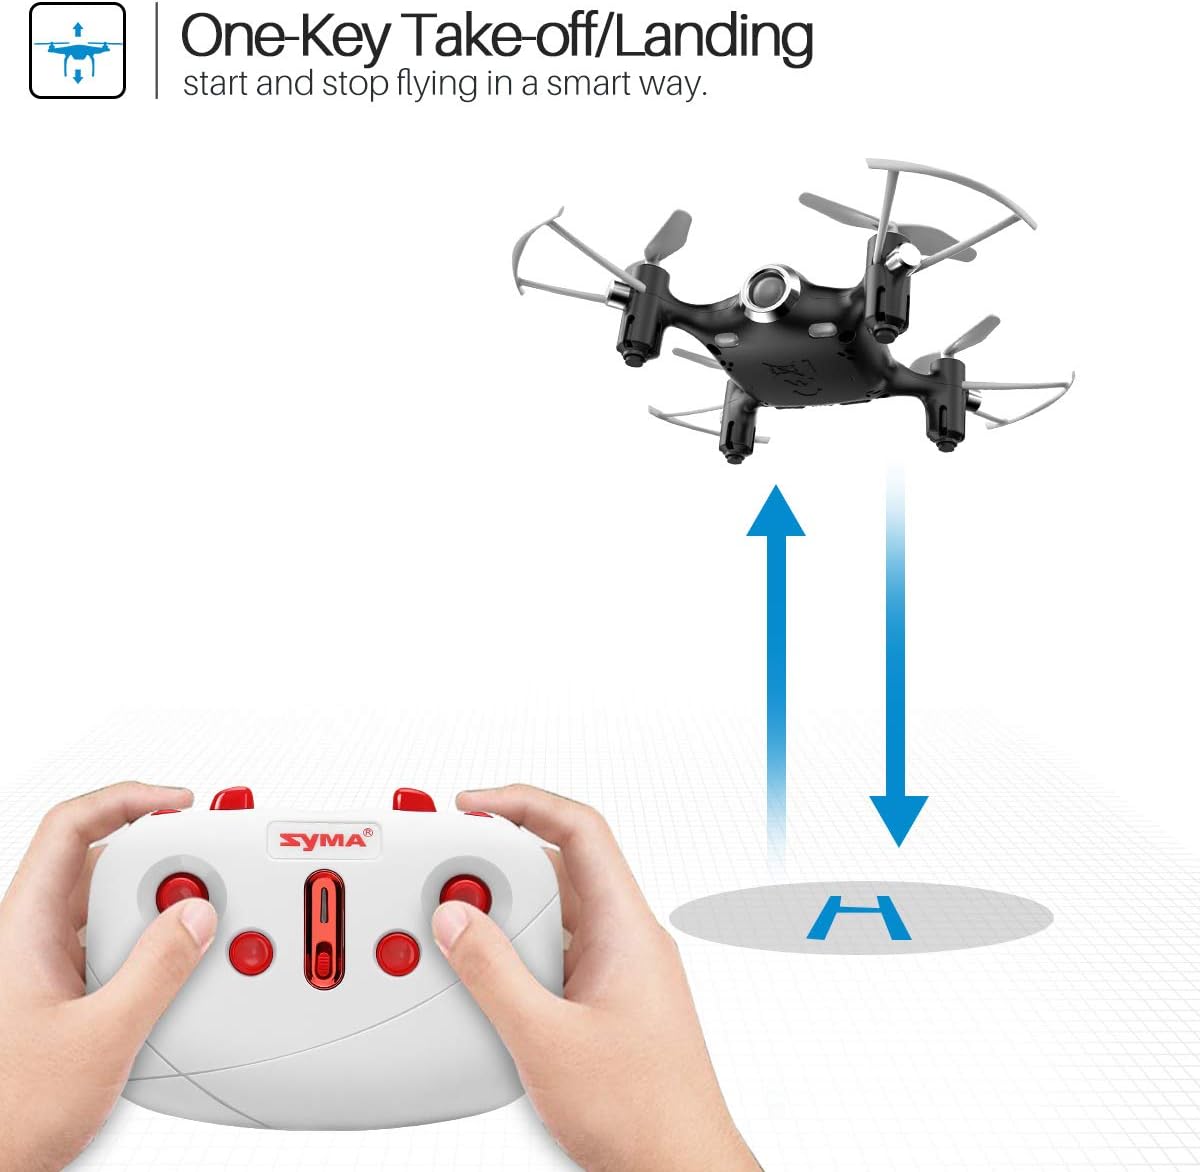
Figure 2: One-Key Take-off/Landing feature for simplified flight control.
3. Altitude Hold Function
The Syma X20 features an altitude hold function, allowing the drone to maintain a stable height without continuous throttle input. Once the drone reaches a desired altitude, release the throttle stick, and it will hover in place.
4. Headless Mode
Headless Mode simplifies flight by eliminating the need to orient the drone. In this mode, the drone's forward direction is relative to the pilot's position at the time of activation, regardless of the drone's actual front. To activate/deactivate Headless Mode, refer to your remote control's specific button or sequence.
5. 360° Flips and Rolls
The drone can perform 360-degree stunt flips. To execute a flip:
- Ensure the drone is flying at a sufficient height (at least 2-3 meters).
- Press the 360° Flip button (refer to your remote control diagram).
- Immediately push the right joystick in the desired direction (forward, backward, left, or right) to perform the flip.

Figure 3: The Syma X20 drone executing a 360-degree roll.
6. High/Low Speed Mode
The drone offers different speed settings for varying flight experiences. Beginners can start with low speed for easier control, while experienced pilots can switch to high speed for more agile maneuvers.
- Press the speed switch button on the remote control to toggle between high and low speed modes.
- The drone's indicator lights may change or an audible beep from the remote may confirm the speed mode change.

Figure 4: Visual representation of high and low speed modes.
7. Basic Flight Controls
Familiarize yourself with the remote control joysticks:
- Left Joystick (Throttle): Up/Down controls altitude.
- Left Joystick (Left/Right): Controls yaw (rotation left/right).
- Right Joystick (Forward/Backward): Controls pitch (move forward/backward).
- Right Joystick (Left/Right): Controls roll (move sideward left/right).
Maintenance
- Cleaning: Use a soft, dry cloth to clean the drone and remote control. Avoid using water or solvents.
- Propeller Inspection: Regularly check propellers for damage (bends, cracks). Replace damaged propellers immediately using the spare parts provided.
- Storage: When not in use, store the drone and remote control in a cool, dry place, away from direct sunlight. Remove batteries from the remote control if storing for extended periods.
- Battery Care: Do not leave batteries fully discharged for long periods. Charge them periodically to maintain battery health.
Troubleshooting
| Problem | Possible Cause | Solution |
|---|---|---|
| Drone does not respond to remote. | Low battery in drone or remote; Not paired; Out of range. | Charge drone battery; Replace remote batteries; Re-pair drone and remote; Operate within 20m range. |
| Drone flies erratically or drifts. | Propellers damaged; Drone not calibrated on a flat surface; Strong wind. | Replace damaged propellers; Re-calibrate drone on a flat surface; Fly in calm conditions. |
| Short flight time. | Battery not fully charged; Old battery. | Ensure full charge (approx. 50 mins); Consider replacing battery if performance degrades significantly. |
Specifications
| Feature | Detail |
|---|---|
| Brand | DoDoeleph (Manufacturer: Syma) |
| Model Name | X20 |
| Built-in Gyro | 6-Axis |
| Channels | 4CH |
| Remote Control Frequency | 2.4 GHz |
| Control Distance | Approximately 20 meters |
| Drone Battery | 3.7V 180mAh Li-Poly (included) |
| Remote Controller Battery | 4 x AAA batteries (not included) |
| Charging Time | Approximately 50 minutes |
| Flight Time | Approximately 5 minutes |
| Item Dimensions (L x W x H) | 10.5 x 10.5 x 2.5 cm (4.13"L x 4.13"W x 0.98"H) |
| Item Weight | 0.53 Pounds |
| Material | Plastic |
| Special Features | Altitude Hold, One-Key Take-off/Landing, 360° Stunt Flip, Headless Mode, Fast/Slow Speed, LED Lights |
Warranty and Support
For warranty information or technical support, please refer to the contact details provided with your purchase documentation or visit the official DoDoeleph website. Keep your proof of purchase for any warranty claims.