1. Introduction
This manual provides essential information for the installation, operation, and maintenance of your Sangoma FreePBX Phone System 60. Please read this manual thoroughly before using the device to ensure proper functionality and to prevent damage. Keep this manual for future reference.
2. Product Overview
The Sangoma FreePBX Phone System 60 is a robust, purpose-built appliance designed for businesses requiring a reliable and scalable IP PBX solution. It supports up to 60 licensed extensions and 40 concurrent calls, making it suitable for small to medium-sized enterprises. The system integrates the powerful FreePBX software, offering a comprehensive suite of telephony features and management tools.
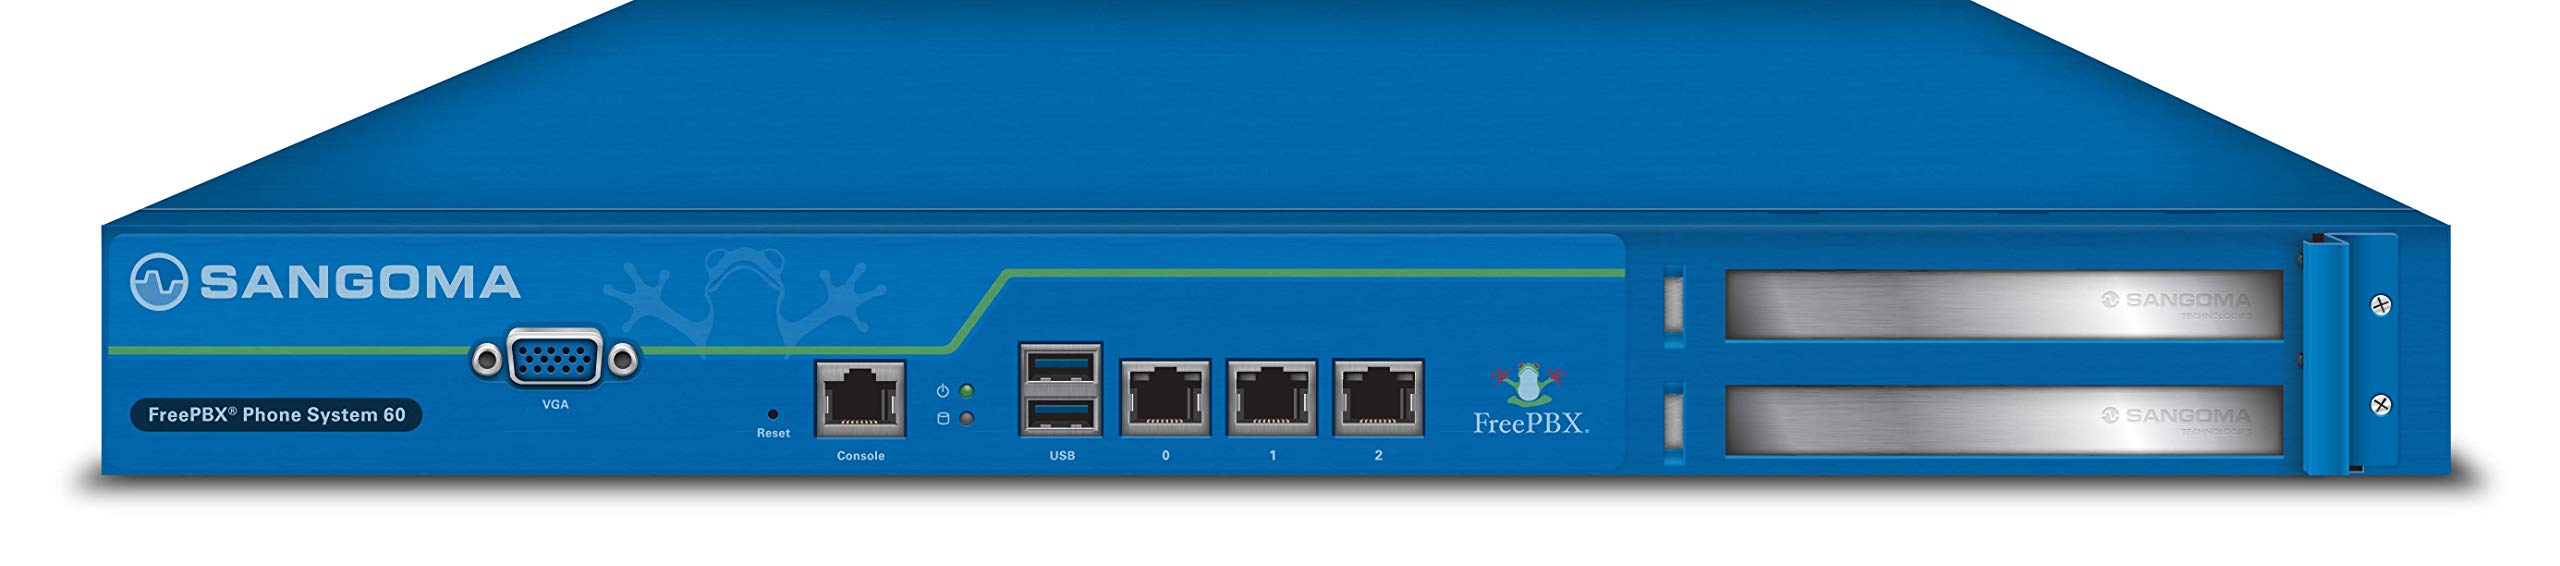
Image: Front view of the Sangoma FreePBX Phone System 60, showcasing its compact design and various front-facing ports for connectivity and management.
3. Key Features
- Extension Capacity: Supports up to 60 licensed extensions.
- Call Capacity: Handles up to 40 concurrent calls.
- Management Interfaces: Local VGA console, Web GUI, and SSH access for flexible administration.
- Network Connectivity: Equipped with 3x Gigabit Ethernet Ports for high-speed network integration.
- Peripheral Ports: Includes 1x Serial Console (RJ45), 1x VGA port, and 2x USB ports for additional connectivity.
- Expansion Slots: Features 2 PCI Express slots for future hardware upgrades or specialized cards.
- Operating System: Runs on a Linux-based operating system, providing stability and security.
- Recommended Use: Optimized for business telephony environments.
4. Setup
Follow these general steps to set up your FreePBX Phone System 60. For detailed configuration, refer to the official Sangoma documentation available online.
- Unpack the System: Carefully remove the FreePBX Phone System 60 from its packaging. Ensure all components are present.
- Connect Power: Connect the provided power adapter to the system's power input and then to a suitable power outlet.
- Network Connection: Connect one of the Gigabit Ethernet ports to your local area network (LAN) using an Ethernet cable. It is recommended to use the designated WAN/LAN port if specified.
- Initial Access:
- Local Console: Connect a VGA monitor and a USB keyboard/mouse to the system for direct console access.
- Web GUI: Once the system boots and obtains an IP address (or is configured with a static IP), access the web-based graphical user interface (GUI) from a computer on the same network using a web browser.
- SSH: For advanced users, SSH access is available for command-line management.
- Initial Configuration: Follow the on-screen prompts or web interface instructions to complete the initial setup, including network settings, administrator credentials, and basic FreePBX configuration.
For complex deployments or if you require assistance, Sangoma offers optional remote installation and configuration services.
5. Operating Instructions
The Sangoma FreePBX Phone System 60 operates using the FreePBX software, which provides a comprehensive interface for managing your telephony system. Key operational aspects include:
- Extension Management: Create, modify, and delete extensions for your users. Configure voicemail, call forwarding, and other extension-specific settings.
- Trunk Configuration: Set up and manage SIP trunks or other telephony connections to your service provider for inbound and outbound calls.
- Call Routing: Configure inbound and outbound routes to direct calls appropriately. This includes IVRs (Interactive Voice Response), ring groups, and queues.
- User Portal: Users can often access a self-service portal to manage their own extension settings, check voicemail, and view call history.
- System Monitoring: Utilize the FreePBX dashboard and reporting tools to monitor system performance, call activity, and resource usage.
Detailed instructions for specific FreePBX features are available within the FreePBX documentation and community resources.
6. Maintenance
Regular maintenance ensures the longevity and optimal performance of your FreePBX Phone System 60.
- Software Updates: Regularly check for and apply FreePBX and operating system updates to ensure security and access to the latest features.
- Backups: Perform regular backups of your FreePBX configuration and call data. This is crucial for disaster recovery.
- Physical Inspection: Periodically inspect the device for dust accumulation, especially around ventilation areas. Ensure proper airflow to prevent overheating.
- Environmental Conditions: Operate the system within recommended temperature and humidity ranges. Avoid exposing it to direct sunlight or excessive moisture.
- Security: Regularly review and update strong passwords for all administrative and user accounts. Implement firewall rules and other security best practices.
Optional annual support and software maintenance plans are available from Sangoma to assist with ongoing system health and updates.
7. Troubleshooting
If you encounter issues with your FreePBX Phone System 60, consider the following troubleshooting steps:
- No Power: Ensure the power adapter is securely connected to both the system and a working power outlet. Check the power indicator light on the device.
- Network Connectivity Issues: Verify that Ethernet cables are properly connected. Check network switch status and ensure the system has a valid IP address. Ping the system's IP address from another device on the network.
- Cannot Access Web GUI: Confirm the system's IP address. Ensure your computer is on the same network segment. Try clearing your browser's cache or using a different browser.
- No Dial Tone/Call Issues: Check trunk registration status in FreePBX. Verify inbound and outbound routes are correctly configured. Ensure extensions are registered to their respective phones.
- System Performance: If the system is slow or unresponsive, check system resource usage (CPU, memory) via the local console or SSH. Restarting the FreePBX services or the entire system may resolve temporary issues.
- Software Errors: Consult the FreePBX logs for specific error messages. The FreePBX community forums and Sangoma support resources can provide solutions for common software-related problems.
If problems persist, contact Sangoma support or refer to your support plan details.
8. Specifications
| Feature | Detail |
|---|---|
| Model Name | FreePBX Phone System 60 |
| Product Dimensions | 17 x 21 x 7 inches |
| Item Weight | 11.82 pounds |
| Manufacturer | Sangoma Technologies Inc |
| ASIN | B06XNKGPJR |
| Date First Available | March 14, 2017 |
| Special Feature | WPS (Wireless Protected Setup - Note: Feature may be related to network configuration, not direct wireless connectivity of the unit itself) |
| Frequency Band Class | Dual-Band (Note: Typically refers to Wi-Fi, but for this wired device, it might imply network card capabilities or compatibility with dual-band network environments) |
| Compatible Devices | Laptop, Personal Computer, Smartphone, Tablet (for management and softphone integration) |
| Recommended Uses | Business |
| Connectivity Technology | Ethernet |
| Color | Blue |
| Antenna Type | Internal (Note: Likely refers to internal components, as the device is primarily wired) |
| Operating System | Linux |
9. Warranty and Support
The Sangoma FreePBX Phone System 60 typically comes with a manufacturer's warranty. For specific warranty terms and conditions, please refer to the documentation included with your purchase or visit the official Sangoma website.
Sangoma offers various support options, including:
- Annual Support & Software Maintenance Plans: These optional plans provide ongoing technical support and access to software updates.
- Remote Installation & Configuration Services: Professional services are available for assistance with initial setup and complex configurations.
For technical assistance, visit the Sangoma support portal or contact your authorized reseller.


