Important Safety Instructions
Please read these instructions carefully before using the appliance and keep them for future reference. Incorrect use may lead to electric shock, fire, or serious injury.
- Do not immerse the power base or cord in water or any other liquid.
- Ensure the voltage indicated on the appliance matches your local mains voltage before connecting.
- Do not operate the appliance with a damaged cord or plug, or after the appliance malfunctions or has been damaged in any manner.
- Keep the appliance out of reach of children.
- Always place the coffee maker on a stable, heat-resistant surface.
- Do not touch hot surfaces. Use the cool-touch handle.
- Unplug from the outlet when not in use and before cleaning. Allow to cool before putting on or taking off parts, and before cleaning the appliance.
- This appliance is for household use only.
- Do not use outdoors.
- Do not let the cord hang over the edge of a table or counter, or touch hot surfaces.
- Do not place on or near a hot gas or electric burner, or in a heated oven.
- Extreme caution must be used when moving an appliance containing hot liquid.
- Do not use the appliance for other than intended use.
- The appliance has an automatic shut-off feature for safety.
Product Overview
The Jocca Electric Italian Coffee Maker is designed for convenient and efficient coffee preparation. It features a 6-cup capacity, a 360° swivel base, and a cordless jug for easy serving.
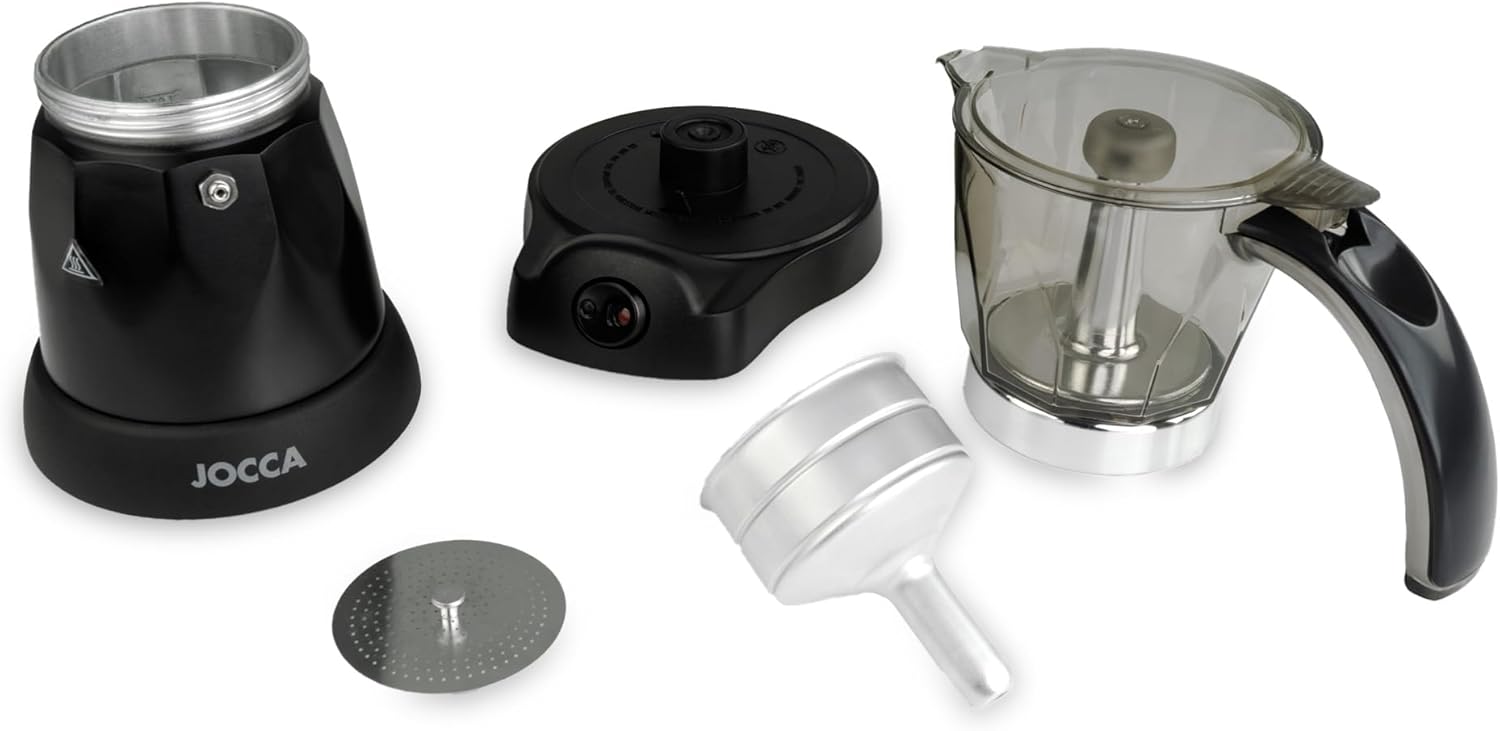
Figure 1: Coffee Maker Components
This image displays all the main components of the coffee maker, including the base, lower water reservoir, coffee filter funnel, upper filter plate, and transparent serving jug.
Key Features:
- 6-Cup Capacity: Brews approximately 320ml of traditional coffee.
- Transparent Jug: Allows visibility of coffee level during brewing.
- 360° Swivel Base: Cordless jug detaches for easy serving.
- Cool-Touch Handle: Designed to prevent burns.
- Overheating Protection: Integrated safety system.
- Intuitive Control: Single on/off button with indicator light.
- Efficient Heating: 480W power for quick coffee preparation.
Before First Use
Before using your new coffee maker for the first time, it is recommended to clean all removable parts and perform a trial run without coffee.
- Unpack the coffee maker and remove all packaging materials.
- Wash the transparent jug, filter funnel, and filter plate with warm soapy water. Rinse thoroughly and dry.
- Wipe the exterior of the lower water reservoir and the power base with a damp cloth. Do not immerse the lower water reservoir or power base in water.
- Assemble the coffee maker without coffee. Fill the lower water reservoir with water up to the safety valve.
- Place the filter funnel into the lower water reservoir.
- Screw the transparent jug onto the lower water reservoir.
- Place the assembled coffee maker onto the power base and plug it in.
- Press the on/off button to start the brewing cycle.
- Once the cycle is complete, discard the hot water. Repeat this process 2-3 times to ensure thorough cleaning.
Setup and Operating Instructions
Assembly:
- Unscrew the transparent jug from the lower water reservoir.
- Remove the filter funnel from the lower water reservoir.
- Fill the lower water reservoir with cold water up to the level of the safety valve. Do not overfill.
- Insert the filter funnel into the lower water reservoir.
- Fill the filter funnel with ground coffee. Do not tamp the coffee too tightly.
- Place the filter plate on top of the ground coffee in the funnel.
- Carefully screw the transparent jug back onto the lower water reservoir, ensuring a tight seal.
- Place the assembled coffee maker onto the 360° swivel power base.
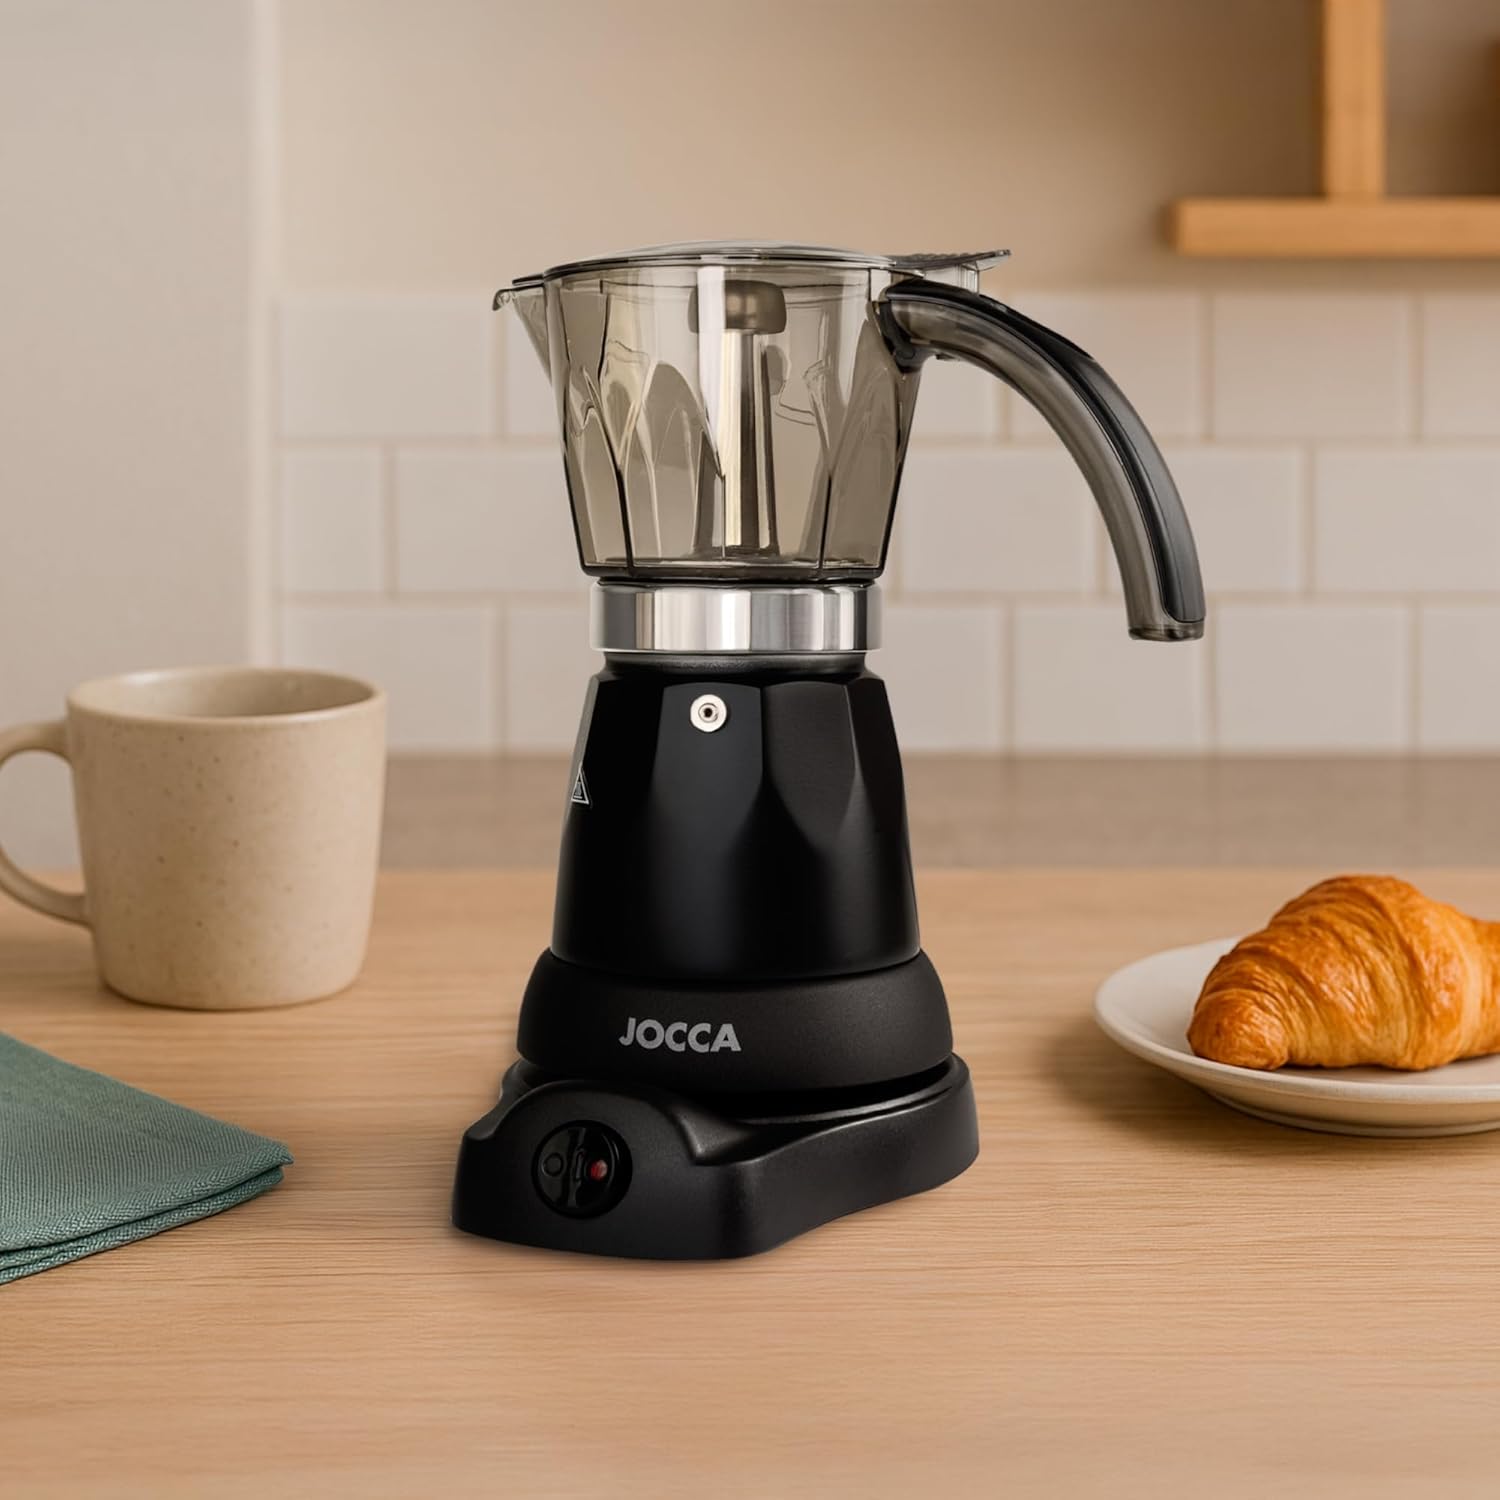
Figure 2: Assembled Coffee Maker
The fully assembled Jocca electric Italian coffee maker, ready for use in a kitchen setting.
Brewing Coffee:
- Plug the power base into a suitable electrical outlet (220-240V, 50Hz).
- Press the on/off button located on the power base. The indicator light will illuminate, signaling that the coffee maker is heating.
- Water will heat up and pass through the ground coffee into the transparent jug. This process typically takes a few minutes.
- Once brewing is complete, the coffee maker will automatically shut off. The indicator light will turn off.
- Carefully lift the cordless jug from the swivel base using the cool-touch handle.
- Serve the freshly brewed coffee.

Figure 3: On/Off Button
The simple one-touch on/off button with an illuminated indicator light makes operation straightforward.

Figure 4: Coffee Brewing in Transparent Jug
The transparent jug allows you to monitor the coffee level as it brews, ensuring perfect results.
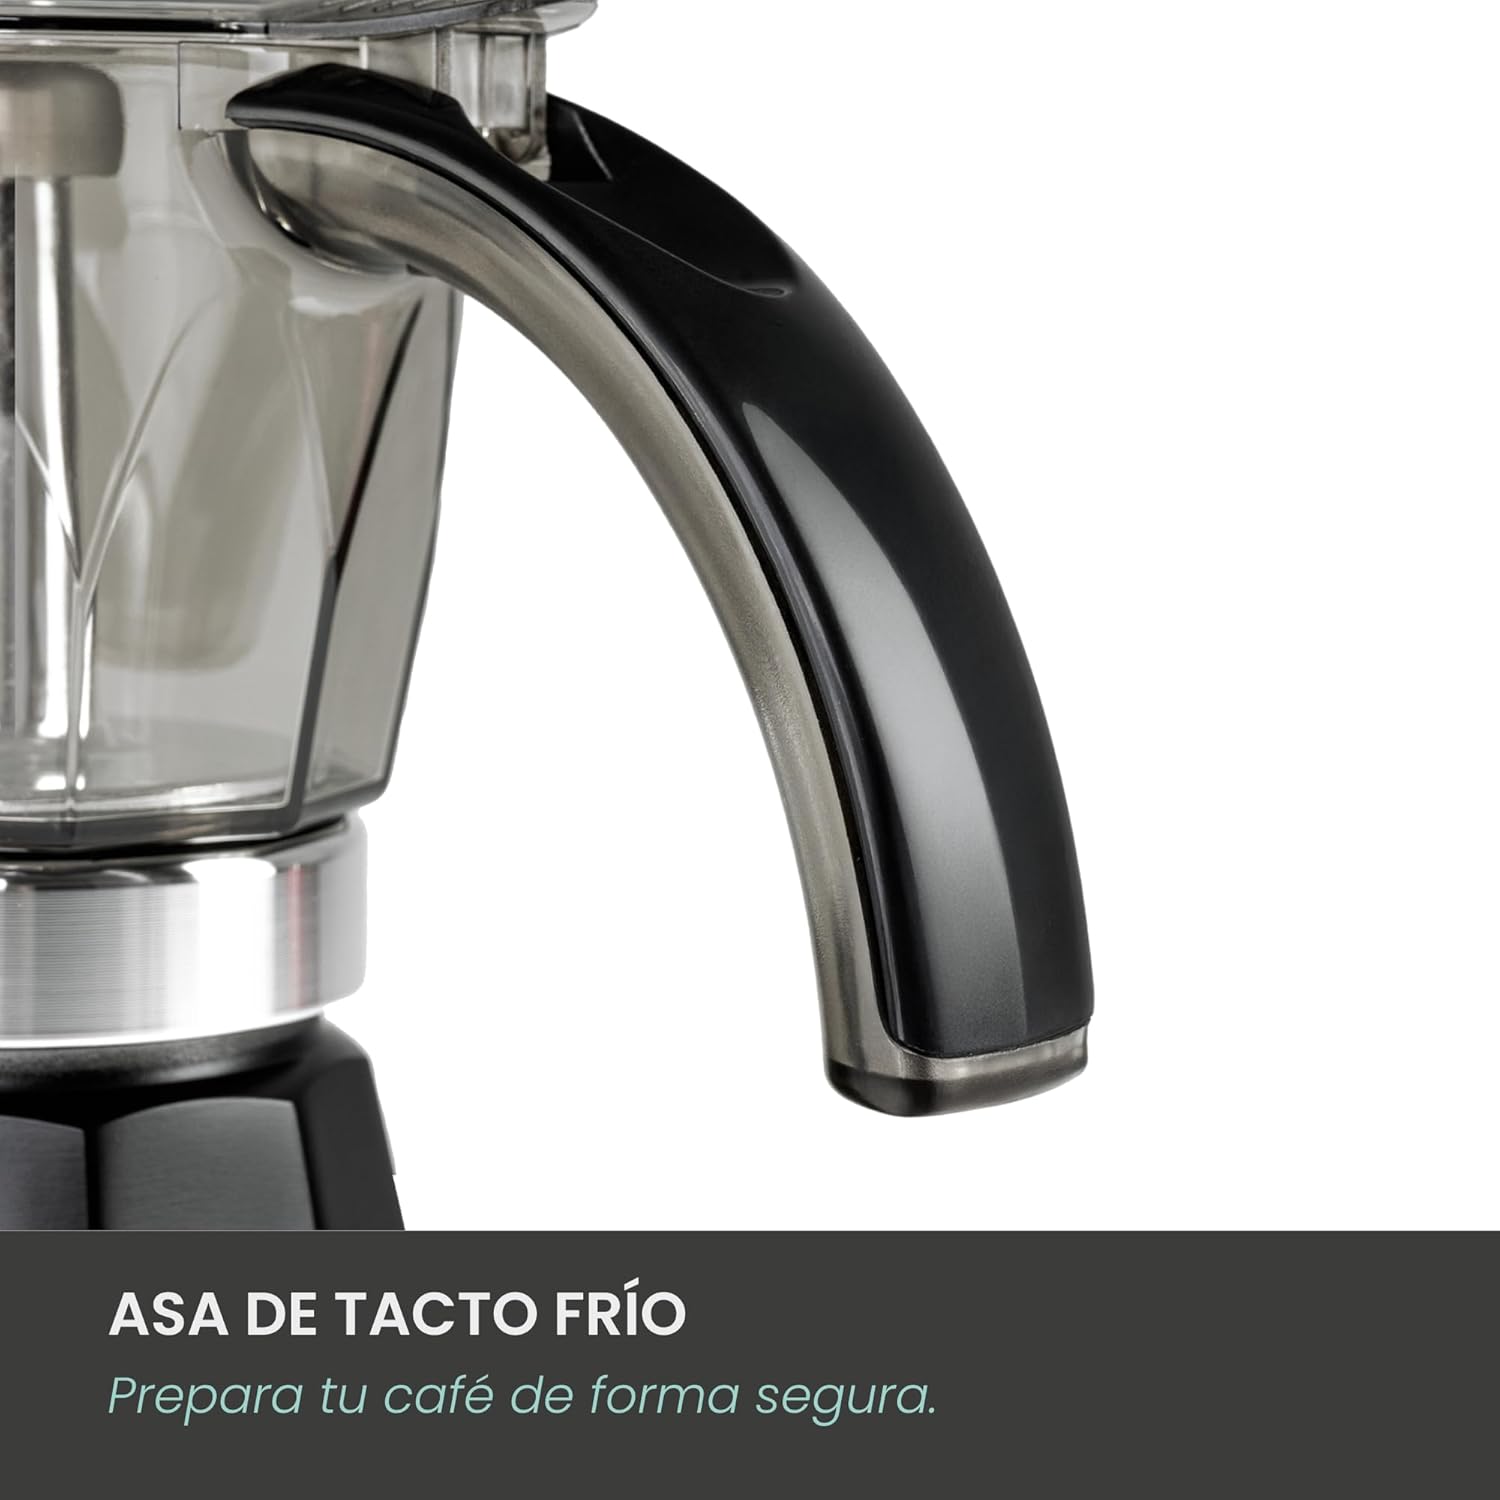
Figure 5: Cool-Touch Handle
The ergonomic cool-touch handle provides a secure grip and prevents burns during serving.
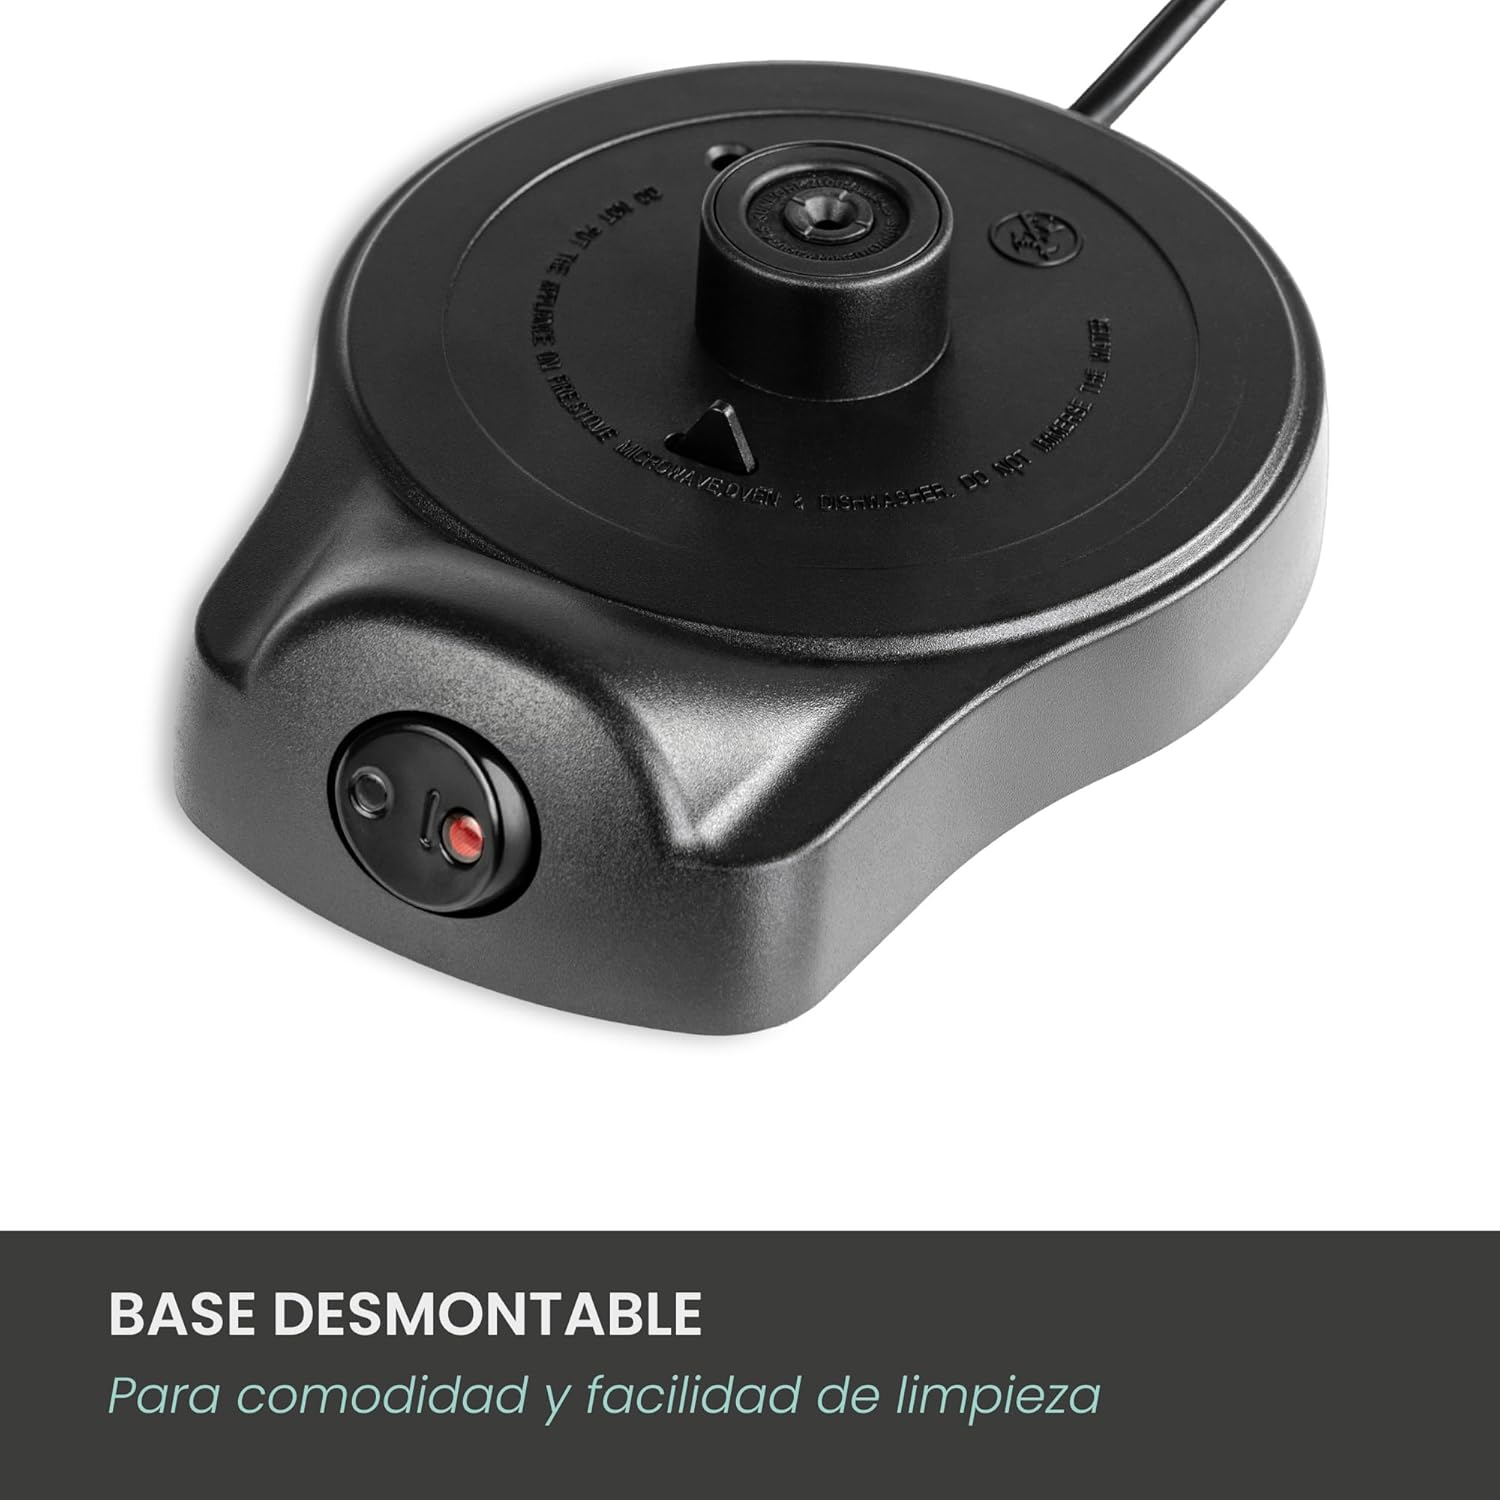
Figure 6: Detachable Swivel Base
The 360-degree swivel base allows for easy placement and removal of the cordless jug, enhancing convenience.
Cleaning and Maintenance
Regular cleaning ensures optimal performance and extends the lifespan of your coffee maker.
Daily Cleaning:
- Always unplug the appliance and allow it to cool completely before cleaning.
- Unscrew the transparent jug from the lower water reservoir.
- Discard used coffee grounds from the filter funnel.
- Wash the transparent jug, filter funnel, and filter plate with warm soapy water. Use a soft brush if necessary to remove coffee residue.
- Rinse all parts thoroughly under running water.
- Wipe the exterior of the lower water reservoir and the power base with a damp cloth. Do not immerse the lower water reservoir or power base in water.
- Dry all parts completely before reassembling or storing.
Descaling:
Depending on water hardness, mineral deposits (limescale) may build up over time, affecting performance. Descale your coffee maker every 2-3 months, or more frequently if you notice slower brewing or reduced coffee temperature.
- Prepare a descaling solution according to the manufacturer's instructions (e.g., white vinegar diluted with water, or a commercial descaling agent).
- Fill the lower water reservoir with the descaling solution up to the safety valve.
- Assemble the coffee maker without coffee.
- Place the assembled coffee maker onto the power base and plug it in.
- Press the on/off button to start a brewing cycle with the descaling solution.
- Once the cycle is complete, discard the solution.
- Rinse the coffee maker thoroughly by performing 2-3 brewing cycles with clean water only to remove any residual descaling agent.
Troubleshooting
| Problem | Possible Cause | Solution |
|---|---|---|
| Coffee does not brew or brews slowly. |
|
|
| Coffee tastes weak. |
|
|
| Coffee overflows from the jug. |
|
|
| Indicator light does not turn on. |
|
|
Specifications
| Brand | Jocca |
| Model Number | 5449nk |
| Color | Black and Chrome |
| Capacity | 6 Cups (approx. 320 ml) |
| Power | 480W |
| Voltage | 220-240V / 50Hz |
| Product Dimensions (L x W x H) | 14 x 21 x 25 cm |
| Product Weight | 1.3 kg |
| Material | Plastic (jug), Metal/Plastic (base) |
| Special Features | 360° Swivel Base, Cordless Jug, Cool-Touch Handle, Automatic Shut-off, Overheating Protection |
| Recommended Uses | Home brewing, office use |

Figure 7: Product Dimensions
Diagram showing the compact dimensions of the coffee maker, measuring 25 cm in height, 13 cm in depth, and 20 cm in width.
Warranty and Customer Support
This product comes with a standard manufacturer's warranty. For detailed warranty information, please refer to the documentation included with your purchase or visit the official Jocca website.
If you encounter any issues or have questions not covered in this manual, please contact Jocca customer support through their official channels. Keep your purchase receipt as proof of purchase for warranty claims.


