1. Introduction
This manual provides detailed instructions for the installation, operation, maintenance, and troubleshooting of the Keeparlus B156XTN07.0 15.6-inch WXGA HD LED laptop LCD screen. This product is designed as a compatible replacement for various laptop models utilizing the B156XTN07.0 panel or equivalent specifications (e.g., 0A, 2A, 5A, KA with 30 PINS). Please read this manual thoroughly before proceeding with installation.
2. Safety Information
- Always disconnect the laptop from its power source and remove the battery before beginning any installation or repair work.
- Static electricity can damage electronic components. Use an anti-static wrist strap or frequently touch a grounded metal object to discharge static electricity.
- Handle the LCD screen by its edges. Avoid touching the screen surface or the circuit board on the back.
- Use appropriate tools to prevent damage to the laptop or the new screen.
- If you are unsure about any step, seek professional assistance.
3. Package Contents
Verify that your package contains the following item:
- 1 x Keeparlus B156XTN07.0 15.6-inch WXGA HD LED Laptop LCD Screen
No additional tools or accessories are typically included with the screen itself.
4. Setup and Installation
Replacing a laptop LCD screen requires careful attention. It is recommended to consult online video tutorials specific to your laptop model for visual guidance.
Required Tools:
- Small Phillips head screwdriver
- Plastic pry tool (spudger)
- Anti-static wrist strap (recommended)
Installation Steps:
- Prepare the Laptop: Power off your laptop completely. Disconnect the AC adapter and remove the laptop battery.
- Remove Bezel Screws: Carefully inspect the laptop screen bezel for any screw covers (usually rubber pads). Remove these covers and unscrew any visible screws.
- Remove Screen Bezel: Using a plastic pry tool, gently work your way around the edges of the screen bezel to unclip it from the display assembly. Work slowly to avoid breaking plastic tabs.
- Access the Screen: Once the bezel is removed, you will see the LCD panel secured by screws to the metal mounting brackets. Unscrew these mounting screws.
- Lay Down the Screen: Carefully tilt the old LCD panel forward and lay it face down on the keyboard. Do not pull on the cables.
- Disconnect Old Screen: Locate the video cable connector on the back of the old LCD panel. Gently peel back any tape securing the connector. Carefully disconnect the 30-pin video cable by pulling it straight out.
- Verify Pin Configuration: Before installing the new screen, compare its connector and mounting tabs with the old screen to ensure compatibility. The B156XTN07.0 typically uses a 30-pin connector.
- Connect New Screen: Carefully align the 30-pin video cable with the connector on the new Keeparlus B156XTN07.0 screen. Gently push the cable straight in until it is fully seated. Secure it with any original tape.
- Mount New Screen: Position the new screen into the display assembly. Secure it with the mounting screws removed earlier.
- Test (Optional but Recommended): Before reattaching the bezel, you may temporarily reconnect the battery and AC adapter to power on the laptop and verify the new screen functions correctly. Power off and disconnect again if testing.
- Reattach Bezel: Carefully snap the screen bezel back into place around the new LCD panel. Ensure all clips are engaged. Reinsert any bezel screws and replace their covers.
- Final Assembly: Reinstall the laptop battery and reconnect the AC adapter.

Figure 1: Front view of the Keeparlus B156XTN07.0 15.6-inch laptop LCD screen, showing the display area and mounting tabs.

Figure 2: Back view of the Keeparlus B156XTN07.0 laptop LCD screen, illustrating the integrated circuit board.
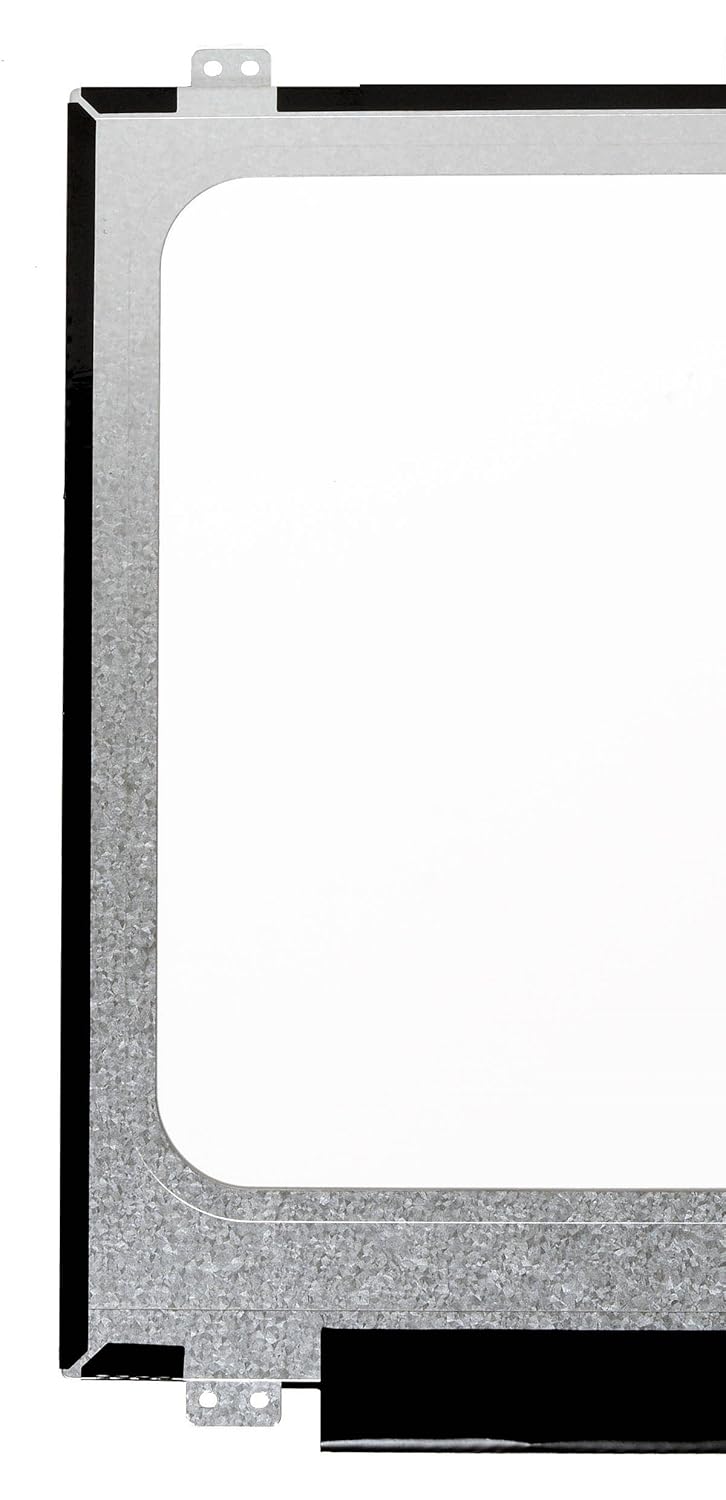
Figure 3: Close-up view of the 30-pin video connector located at the bottom edge of the LCD panel, crucial for connecting to the laptop's video cable.
5. Operating the Screen
Once installed, the Keeparlus B156XTN07.0 LCD screen functions as a standard laptop display. Its operation is controlled by your laptop's operating system and graphics hardware. No specific user interaction is required directly with the screen itself beyond normal laptop usage.
Pixel Policy:
This screen adheres to ISO 13406-2 standards for pixel defects. A certain number of dead or stuck pixels may be considered within acceptable manufacturing tolerances. For specific details, refer to the ISO 13406-2 Class II standard.
6. Maintenance
To ensure the longevity and optimal performance of your LCD screen, follow these maintenance guidelines:
- Cleaning: Use a soft, lint-free cloth specifically designed for electronics. Lightly dampen the cloth with water or a screen-cleaning solution. Do not spray liquid directly onto the screen. Avoid harsh chemicals, alcohol, or ammonia-based cleaners.
- Handling: Avoid applying pressure to the screen surface. Do not place heavy objects on the laptop when closed.
- Environment: Operate the laptop in a clean, dust-free environment. Avoid extreme temperatures or humidity.
7. Troubleshooting
If you encounter issues after installing your new screen, consider the following troubleshooting steps:
- No Display/Black Screen:
- Ensure the video cable is securely connected to both the LCD panel and the laptop's motherboard.
- Verify the laptop is powered on and not in sleep mode.
- Try connecting an external monitor to the laptop to confirm the laptop's graphics card is functioning.
- Flickering/Intermittent Display:
- Check the video cable connection for looseness or damage.
- Ensure the screen's mounting screws are not overtightened, which could cause pressure on the panel.
- Dead Pixels/Stuck Pixels:
- Refer to the pixel policy in Section 5. A small number of such pixels may be normal.
- Some stuck pixels can sometimes be resolved by running pixel-fixing software or gently massaging the pixel area with a soft cloth (with the screen off).
- Incorrect Color/Distorted Image:
- Ensure the video cable is fully seated and not damaged.
- Update or reinstall your laptop's graphics drivers.
8. Specifications
| Model Number | B156XTN07.0 (Compatible with 0A, 2A, 5A, KA variants) |
| Screen Size | 15.6 inches |
| Resolution | WXGA HD (typically 1366x768) |
| Backlight Type | LED DIODE |
| Data Connector | 30 PINS |
| Product Dimensions | 14.1 x 0.32 x 1 inches |
| Item Weight | 8 ounces |
| Manufacturer Item Number | 4328580656 |
9. Warranty and Support
This product is guaranteed for compatibility. For any issues related to manufacturing defects or compatibility, please contact the seller or manufacturer directly. The pixel policy adheres to ISO regulations, which define acceptable standards for pixel defects in LCD panels.
For technical support or warranty claims, please refer to the contact information provided by your point of purchase.


