
1. Introduction
This manual provides essential instructions for the safe and proper installation and use of the Burndy WEEB-LUG-6.7AS Grounding Lug. This product is designed to establish a reliable electrical bond between photovoltaic (PV) modules or other metallic structures and a grounding conductor, ensuring system safety and compliance with electrical codes.
2. Safety Information
WARNING: Electrical shock hazard. Installation should only be performed by qualified personnel.
- Always disconnect power before installing or servicing electrical equipment.
- Wear appropriate personal protective equipment (PPE), including insulated gloves and eye protection.
- Ensure all connections are secure and meet local and national electrical codes.
- Do not modify the grounding lug. Use only as intended.
- Verify that the grounding conductor size is appropriate for the application.
3. Package Contents
Verify that all components are present before beginning installation:
- 1 x Burndy WEEB-LUG-6.7AS Grounding Lug
- 1 x 1/4-Inch Hardware (typically includes a bolt, washer, and nut)
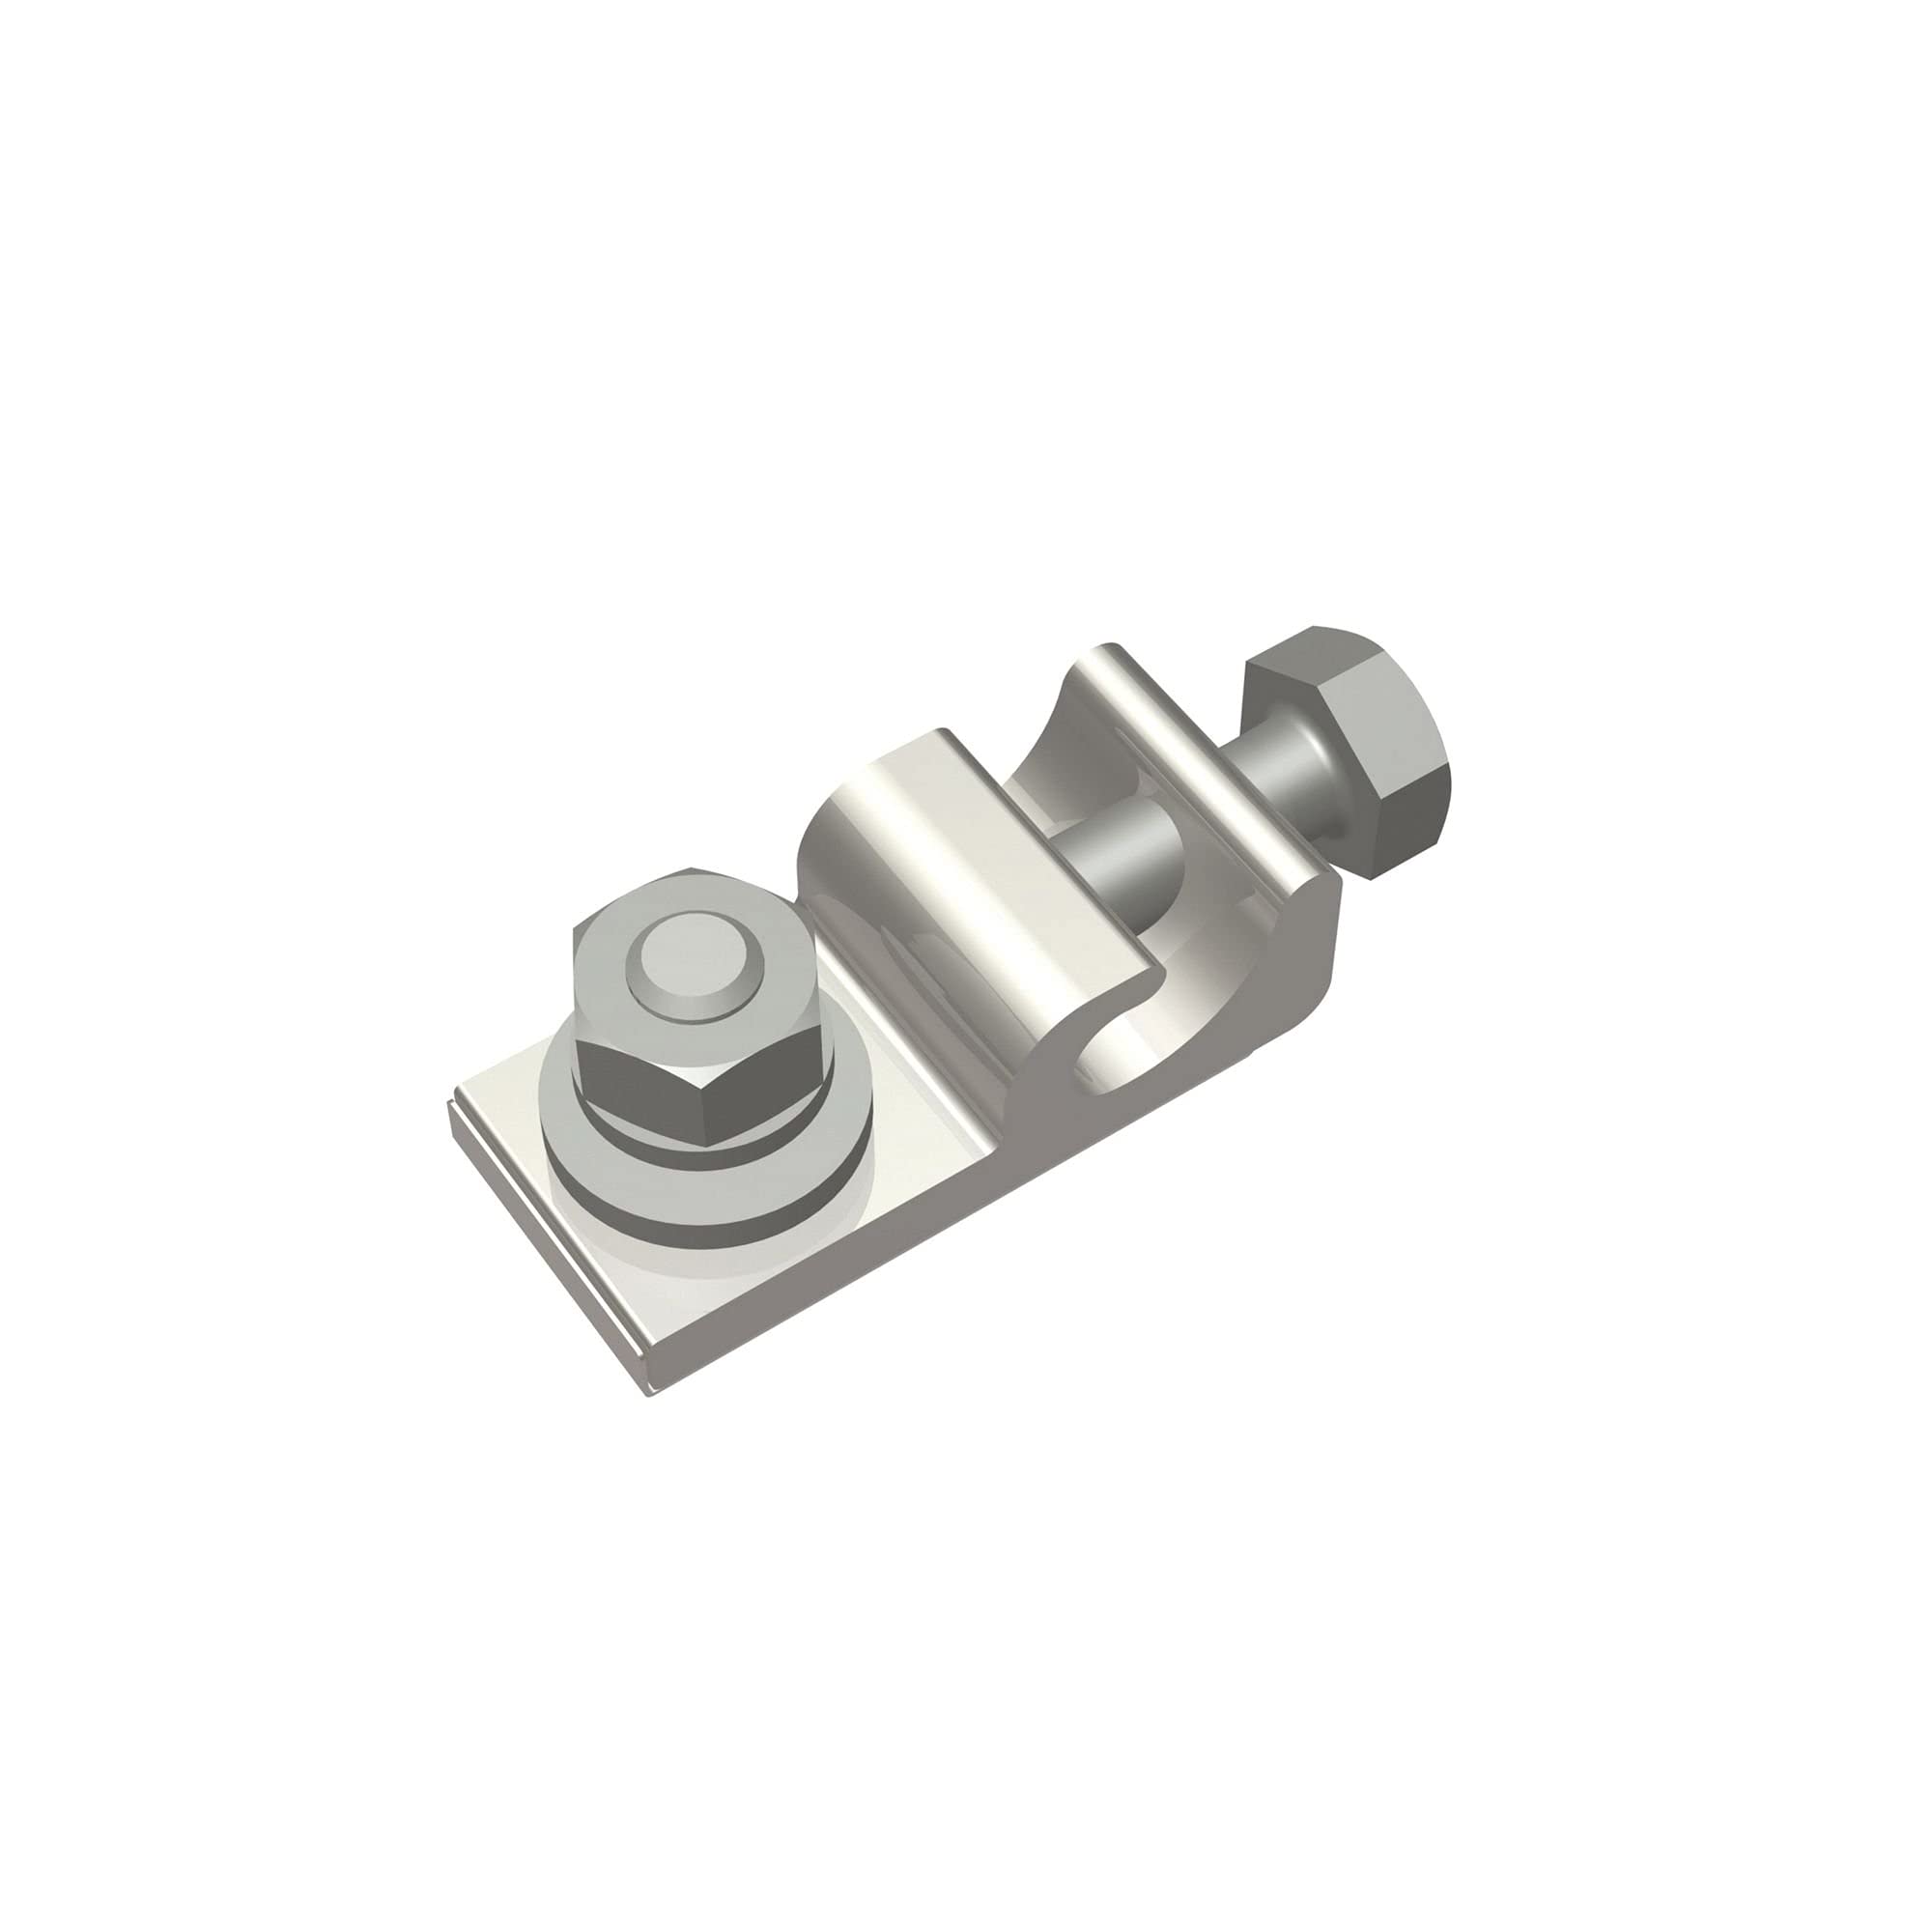
Image 1: Burndy WEEB-LUG-6.7AS Grounding Lug. This image shows the grounding lug component along with the 1/4-inch bolt, washer, and nut used for attachment.
4. Setup and Installation
Follow these steps for proper installation of the WEEB-LUG-6.7AS Grounding Lug:
- Identify Mounting Location: Select a suitable location on the PV module frame, racking system, or other metallic structure that requires grounding. Ensure the surface is clean and free of paint, corrosion, or other non-conductive coatings to ensure proper electrical contact.
- Prepare Grounding Conductor: Strip the insulation from the end of the grounding conductor to the appropriate length as specified by the lug manufacturer or local codes. Ensure the conductor strands are clean and untwisted.
- Insert Conductor: Insert the stripped end of the grounding conductor into the wire barrel of the WEEB-LUG-6.7AS. Ensure the conductor is fully seated.
- Crimp Connection: Using a suitable crimping tool, crimp the wire barrel of the lug onto the conductor. Follow the crimping tool manufacturer's instructions for proper crimp depth and number of crimps. A secure crimp is critical for a reliable electrical connection.
- Attach Lug to Structure: Place the lug's mounting hole over the pre-drilled hole on the metallic structure. Insert the 1/4-inch bolt through the lug and the structure. Secure with the washer and nut.
- Tighten Hardware: Tighten the 1/4-inch hardware to the torque specifications provided by the PV module or racking manufacturer, or to general electrical standards for 1/4-inch hardware, typically around 5-7 ft-lbs (60-84 in-lbs). Do not overtighten.
- Verify Connection: Visually inspect all connections to ensure they are secure and that the grounding lug makes firm contact with the metallic structure.
5. Function and Purpose
The Burndy WEEB-LUG-6.7AS Grounding Lug serves as a critical component in electrical grounding systems, particularly for solar photovoltaic installations. Its primary purpose is to provide a low-resistance path for fault currents to safely dissipate into the earth, thereby protecting equipment from damage and personnel from electrical shock hazards. The lug facilitates the connection of a grounding conductor to metallic components, ensuring that all non-current-carrying metal parts are bonded together and connected to the main grounding electrode system.
6. Maintenance
The WEEB-LUG-6.7AS Grounding Lug is designed for long-term reliability with minimal maintenance. However, periodic inspection is recommended:
- Annual Inspection: Annually inspect all grounding connections for signs of corrosion, loosening, or physical damage.
- Tightness Check: Ensure all bolts and nuts remain securely tightened. Retighten if necessary, adhering to original torque specifications.
- Cleanliness: Keep the area around the lug free of debris or corrosive materials that could compromise the connection.
7. Troubleshooting
If issues related to grounding are suspected, consider the following:
- Poor Grounding Continuity:
- Check all connections for tightness.
- Ensure the lug is making direct metal-to-metal contact with the grounded structure (no paint, anodization, or rust interfering).
- Verify the grounding conductor is properly crimped and not damaged.
- Corrosion:
- If corrosion is present, disconnect power, clean the affected area, and re-establish connections. Consider applying an anti-corrosion compound if suitable for the materials.
For persistent issues, consult a qualified electrician.
8. Specifications
| Attribute | Value |
|---|---|
| Manufacturer | Burndy |
| Part Number | WEEB-LUG-6.7AS |
| Item Model Number | WEEB-LUG-6.7AS |
| Item Weight | 2 pounds |
| Product Dimensions | 1 x 1 x 1 inches |
| Included Components | Item (Grounding Lug), 1/4-Inch Hardware |
| Low-profile design | Yes |
9. Warranty Information
According to product information, there is No Warranty provided for this item.
10. Customer Support
For technical assistance or further inquiries regarding the Burndy WEEB-LUG-6.7AS Grounding Lug, please contact Burndy customer support directly. Refer to the official Burndy website for contact information.
Note: Always refer to the latest local and national electrical codes for proper installation practices.

