1. Introduction
The Honeywell L6006C1018/U Aquastat Controller is a high-limit or low-limit immersion-type controller designed for use in hydronic heating systems. It provides reliable temperature control and safety cut-off functions, ensuring efficient and safe operation of boilers and other water heating equipment. This manual provides essential information for the proper installation, operation, and maintenance of your Aquastat Controller.
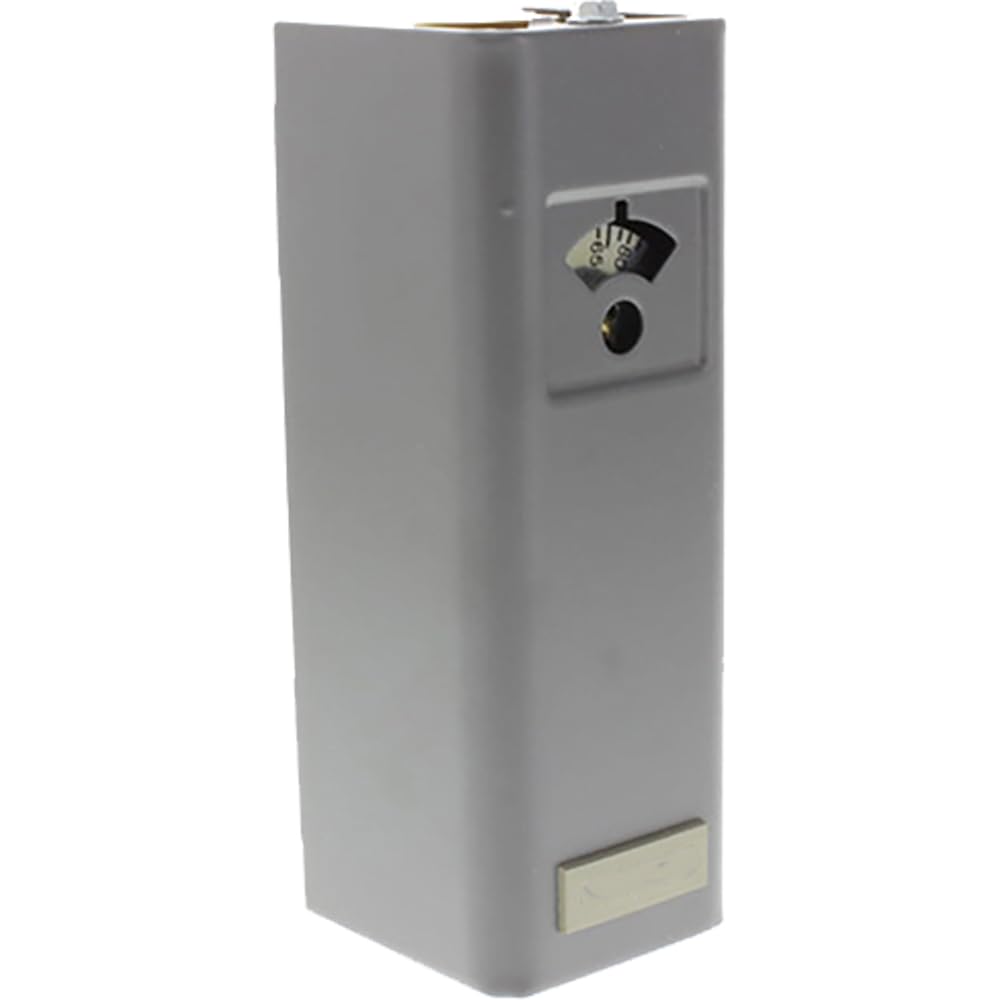
Figure 1: Honeywell L6006C1018/U Aquastat Controller. This image shows the main unit of the Aquastat Controller, typically featuring its robust metal casing and connection points.
2. Safety Information
Read and understand all instructions before installing or operating this product. Failure to follow these instructions could result in property damage, serious injury, or death.
- Electrical Hazard: Disconnect power supply before wiring or servicing to prevent electrical shock or equipment damage.
- Qualified Personnel: Installation and servicing must be performed by a qualified, experienced technician.
- Local Codes: All wiring must comply with local electrical codes and ordinances.
- Temperature Limits: Do not exceed the specified temperature and pressure ratings of the device.
- Proper Mounting: Ensure the controller is securely mounted to prevent vibration or accidental dislodgement.
3. Setup and Installation
Proper installation is crucial for the accurate and safe operation of the Aquastat Controller.
3.1 Pre-Installation Checks
- Verify that the Aquastat model L6006C1018/U is suitable for your application.
- Ensure all necessary tools and materials are available (e.g., screwdriver, wire strippers, conduit, wiring).
- Confirm that the power supply matches the controller's requirements.
3.2 Mounting
- Select a suitable location on the boiler or piping where the immersion well can accurately sense water temperature.
- Install the immersion well (if not already present) into the system, ensuring a watertight seal.
- Insert the sensing bulb of the Aquastat into the immersion well. Ensure full insertion for accurate readings.
- Secure the Aquastat housing to the immersion well or a nearby surface using appropriate mounting hardware.
3.3 Wiring
Refer to the wiring diagram provided inside the controller's cover for specific connections. General steps include:
- Turn off all power to the heating system at the main circuit breaker.
- Open the Aquastat's cover.
- Connect the power supply wires to the designated terminals (typically L1 and L2).
- Connect the control wires to the appropriate terminals for the burner, circulator, or other controlled devices, as per your system's requirements.
- Ensure all connections are tight and secure.
- Close the Aquastat cover.
4. Operating Instructions
The L6006C1018/U Aquastat Controller is designed for straightforward operation.
4.1 Initial Power-Up
- After completing installation and wiring, restore power to the heating system.
- The controller will begin sensing the water temperature.
4.2 Setting Temperature
- The L6006C1018/U typically features an adjustable dial or set screw for temperature setting.
- Carefully adjust the setpoint to the desired water temperature for your system. Consult your boiler or system manual for recommended temperature settings.
- The differential (the temperature drop before the controller reactivates) may also be adjustable on some models. Refer to the internal diagram for adjustment points.
4.3 Operation Overview
When the water temperature falls below the setpoint minus the differential, the controller will activate the connected heating device (e.g., burner). When the water temperature reaches the setpoint, the controller will deactivate the heating device. This cycle maintains the water temperature within the desired range.
5. Maintenance
The Honeywell Aquastat Controller is designed for long-term, reliable operation with minimal maintenance. However, periodic checks are recommended.
- Annual Inspection: Have a qualified technician inspect the controller and its wiring annually as part of your heating system's routine maintenance.
- Cleanliness: Ensure the controller's exterior is free from dust and debris. Do not use harsh chemicals for cleaning.
- Wiring Integrity: During inspections, check for any signs of loose or corroded wiring connections.
- Immersion Well: Ensure the sensing bulb is fully seated in the immersion well and that the well is free of scale or sediment that could impede heat transfer.
6. Troubleshooting
Before attempting any troubleshooting, ensure power is disconnected to prevent electrical shock.
| Problem | Possible Cause | Solution |
|---|---|---|
| Controller not powering on. | No power supply; loose wiring. | Check circuit breaker; verify wiring connections. |
| Heating system not responding to temperature changes. | Incorrect temperature setting; faulty sensing bulb; wiring issue. | Adjust setpoint; ensure sensing bulb is fully inserted; check control wiring. |
| System cycles too frequently or not enough. | Differential setting incorrect; poor heat transfer to sensing bulb. | Adjust differential (if applicable); ensure proper immersion well contact. |
| Inaccurate temperature readings. | Sensing bulb not fully immersed; scale in immersion well. | Verify bulb immersion; clean immersion well. |
If problems persist after attempting these solutions, contact a qualified service technician.
7. Specifications
- Model Number: L6006C1018/U
- Brand: Honeywell
- Material: Metal
- Exterior Finish: Stainless Steel
- Inlet Connection Type: Flange
- Outlet Connection Type: Flange
- Number of Ports: 2
- Outlet Connection Size: 3 Inches
- Specification Met: ASME B16.34, UL
8. Warranty and Support
Honeywell products are manufactured to the highest standards and are backed by a limited warranty. For specific warranty details, please refer to the documentation included with your product or visit the official Honeywell website. For technical support, service, or replacement parts, please contact Honeywell customer service or a certified Honeywell dealer.
Online Resources: For additional information, product updates, and FAQs, visit the official Honeywell website: www.honeywell.com


