
1. Introduction
Thank you for choosing the Garwarm Black Crystal Chandelier. This 3-light vintage pendant light fixture is designed to enhance the ambiance of various indoor spaces. This manual provides essential information for the safe installation, operation, and maintenance of your new chandelier. Please read these instructions carefully before beginning installation and retain them for future reference.
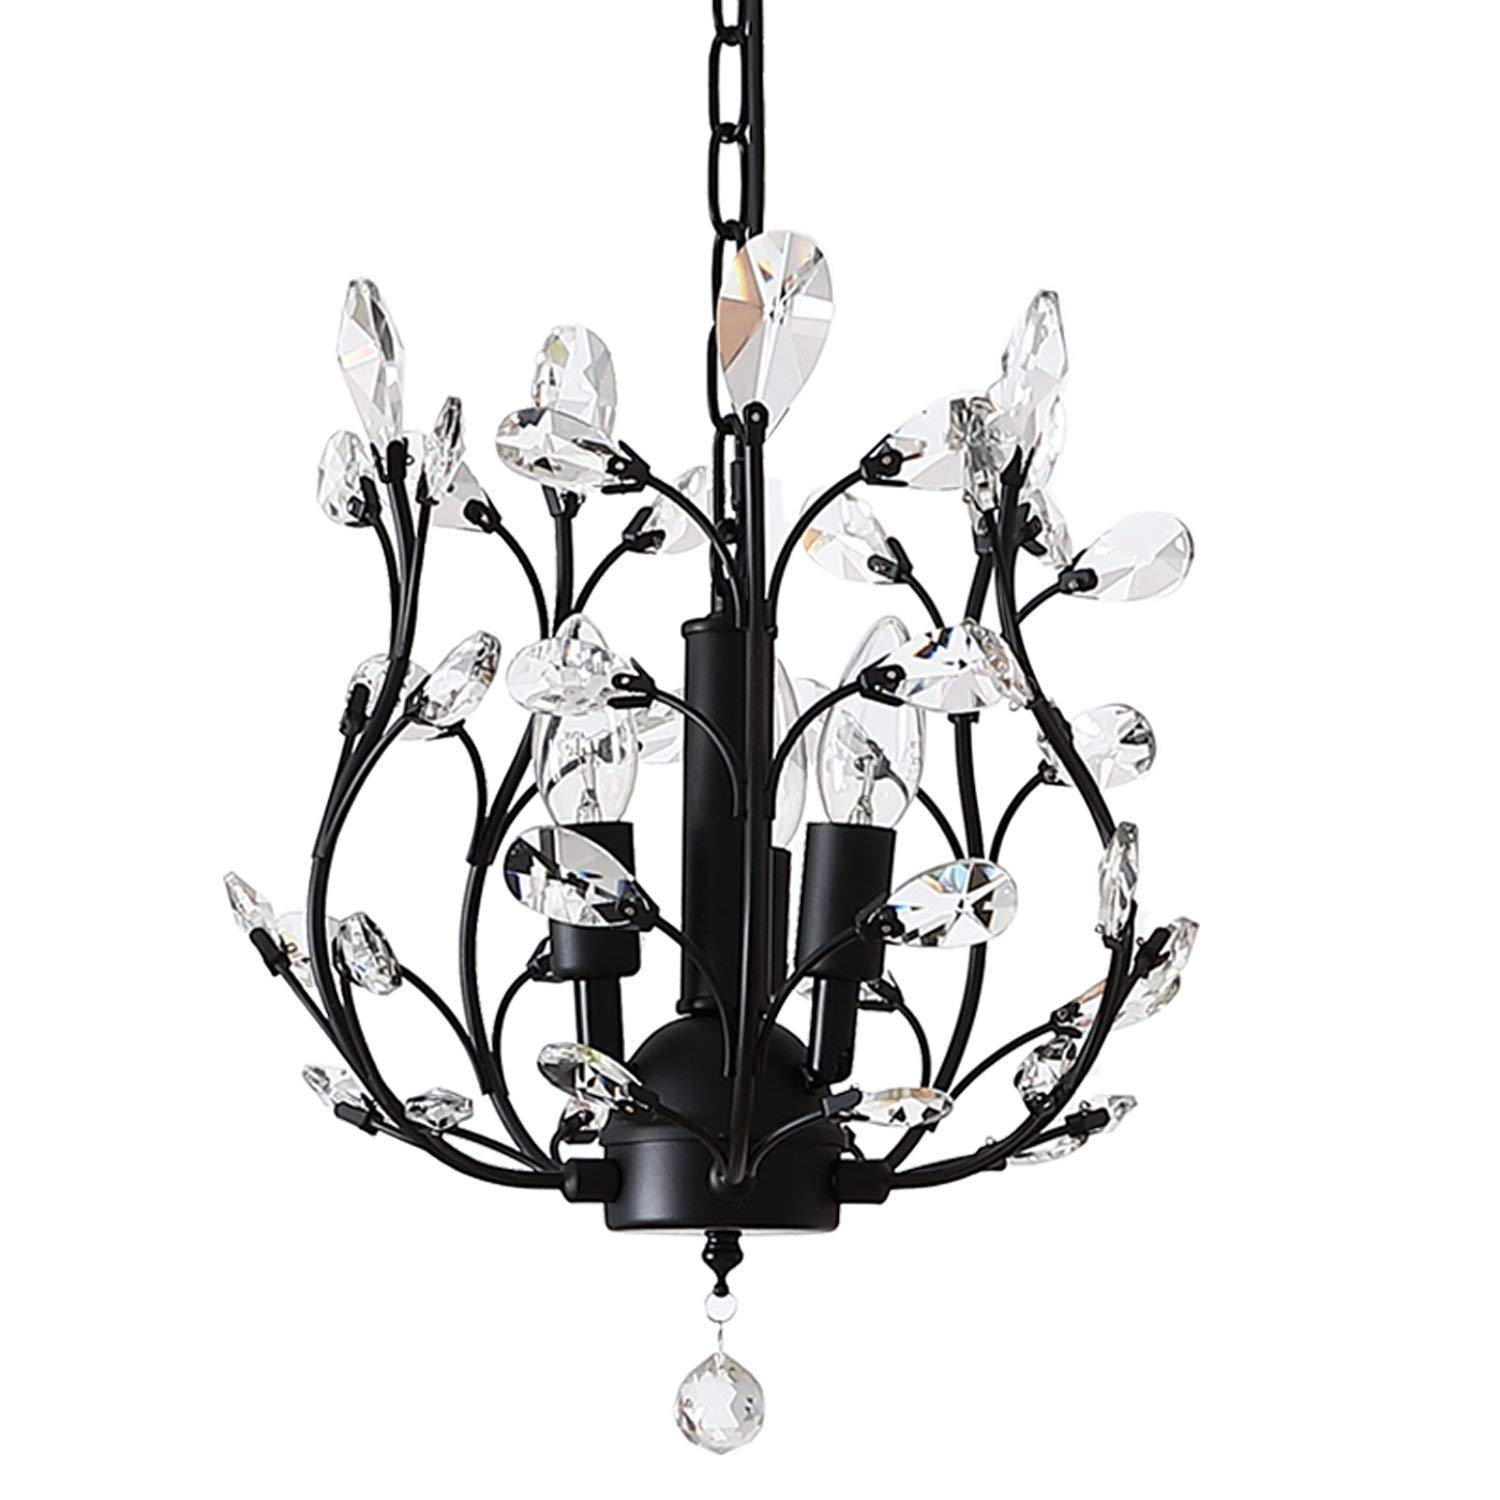
Image 1.1: Garwarm Black Crystal Chandelier in a living room setting.
2. Safety Information
To reduce the risk of electric shock, fire, or injury, always follow these safety precautions:
- WARNING: Disconnect power at the circuit breaker or fuse box before installation, servicing, or changing bulbs.
- Consult a qualified electrician if you are unsure about the installation process.
- Do not exceed the maximum wattage specified for the bulbs (E12 X 3, Max 25 Watts per bulb).
- Handle crystal components with care to prevent breakage or injury.
- Ensure all connections are secure and properly insulated.
- This fixture is intended for indoor use only.
3. Package Contents
Verify that all components are present before beginning installation. If any parts are missing or damaged, contact Garwarm customer service.
- Chandelier Frame with Light Kit
- Adjustable Chain
- Ceiling Canopy
- Mounting Hardware (crossbar, screws, wire nuts)
- K9 Crystal Elements
- Installation Instructions
- User Manual
4. Specifications
| Brand | Garwarm |
| Model Number | 43238-138692 |
| Dimensions (Fixture) | Diameter: 13 inches (33 cm), Height: 13.4 inches (34 cm) |
| Adjustable Chain Length | 39.7 inches (100 cm) |
| Ceiling Cap Diameter | 5.5 inches (14 cm) |
| Material | Crystal, Iron |
| Bulb Type | E12 x 3 (Bulbs not included) |
| Max Wattage per Bulb | 25 Watts |
| Voltage | 110 Volts |
| Dimmable | Yes, with dimmable bulbs and compatible dimmer switch (sold separately) |
| Item Weight | 6.6 pounds |
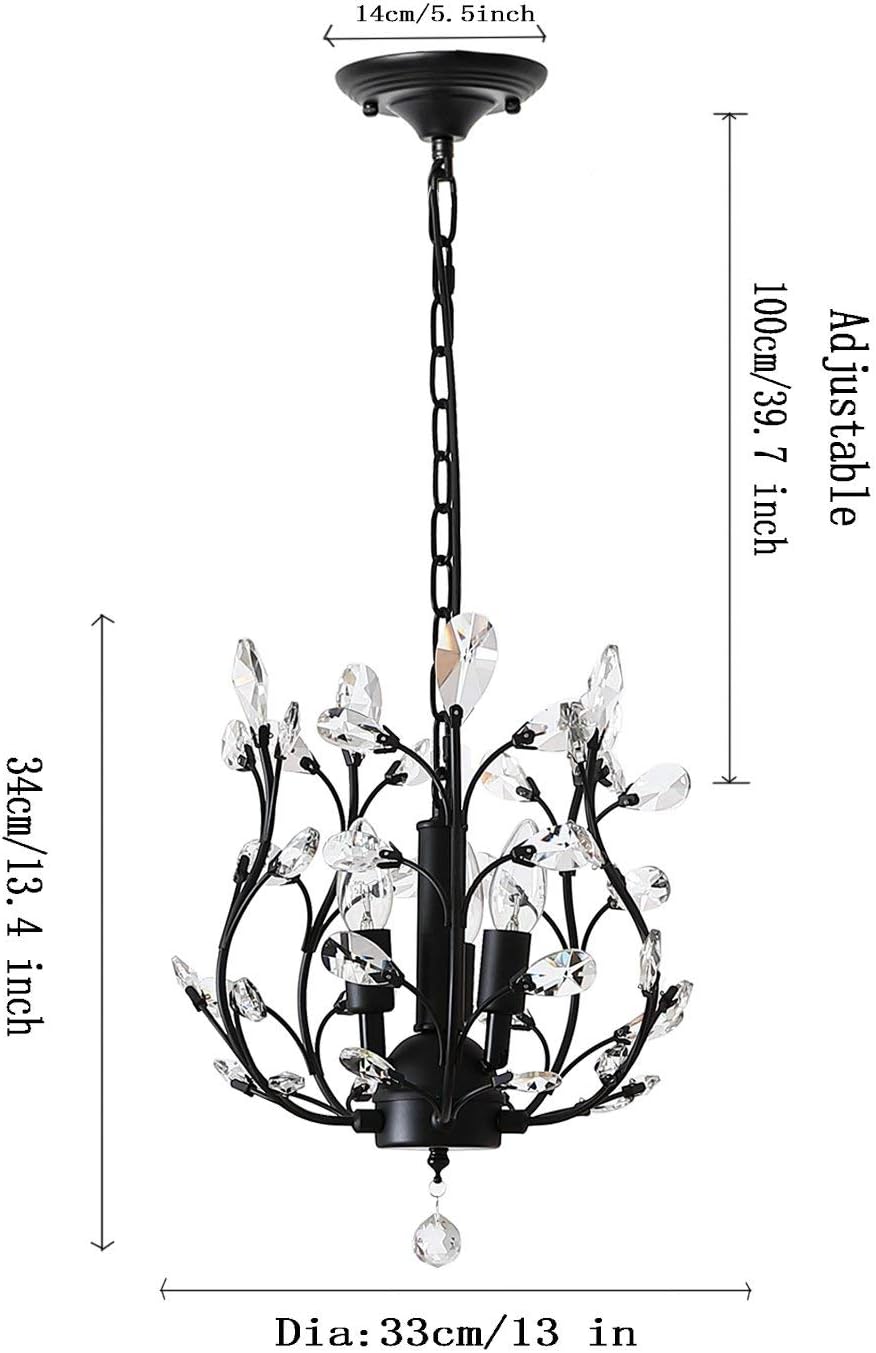
Image 4.1: Chandelier dimensions and adjustable chain length.
5. Setup and Installation
Professional installation is recommended. Ensure you have all necessary tools and components before starting.
5.1 Pre-Installation Checklist
- Turn off electrical power at the main circuit breaker or fuse box.
- Ensure all parts listed in Section 3 are present and undamaged.
- Gather necessary tools: Phillips screwdriver, flathead screwdriver, wire strippers, pliers, adjustable wrench (metric 14 recommended), electrical tape, ladder.
5.2 Step-by-Step Installation
- Mounting Bracket Installation: Secure the mounting crossbar to the ceiling junction box using the provided screws. Ensure it is firmly attached. Note: Some installations may require a different crossbar or longer 1 1/2" 10/32 screws for optimal fit and stability.
- Assemble Chandelier Frame: Carefully attach the decorative branches to the main fixture body. Use an adjustable wrench to tighten the nuts securely.
- Wiring: Connect the chandelier's electrical wires to the house wiring.
- Important: The fixture wires may be colored blue and brown. Typically, blue is neutral and brown is hot. If unsure, consult a qualified electrician.
- Connect the ground wire (usually green or bare copper) from the fixture to the ground wire from the junction box.
- Use wire nuts to secure all connections and wrap with electrical tape for added safety.
- Adjust Chain Length: Determine your desired hanging height. Open the chain links with pliers to adjust the length as needed.
- Secure Canopy: Carefully lift the chandelier and thread the wires through the center hole of the canopy. Push the canopy up against the ceiling and secure it to the mounting bracket using the provided screws or finials. Ensure the canopy sits flush against the ceiling.
- Install Bulbs: Screw in three E12 base bulbs (max 25W each). Bulbs are not included.
- Attach Crystals: Carefully attach the K9 crystal elements to the branches. Use pliers to gently bend the small hooks to secure the crystals in place.

Image 5.1: Close-up view of the K9 clear crystal elements.
Video 5.2: Garwarm 3-Lights Crystal Chandelier Black - A visual overview of the product and its crystal details.
Video 5.3: Crystal Chandeliers Ceiling Light Fixture Pendant Lighting - Demonstrates the chandelier in various room settings.
6. Operating Instructions
Once installed, your Garwarm Black Crystal Chandelier is ready for use.
- Turning On/Off: Operate the chandelier using a standard wall switch connected to the fixture.
- Dimming Functionality: If you wish to use the dimming feature, ensure you have installed dimmable E12 base bulbs and a compatible dimmer switch (both sold separately). Follow the dimmer switch manufacturer's instructions for operation.
7. Maintenance
Regular maintenance will help preserve the appearance and functionality of your chandelier.
- Cleaning the Frame: Gently wipe the metal frame with a soft, dry, lint-free cloth. Avoid using harsh chemicals or abrasive cleaners, as they may damage the finish.
- Cleaning the Crystals: For best results, clean the K9 crystals with a soft, damp cloth and a mild glass cleaner. Dry immediately with a clean, soft cloth to prevent water spots.
- Bulb Replacement: Always turn off the power at the circuit breaker before replacing bulbs. Allow bulbs to cool completely before handling. Use only E12 base bulbs with a maximum wattage of 25 Watts per bulb.
8. Troubleshooting
If you encounter issues with your chandelier, refer to the following common problems and solutions:
| Problem | Possible Cause | Solution |
|---|---|---|
| Light does not turn on | No power supply, loose wiring, faulty bulb | Check circuit breaker. Ensure all wire connections are secure. Replace bulb. |
| Lights flicker | Loose bulb, incompatible dimmer/bulb | Tighten bulbs. If using a dimmer, ensure dimmable bulbs and compatible dimmer are used. |
| Fixture is loose or not flush against ceiling | Mounting bracket not secure, canopy screws not tightened | Re-check mounting bracket installation. Ensure canopy screws are fully tightened. Adjust mounting bracket if necessary. |
| Missing or broken crystals | Shipping damage, accidental breakage | Contact Garwarm customer support for replacement parts. |
9. Warranty and Support
Garwarm is committed to providing high-quality lighting fixtures and professional services. Your chandelier comes with a quality guarantee.
- In case of missing parts or any quality issue with your crystal chandelier, please contact Garwarm customer service.
- Our support team will reply as soon as possible to assist you.
- For further assistance, please visit the Garwarm Store on Amazon or refer to the contact information provided with your purchase.