
1. Introduction
This manual provides detailed instructions for the installation, operation, and maintenance of your ANNKE 8-Channel 3K Lite H.265+ DVR Security System. This powerful 5-in-1 DVR system is designed for comprehensive home and office surveillance, offering advanced features for reliable security monitoring.
The system incorporates the H.265+ encoding standard, which significantly reduces storage requirements by up to 80% compared to traditional H.264, while maintaining high image quality. Key features include innovative person and vehicle detection, remote access capabilities, and smart playback functions.
2. What's in the Box?
Please verify that all components are present in your package before proceeding with installation.
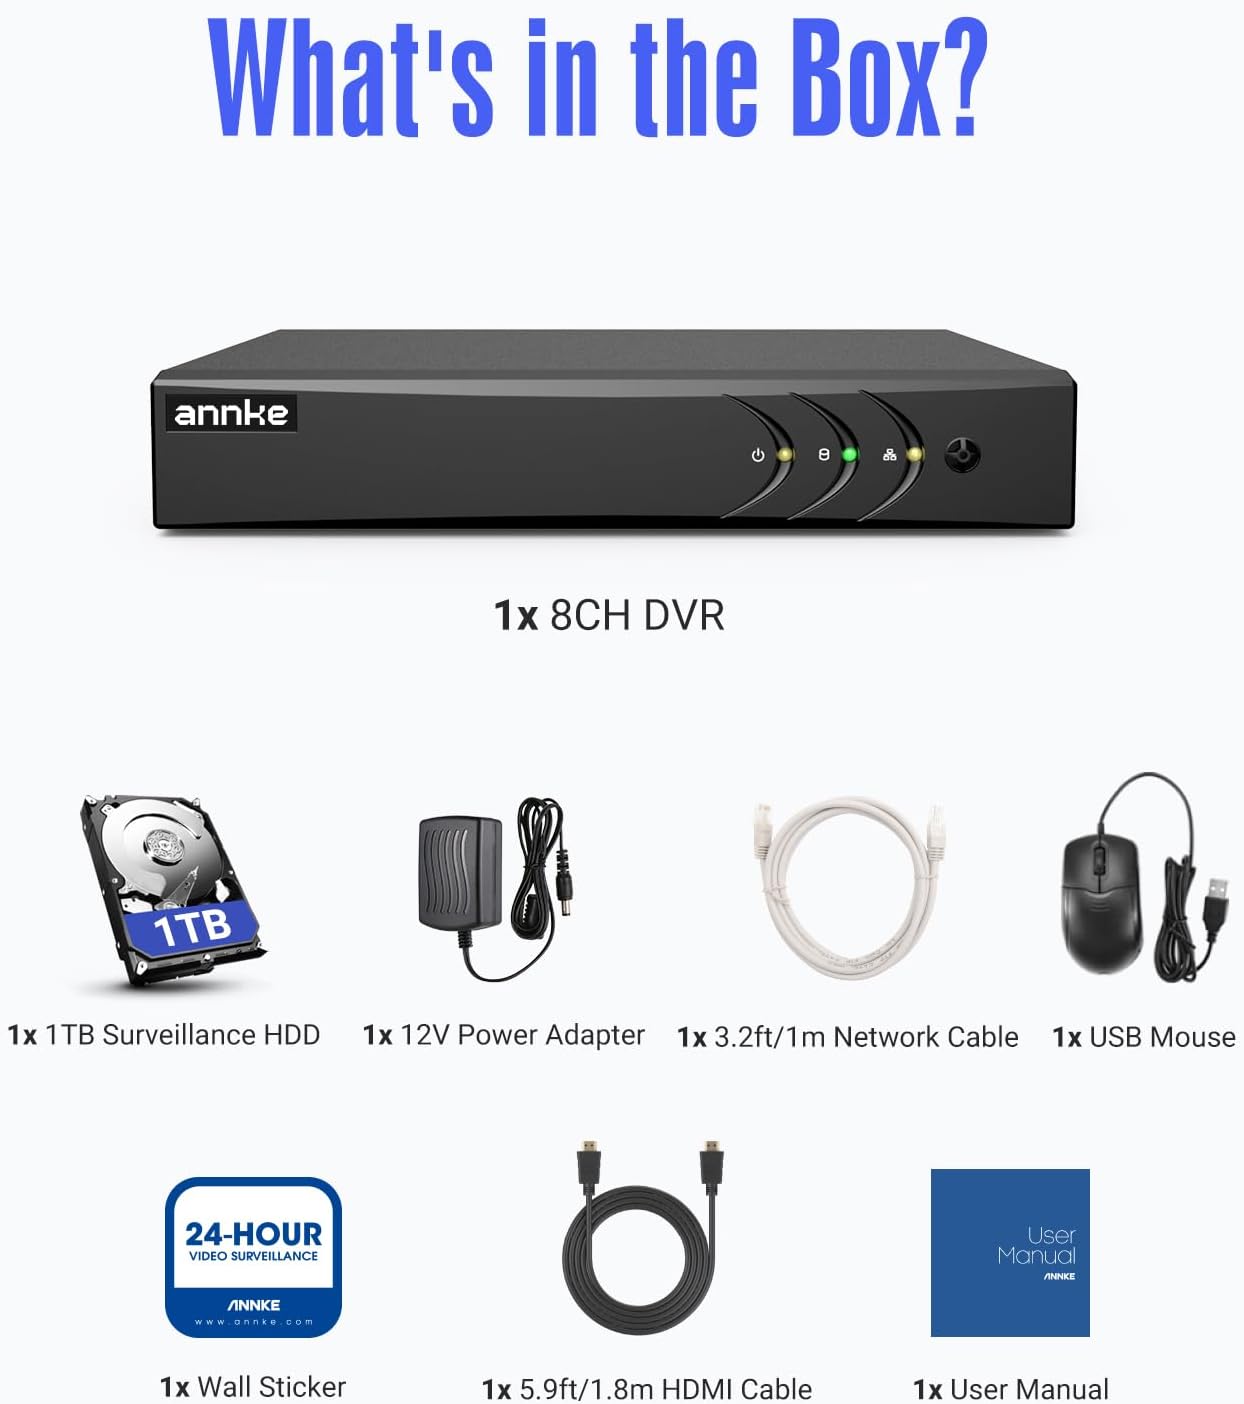
Image: Contents of the ANNKE DVR box. This includes 1x 8CH DVR, 1x 1TB Surveillance HDD, 1x 12V Power Adapter, 1x 3.2ft/1m Network Cable, 1x USB Mouse, 1x Wall Sticker, 1x 5.9ft/1.8m HDMI Cable, and 1x User Manual.
- 1x ANNKE 8-Channel DVR Unit
- 1x 1TB Surveillance Hard Disk Drive (HDD)
- 1x 12V Power Adapter
- 1x Network Cable (1m / 3.2ft)
- 1x USB Mouse
- 1x Wall Sticker
- 1x HDMI Cable (1.8m / 5.9ft)
- 1x User Manual
3. Product Overview
Familiarize yourself with the DVR unit's dimensions and available ports for proper connection and operation.

Image: Front and rear view of the ANNKE DVR. The front panel includes power, alarm, and status indicators. The rear panel features Video Input (BNC), VGA Output, HDMI Output, Audio Input/Output, Ethernet Port, USB ports for mouse/backup, and Power Adapter input. Dimensions are approximately 10.2 inches (260mm) wide, 8.7 inches (222mm) deep, and 1.8 inches (45mm) high.
Front Panel Indicators:
- Power Indicator: Illuminates when the DVR is powered on.
- Status Indicator: Indicates recording status or system errors.
- Alarm Indicator: Illuminates when an alarm event is triggered.
Rear Panel Ports:
- Video Input (BNC): Connect analog, AHD, TVI, or CVI cameras.
- VGA Output: Connect to a VGA monitor.
- HDMI Output: Connect to an HDMI monitor or TV.
- Audio Input/Output: Connect audio devices.
- Ethernet Port: Connect to your network router for remote access.
- USB Ports: For connecting the USB mouse and for data backup.
- 12V Power Input: Connect the provided power adapter.
4. Setup
Follow these steps to set up your ANNKE DVR system.
4.1 Hardware Connection
- Connect Cameras: Connect your surveillance cameras to the BNC video input ports on the rear of the DVR. Ensure secure connections.
- Connect Monitor: Connect a monitor to the DVR using either the HDMI or VGA output port.
- Connect USB Mouse: Plug the included USB mouse into one of the USB ports on the rear panel.
- Connect to Network (Optional but Recommended): Connect an Ethernet cable from the DVR's Ethernet port to your router or network switch for remote access features.
- Connect Power: Connect the 12V power adapter to the DVR's power input and then plug it into a power outlet. The DVR will power on automatically.
4.2 Initial Configuration
Upon first boot, the system will guide you through an initial setup wizard. This typically includes:
- Setting up an administrator password.
- Configuring date and time settings.
- Network settings (DHCP is usually enabled by default).
- Hard drive initialization (if not already formatted).
5. Operating Instructions
This section details the various operational features of your ANNKE DVR.
5.1 5-in-1 DVR Modes
The ANNKE DVR is a versatile 5-in-1 hybrid system, supporting multiple camera technologies:
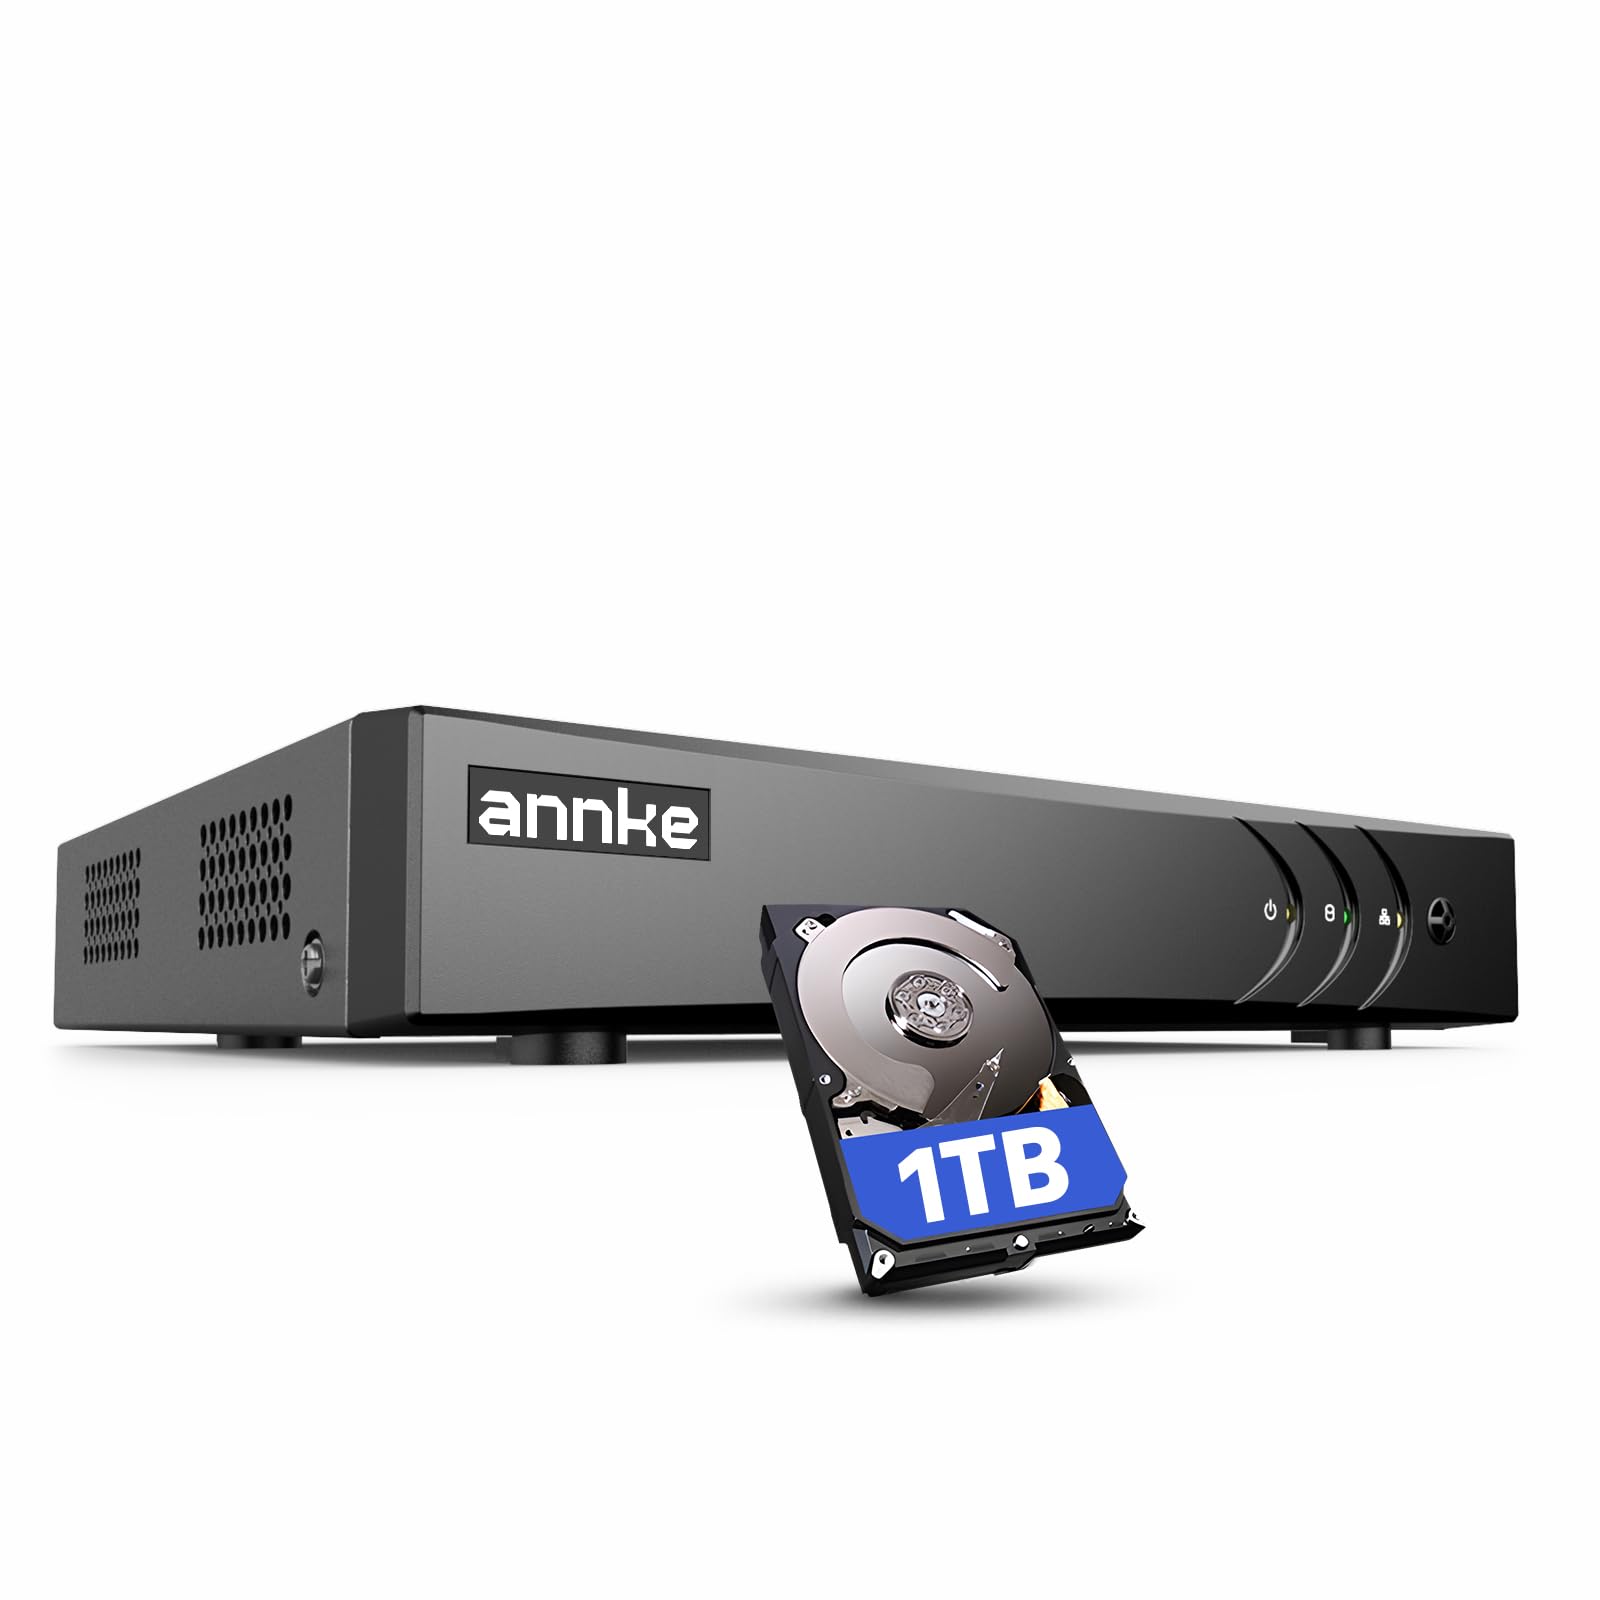
Image: Diagram showing the ANNKE DVR's compatibility with five camera types: IP, AHD, CVI, CVBS (Analog), and TVI. This highlights its hybrid nature.
- Analog (CVBS): Standard definition cameras.
- AHD (Analog High Definition): High-definition analog cameras (up to 4MP).
- TVI (Transport Video Interface): High-definition analog cameras (up to 3K).
- CVI (Composite Video Interface): High-definition analog cameras (up to 4MP).
- IP Cameras: Supports up to 2 additional 6MP IP cameras. When switched to IP signal mode, it can support up to 10 ANNKE IP cameras. Note: Works ONLY with ANNKE IP cameras.
5.2 Innovative Person and Vehicle Detection
Configure advanced motion detection to minimize false alarms. The system can differentiate between human and vehicle movement from other environmental triggers.

Image: An illustration demonstrating the flexible detection zone setup and the AI-powered human and vehicle detection feature. The top panel shows a user defining a specific area (zone) for motion detection. The bottom panel shows the system accurately identifying a person and a vehicle within the camera's view.

Image: An overhead view demonstrating the DVR's human and vehicle detection capabilities. A person carrying boxes and a car are highlighted with bounding boxes, labeled 'Person' and 'Vehicle' respectively, indicating the system's ability to distinguish between different types of movement.
To enable this feature:
- Navigate to Menu > Alarm > Smart Detection.
- Select the desired camera channel.
- Enable Person Detection and/or Vehicle Detection.
- Adjust sensitivity and define detection zones as needed.
- Configure alarm actions, such as email alerts with images.
5.3 Remote Access
Access your DVR system from anywhere using the ANNKE app or a web browser.

Image: A smartphone displaying a live camera feed from the ANNKE security system, with prominent 'Get it on Google Play' and 'Download on the App Store' logos, indicating the availability of the mobile application for remote access.
Using the ANNKE App:
- Download the ANNKE Vision app from the Google Play Store or Apple App Store.
- Register an account and log in.
- Add your DVR device by scanning the QR code (usually found in the DVR's network settings) or manually entering the device ID.
- Once added, you can view live feeds, playback recordings, and receive alerts on your smartphone or tablet.
Using a Web Browser:
- Ensure your DVR is connected to the internet.
- Find the DVR's IP address (via the DVR's network settings or a network scanner).
- Open a web browser (e.g., Google Chrome, Firefox, Microsoft Edge) on your computer.
- Enter the DVR's IP address in the address bar.
- Log in with your administrator credentials to access the DVR interface.
5.4 Smart Playback
Efficiently search and review recorded footage with smart playback features.

Image: A person using a laptop displaying the ANNKE Smart Playback interface. The screen shows options for 'Smart Search', specifically 'Human Search' and 'Vehicle Search', indicating the ability to quickly filter recorded events by detected objects.
The smart search function allows you to quickly locate specific events, such as human or vehicle motion, saving time when reviewing extensive footage.
- Go to Menu > Playback.
- Select the desired date and camera channel.
- Utilize the Smart Search option to filter events by person or vehicle detection.
- The system will highlight relevant segments, allowing for quick review.
5.5 H.265+ Encoding
The exclusive H.265+ video compression technology optimizes storage efficiency, allowing for longer recording times without compromising video quality. This significantly reduces the required hard drive space and network bandwidth.
6. Maintenance
Regular maintenance ensures the optimal performance and longevity of your DVR system.
6.1 Hard Drive Management
- Automatic Overwrite: The DVR is configured to automatically overwrite the oldest recordings when the hard drive is full, ensuring continuous recording. No manual intervention is typically required for this.
- Hard Drive Health: Periodically check the hard drive status in the DVR's system settings to monitor its health.
6.2 Software Updates
Check the ANNKE official website for firmware updates. Keeping your DVR's firmware up-to-date can improve performance, add new features, and enhance security.
- Visit the ANNKE support website.
- Locate the support page for your model (DW81K1T).
- Download the latest firmware if available.
- Follow the provided instructions for firmware upgrade, typically via USB or network.
6.3 Cleaning
- Gently clean the exterior of the DVR with a soft, dry cloth.
- Ensure ventilation openings are free from dust to prevent overheating.
7. Troubleshooting
This section addresses common issues you might encounter.
7.1 No Video Output
- Check Power: Ensure the DVR and monitor are powered on.
- Check Cables: Verify that HDMI/VGA cables are securely connected to both the DVR and the monitor. Try a different cable or port if available.
- Monitor Input: Ensure your monitor is set to the correct input source (HDMI/VGA).
- Camera Connections: Confirm all camera BNC cables are properly connected to the DVR.
7.2 Remote Access Issues
- Network Connection: Verify the DVR is connected to your router via an Ethernet cable and that the router has internet access.
- Network Settings: Check the DVR's network settings (Menu > Network) to ensure IP address, subnet mask, gateway, and DNS are correctly configured. DHCP is recommended for most home networks.
- App/Browser: Ensure you are using the correct ANNKE Vision app or accessing the correct IP address in your web browser.
- Firewall/Router: If issues persist, check your router's firewall settings. Port forwarding might be required for advanced remote access, though ANNKE's P2P cloud service often bypasses this.
7.3 Recording Problems
- Hard Drive Status: Check the hard drive status in the DVR's system settings. Ensure it is initialized and healthy.
- Recording Schedule: Verify that the recording schedule is correctly configured for the desired channels.
- Motion Detection Settings: If recording is based on motion, ensure motion detection is enabled and configured correctly for the relevant channels.
8. Specifications
| Feature | Specification |
|---|---|
| Brand | ANNKE |
| Model Number | DW81K1T |
| Number of Channels | 8 |
| Video Compression | H.265+ |
| Supported Camera Types | Analog (CVBS), AHD (up to 4MP), TVI (up to 3K), CVI (up to 4MP), IP (up to 6MP) |
| IP Camera Support | Up to 2 additional 6MP IP cameras (10 IP cameras when switched to IP signal mode, ANNKE IP cameras only) |
| Hard Drive Size | 1 TB (pre-installed) |
| Video Output | HDMI, VGA |
| Audio Input | AHD (via BNC, specific models) |
| USB Ports | 2 |
| Special Features | Motion Detection, Person/Vehicle Detection, Remote Access |
| Compatible Devices | Smartphone, Television |
| Product Dimensions | 36L x 28W x 8H cm (approx. 14.2L x 11W x 3.1H inches) |
9. Warranty and Support
9.1 Warranty Information
This ANNKE DVR system comes with a 2-year warranty for spare parts. Please retain your proof of purchase for warranty claims.
9.2 Customer Support
For technical assistance, product inquiries, or warranty support, please contact ANNKE customer service through their official website or the contact information provided in your product packaging.
- Visit the official ANNKE support website for FAQs, troubleshooting guides, and contact options.
- The ANNKE app is GDPR compliant, ensuring your privacy and data security during video stream transfer and download.