1. Introduction and Overview
The Hifonics TPS-A350.4 Thor 350 Watt 4-Channel Class D Amplifier is designed to deliver powerful audio performance in a compact, durable package. This amplifier is suitable for powersports and marine applications, featuring water-resistant and marine-grade protection to withstand harsh environments. Its efficient Class D design ensures maximum wattage output for its size, while the heavy-duty extruded aluminum heat sink helps maintain optimal operating temperatures and prevent distortion.
Key features include:
- Compact powersports amplifier design.
- Onboard equalization for sound tuning.
- Water-resistant construction.
- Marine-grade protection for durability.
- Two pairs of RCA nickel-plated inputs.
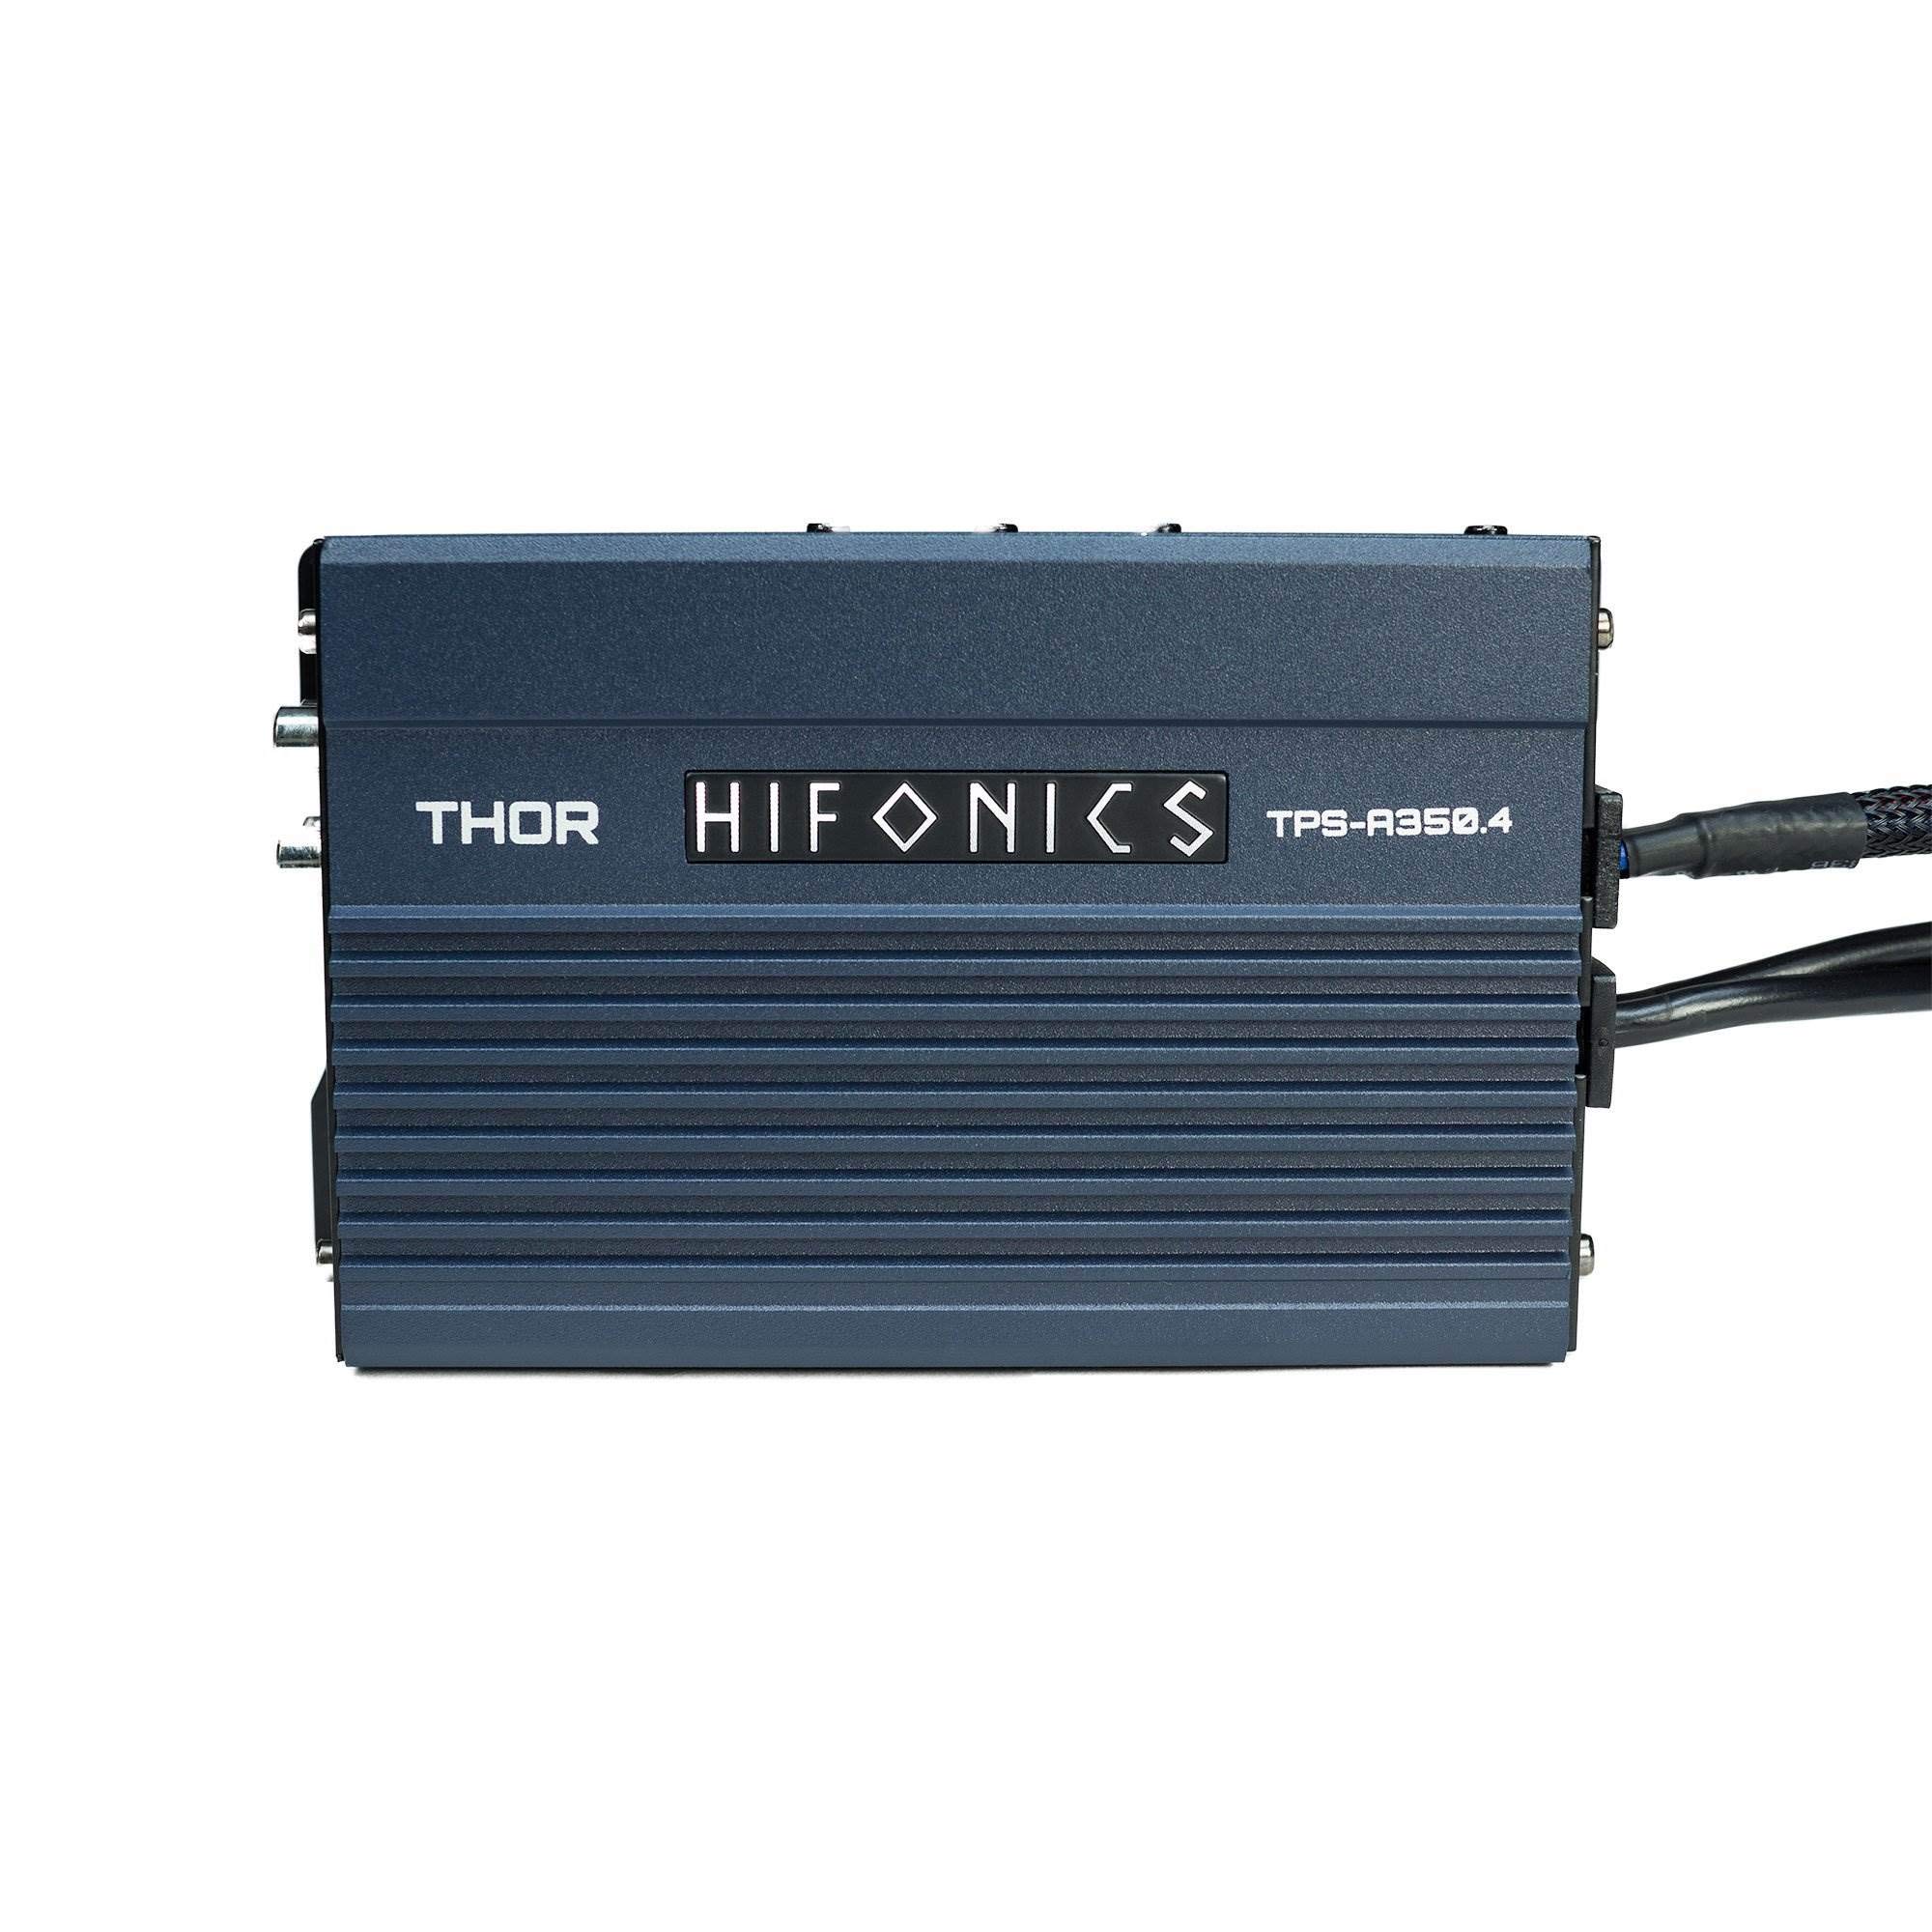
Image 1.1: Front view of the Hifonics TPS-A350.4 Thor Amplifier, showcasing its compact design and branding.
2. Safety Information
Before installing or operating this amplifier, please read all instructions carefully. Failure to follow safety guidelines may result in damage to the product, vehicle, or personal injury.
- Always disconnect the vehicle's battery before beginning any electrical work.
- Ensure proper grounding to prevent electrical hazards.
- Use appropriate gauge wiring for power and speaker connections to avoid overheating.
- Mount the amplifier securely in a location that allows for adequate ventilation.
- Avoid exposing the amplifier to extreme temperatures or direct sunlight for prolonged periods.
- Do not attempt to open or modify the amplifier. Refer all servicing to qualified personnel.
3. Package Contents
Verify that all items are present in the package:
- Hifonics TPS-A350.4 Thor Amplifier
- User Manual
4. Setup and Installation
Proper installation is crucial for optimal performance and longevity of your amplifier. The TPS-A350.4 features a detachable wire harness to simplify installation in tight spaces.
4.1 Mounting the Amplifier
Choose a secure mounting location that is protected from direct water exposure (despite its water-resistant nature, minimizing exposure is best practice) and allows for sufficient airflow around the heat sink. The amplifier can be mounted using screws through its integrated mounting tabs.
4.2 Power and Speaker Connections
The amplifier features a detachable wire harness for power input and speaker outputs. Connect the power, ground, and remote turn-on wires to the appropriate terminals on the harness. Ensure correct polarity for all connections.

Image 4.1: Side view of the amplifier showing the detachable wire harness for Power Input, Speaker Output, and Protect (Red) / Power (Blue) indicators.
4.3 Audio Input and Controls
Connect your audio source (e.g., head unit) to the RCA input jacks. The amplifier provides separate inputs for Front and Rear channels. Adjust the gain (Level) controls to match the output voltage of your source unit. The cross-over switches allow you to select between High Pass (HP), Off, or Low Pass (LP) filtering for each channel, optimizing sound delivery to your speakers.

Image 4.2: Side view of the amplifier showing RCA inputs, Front and Rear X-over switches, and Level controls.
Input Connections: Use high-quality RCA cables to connect the audio output from your source unit to the amplifier's FRONT and REAR INPUTs.
Level Controls: These knobs adjust the input sensitivity of the amplifier. Start with the level set to minimum (0.2V) and slowly increase it until the sound is clear and undistorted at your desired volume. Avoid setting the level too high, as this can cause distortion and damage to speakers.
X-Over Switches:
- HP (High Pass): Allows only frequencies above a certain point to pass through, typically used for full-range or tweeter speakers.
- OFF: Disables the cross-over, allowing all frequencies to pass through.
- LP (Low Pass): Allows only frequencies below a certain point to pass through, typically used for subwoofers (though this amplifier is primarily for full-range speakers, this setting might be used for specific mid-bass applications).
5. Operating Instructions
Once installed, the amplifier operates automatically with your audio system. Ensure your source unit is powered on and sending an audio signal. The amplifier will turn on via the remote turn-on wire connected during installation.
Adjust the volume from your source unit. Fine-tune the sound using the amplifier's Level controls and X-over switches as described in Section 4.3 to achieve the desired audio balance and clarity.
6. Maintenance
The Hifonics TPS-A350.4 amplifier is designed for durability with its water-resistant and marine-grade protection. However, regular maintenance can extend its lifespan and ensure consistent performance.
- Cleaning: Periodically wipe the amplifier's exterior with a soft, damp cloth. Avoid using harsh chemicals or abrasive cleaners.
- Connections: Regularly check all power, ground, and speaker connections to ensure they are secure and free from corrosion.
- Ventilation: Ensure that the area around the amplifier's heat sink remains clear of obstructions to allow for proper heat dissipation.
7. Troubleshooting
If you experience issues with your amplifier, refer to the following common problems and solutions:
| Problem | Possible Cause | Solution |
|---|---|---|
| No Sound Output | No power, incorrect wiring, source unit issue, amplifier in protect mode. | Check power, ground, and remote connections. Verify source unit is on and sending signal. Check for blown fuses. If protect light is on, refer to overheating or short circuit solutions. |
| Distorted Sound | Gain set too high, improper cross-over settings, poor speaker connections, damaged speakers. | Reduce gain (Level) control. Adjust X-over settings. Check speaker wiring for shorts or loose connections. Test with different speakers if possible. |
| Amplifier Overheats (Protect Light On) | Insufficient ventilation, impedance mismatch, prolonged high-power operation. | Ensure adequate airflow around the amplifier. Verify speaker impedance matches amplifier specifications. Reduce volume or allow amplifier to cool down. |
| No Power (Power Light Off) | Blown fuse, loose power/ground connection, faulty remote turn-on. | Check inline fuse on power wire. Re-secure power and ground connections. Test remote turn-on wire for 12V when source unit is on. |
If these steps do not resolve the issue, contact Hifonics customer support or a qualified installer.
8. Specifications
Detailed technical specifications for the Hifonics TPS-A350.4 Thor Amplifier:
- Brand: Hifonics
- Model Number: TPSA350.4
- Number of Channels: 4
- Output Power: 350 Watts
- Voltage: 12 Volts (Minimum and Maximum Supply Voltage)
- Item Dimensions (L x W x H): 3.7 x 5.51 x 1.77 inches
- Item Weight: 8 ounces
- Material: Aluminum
- Mounting Type: Boat Mount
- Specification Met: ASTM
- Color: Blue
- GTIN (UPC): 00806576227373
- Date First Available: February 1, 2017
9. Warranty Information
Hifonics products are designed and manufactured to the highest quality standards. This product is covered by a limited warranty against defects in materials and workmanship. The specific terms and duration of the warranty may vary by region and retailer. Please retain your proof of purchase for warranty claims.
For detailed warranty information, please refer to the warranty card included with your product or visit the official Hifonics website.
10. Support
For technical assistance, product inquiries, or support, please contact Hifonics customer service through their official website or the contact information provided in your product packaging.
Online Resources: Visit the Hifonics website for FAQs, additional product information, and support resources.


